


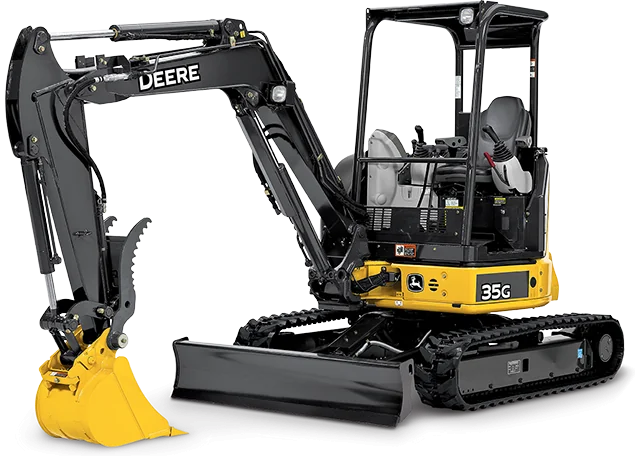


Whether one of your tracks came off the undercarriage or you need a new set, we’ll show you how to put a track back on an excavator.
Although the post focuses on a John Deere 35G, the process is practically the same on other makes and models. Regardless of your machine, changing the tracks is ideally a two-person job.
To learn how to change steel tracks on an excavator, check our article on changing steel tracks without a hydraulic pin press.
Do you prefer the video version?
Tool List
- Chisel bar.
- 19mm open-end wrench.
- Grease gun & grease.
Related Parts
Lift the Machine

To change the tracks, you must lift the excavator in the air. You can use one of the following techniques depending on your machine’s features.
Using the Blade and Bucket
Push the blade down first to lift the back end of the machine.
Then, push the boom and bucket down on the ground to completely lift the excavator.
Using the Bucket
If your machine doesn’t have a blade, turn the cabin 90 degrees toward one of the tracks. Push down with the bucket and boom.
Do one side, and repeat the process for the other track.
No matter the technique, ensure the operator lifts the Pilot Shutoff Lever. The Pilot Shutoff Lever or Safety Lever shuts off the hydraulic pilot flow to all pilot control valves. When the lever is locked (UP), the machine won’t move if someone accidentally moves another lever or a pedal.
Ignoring to lock the safety lever can lead to severe injury or death if the operator accidentally bumps into a lever and the machine suddenly drops down.
Take Off the Track
Release the grease valve — turning it counterclockwise — with the 19mm wrench to let out grease and loosen off the track.
The grease valves are in an access hole on each side of the undercarriage frame.
As you release the grease, the track will go down.
We recommend taking out the valve to let more grease come out.
Put the valve in a safe and visible place.
On brand-new machines, when releasing the grease, the idler will come in, and the track will become loose. Over time, as dirt piles up in the undercarriage, the tracks won’t move much when removing the grease valve.

You can bounce on the track on older models to help loosen it, bringing the idler in.
The other technique is using a chisel bar. Put it at the top of the sprocket and tell the operator to drive the track backward. The chisel bar will create extra tension on the track, bringing the idler in.

To pop off the track, slide the chisel bar underneath the track’s top half next to the idler, pry downward your end of the bar, and tell the operator to drive the track forward. The track will walk itself off the front idler.
Try not to lean on the bar while holding it. The bar might kick and hit you hard.
Pick the track off the sprocket when it comes off from the idler.
Install the New Track

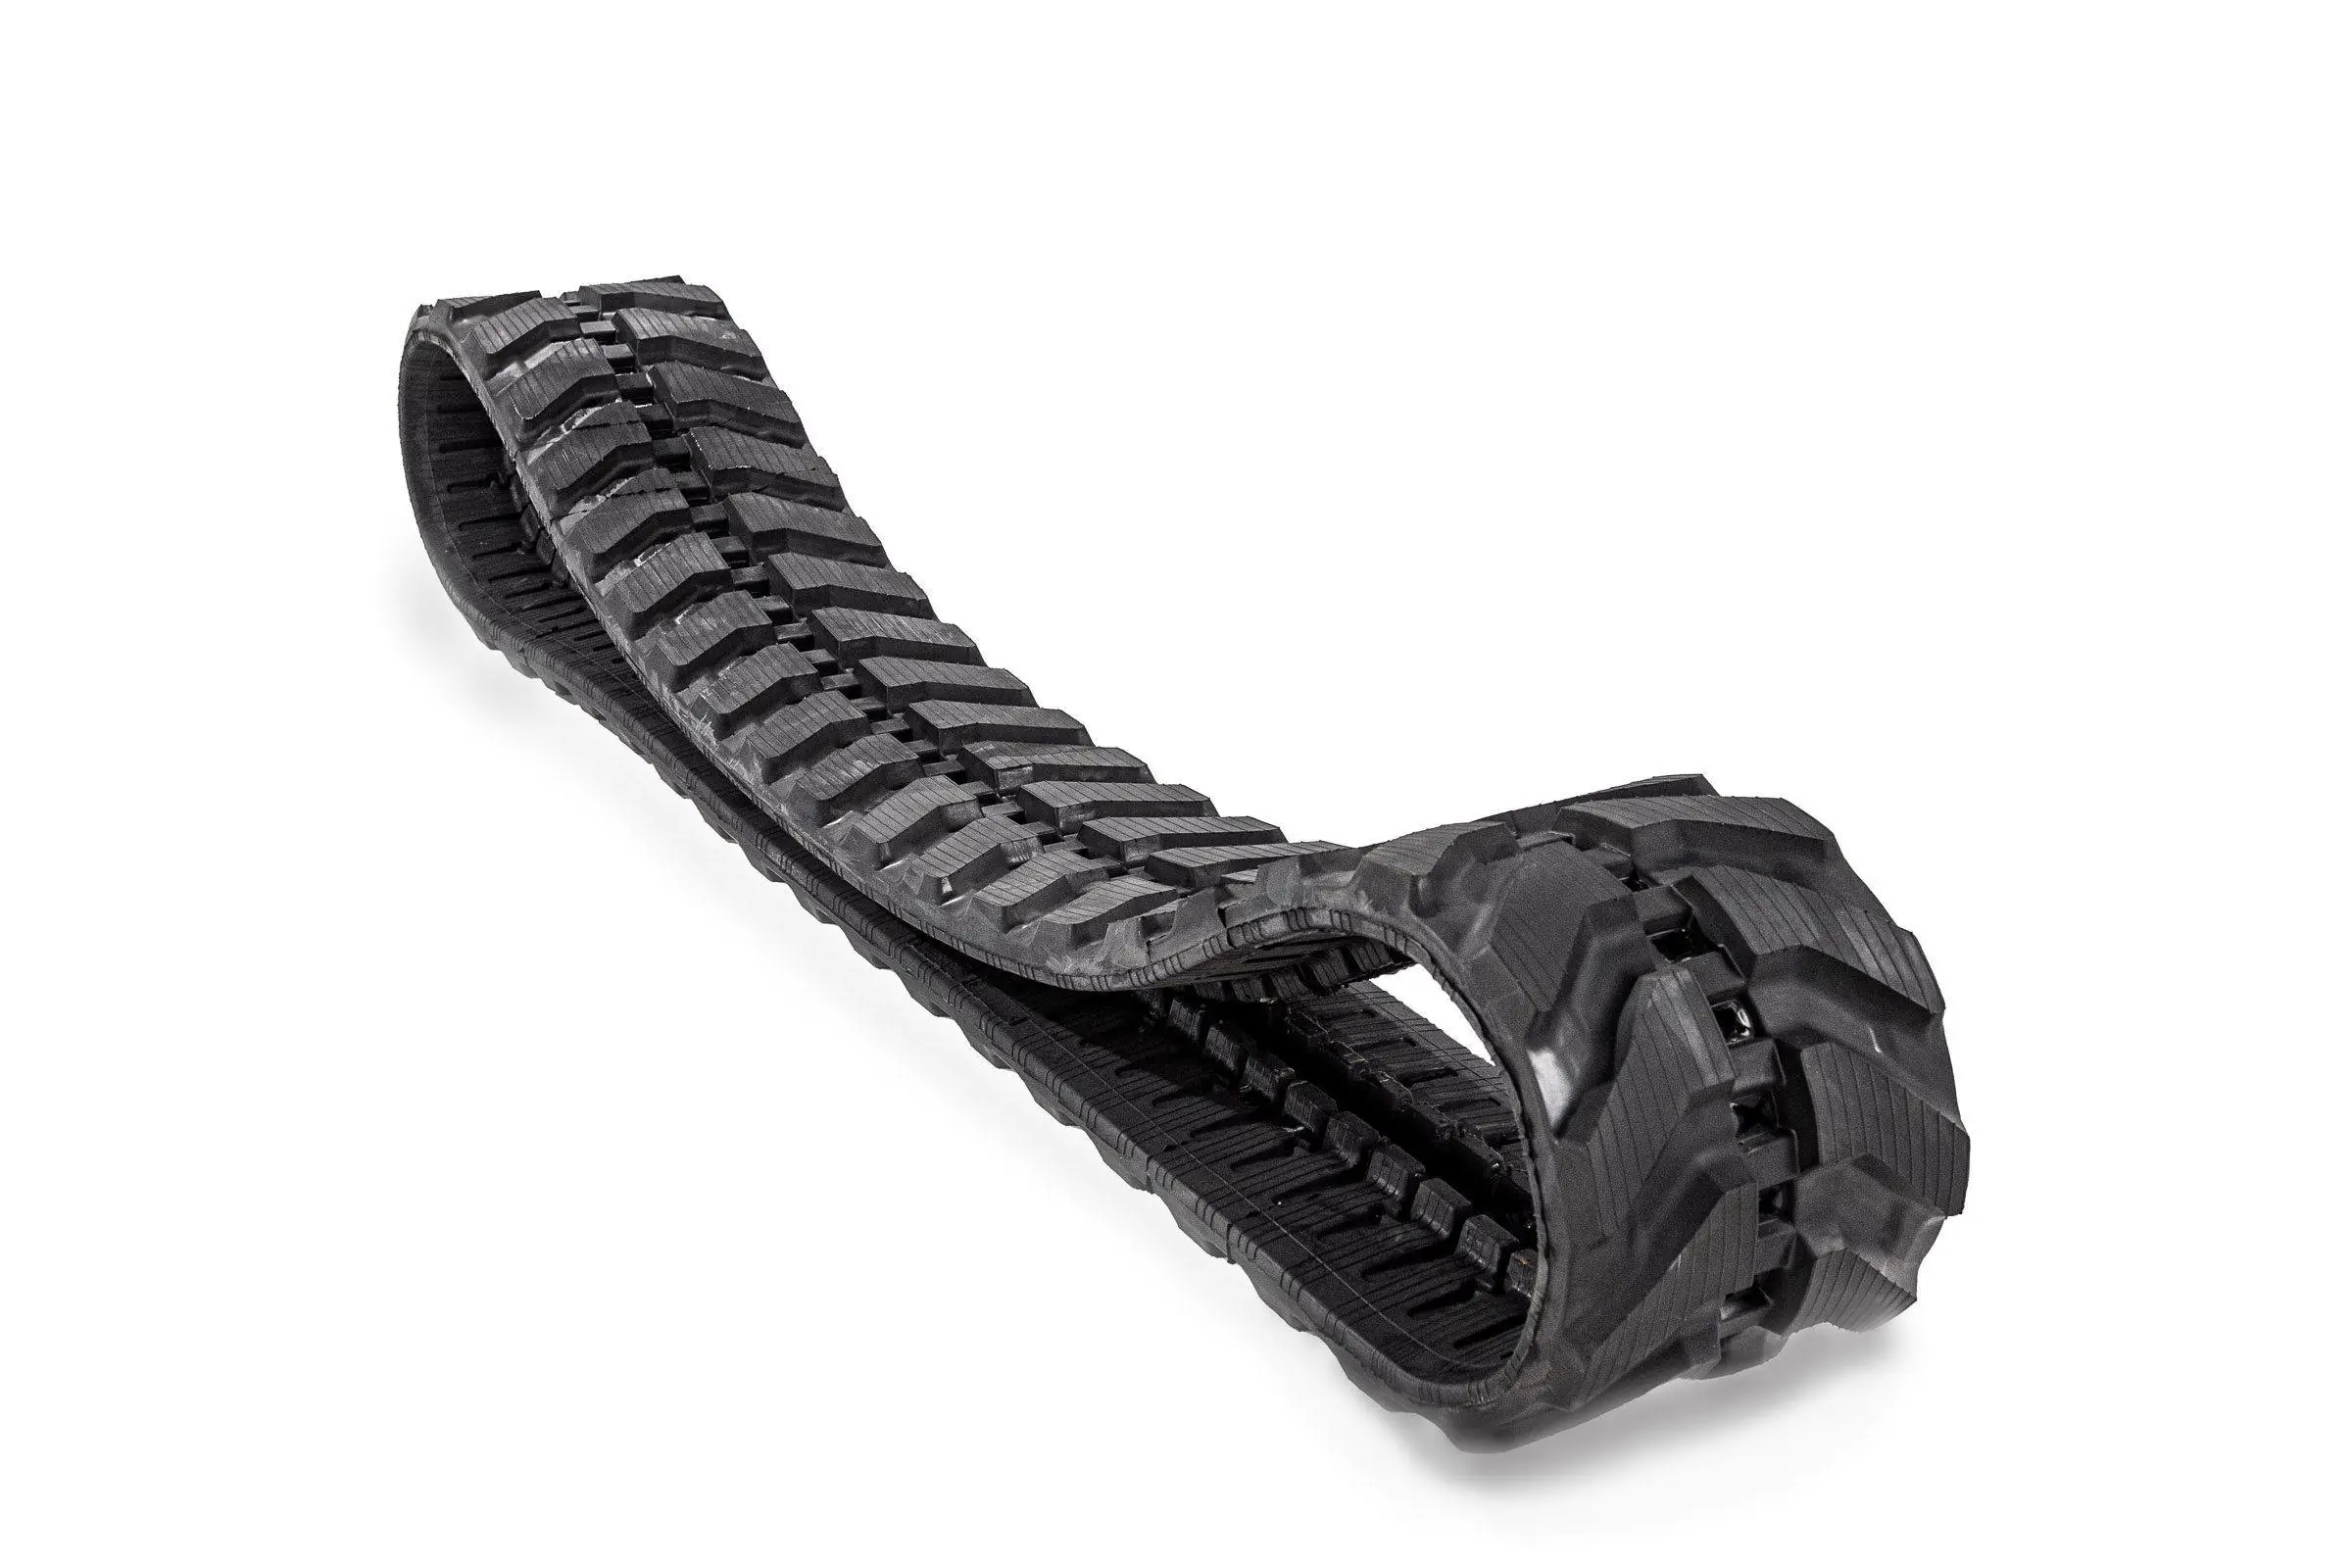
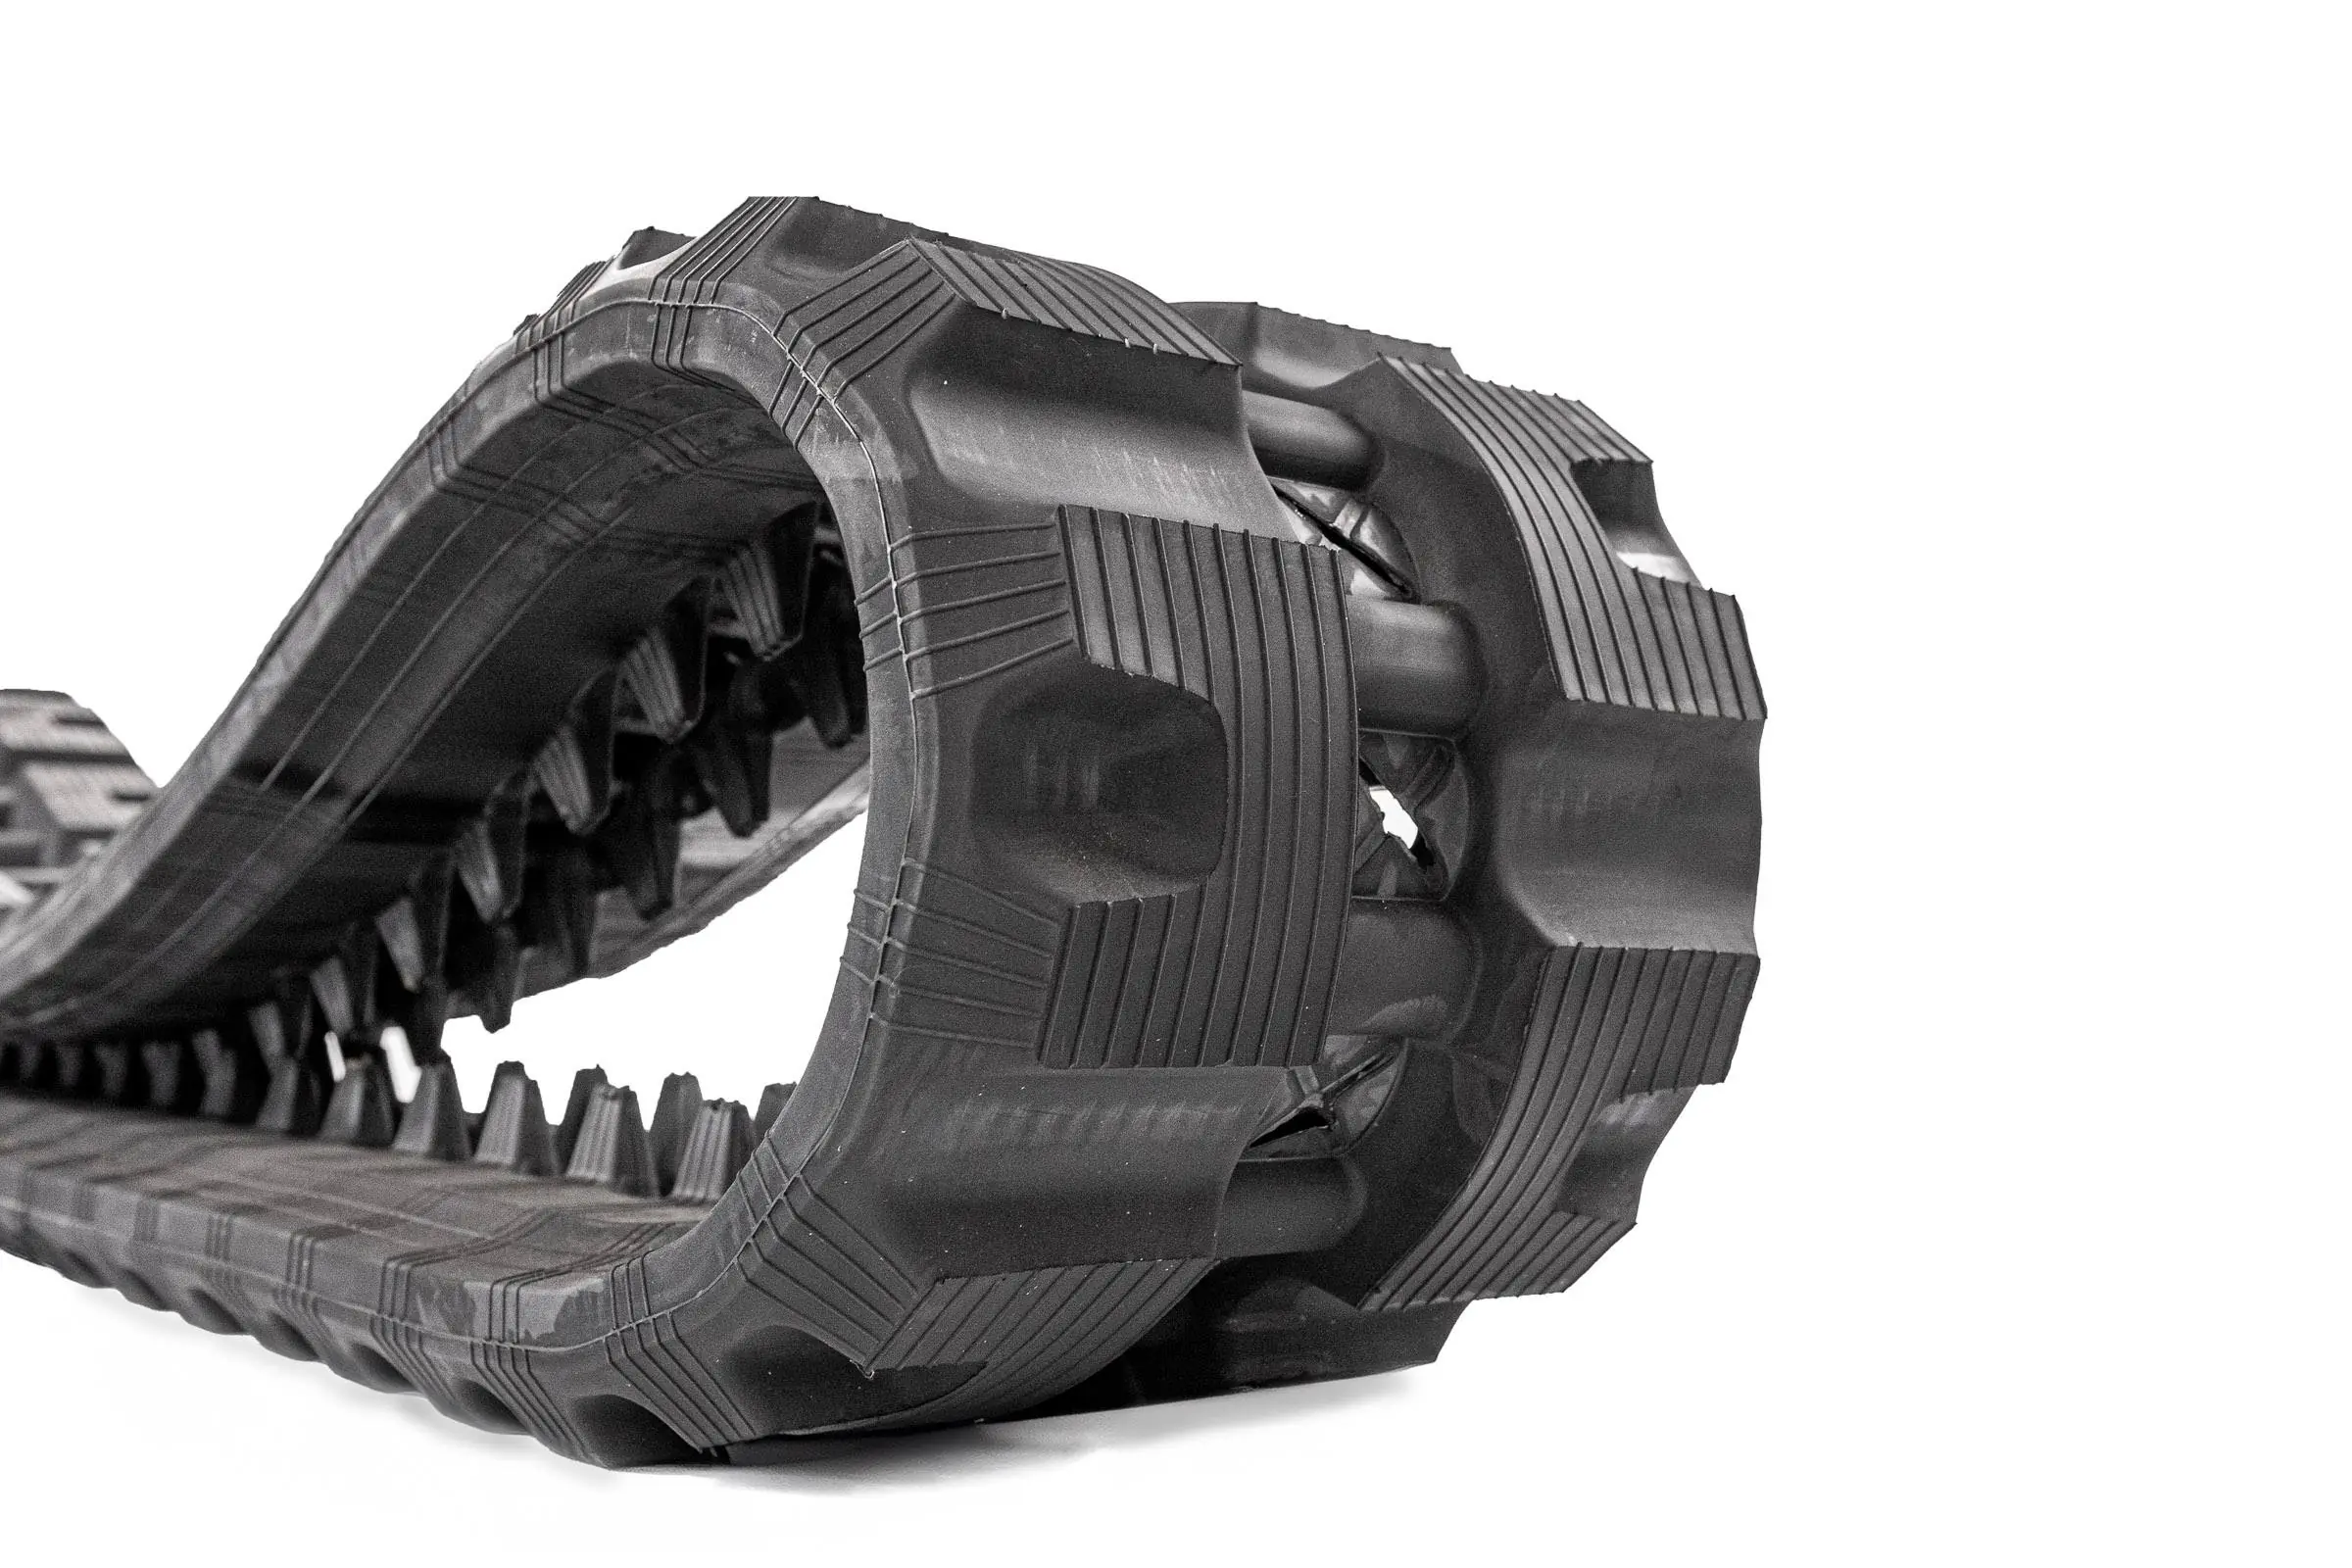
In this case, we chose an aftermarket rubber track – the only difference was a slight variation in the lug’s shape.
Whether you choose OEM or aftermarket, remember that tracks are directional. The correct way to install the rubber tracks is the following:
- The lug’s V pattern points toward the front idler on the undercarriage´s top.
The lug’s V pattern points toward the sprocket on the undercarriage’s bottom.
Our article “Engineering and Application—A Deep Dive into Rubber Track Patterns” explains the design reasons for tread patterns in more detail.

Visit the Fortis HD track section to quickly and easily buy high-quality aftermarket tracks for your mini excavators from the most popular makes and models.
Installing excavator tracks in the correct direction allows the lugs to force soft material out of the tracks, providing traction instead of acting like paddles — scooping and keeping soft material under the tracks.
Let’s move on with the installation. First, get the track on top of the sprocket and then on the carrier roller (top roller). Tell the operator to lower the machine closer to the ground so you don’t have to lift the track too high.
After laying the track on top of the sprocket and the carrier roller, tell the operator to lift the machine again to fully install the track on the sprocket and over the idler.
The track may cause trouble. You can kick it on the inside to force it in, but ultimately, you will need the chisel bar.
Put one end of the bar between the track and the front idler. Pull up the other end and tell the operator to drive the track slowly forward to make the chisel bar force the track in.
Adjust the Track Tension

Wipe the grease excess from the valve and its access hole using a clean rag.
Put the grease valve back in, making sure it’s tight.

Add grease until there’s a play of 1 inch between the middle bottom roller and the top of the steel embed of the rubber track (Check your owner’s manual to see how to measure the track sag on your mini excavator model effectively).
Finally, tell the operator to run the track forward and backward — always ending backward — to readjust the track and ensure it has the proper tension.
Remember that you’ll have to readjust the tension after running a piece of equipment with brand-new rubber tracks for a few hours because the tracks will break in a bit and loosen off.
Check the sprocket’s condition every time you change your tracks. A worn sprocket will prematurely wear the new rubber tracks.
Fortis HD offers the widest selection of high-quality aftermarket undercarriage parts for your heavy equipment.