


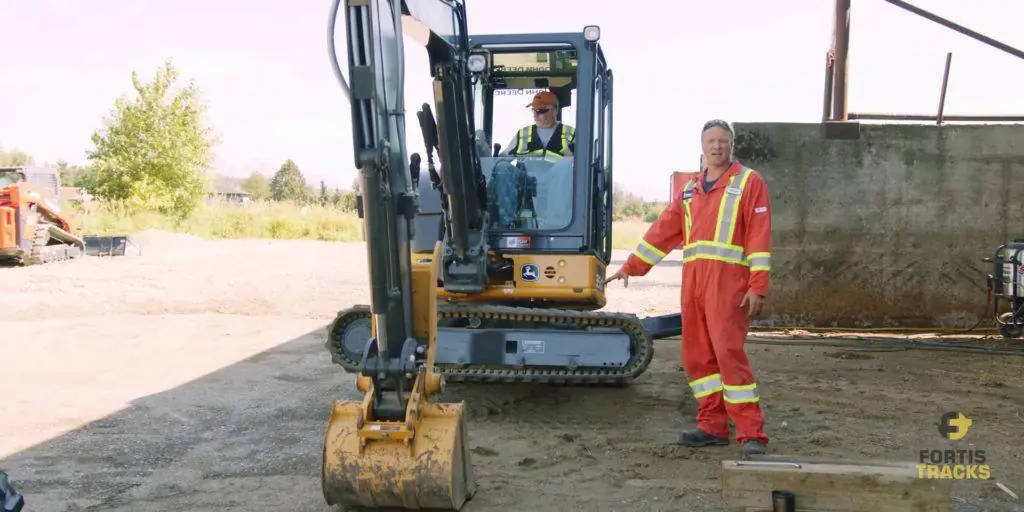
When replacing the track on a mini excavator, you don’t need other machines to lift the excavator off the ground. Instead, you can use the excavator itself to lift up the sides so you can replace each rubber track.
Since mini excavators can come with or without blades attached to the back end, let’s go over two different methods to lift the excavator up into air.
Table of Content
Method 1: Lifting an excavator that has a blade
When the excavator has a blade, you will use the blade and the bucket as the main supports when the mini excavator is up in the air. To accomplish this, you want to first push the blade down against the ground until the back end of the excavator rises. This technique will allow you to lift the back of the machine so you can work on the front end of the rubber tracks.
Next, push the boom and bucket on the front of the mini excavator into the ground. Now the front of the machine will lift into the air with the track clear of the ground. You can work on both tracks on the mini excavator at the same time.

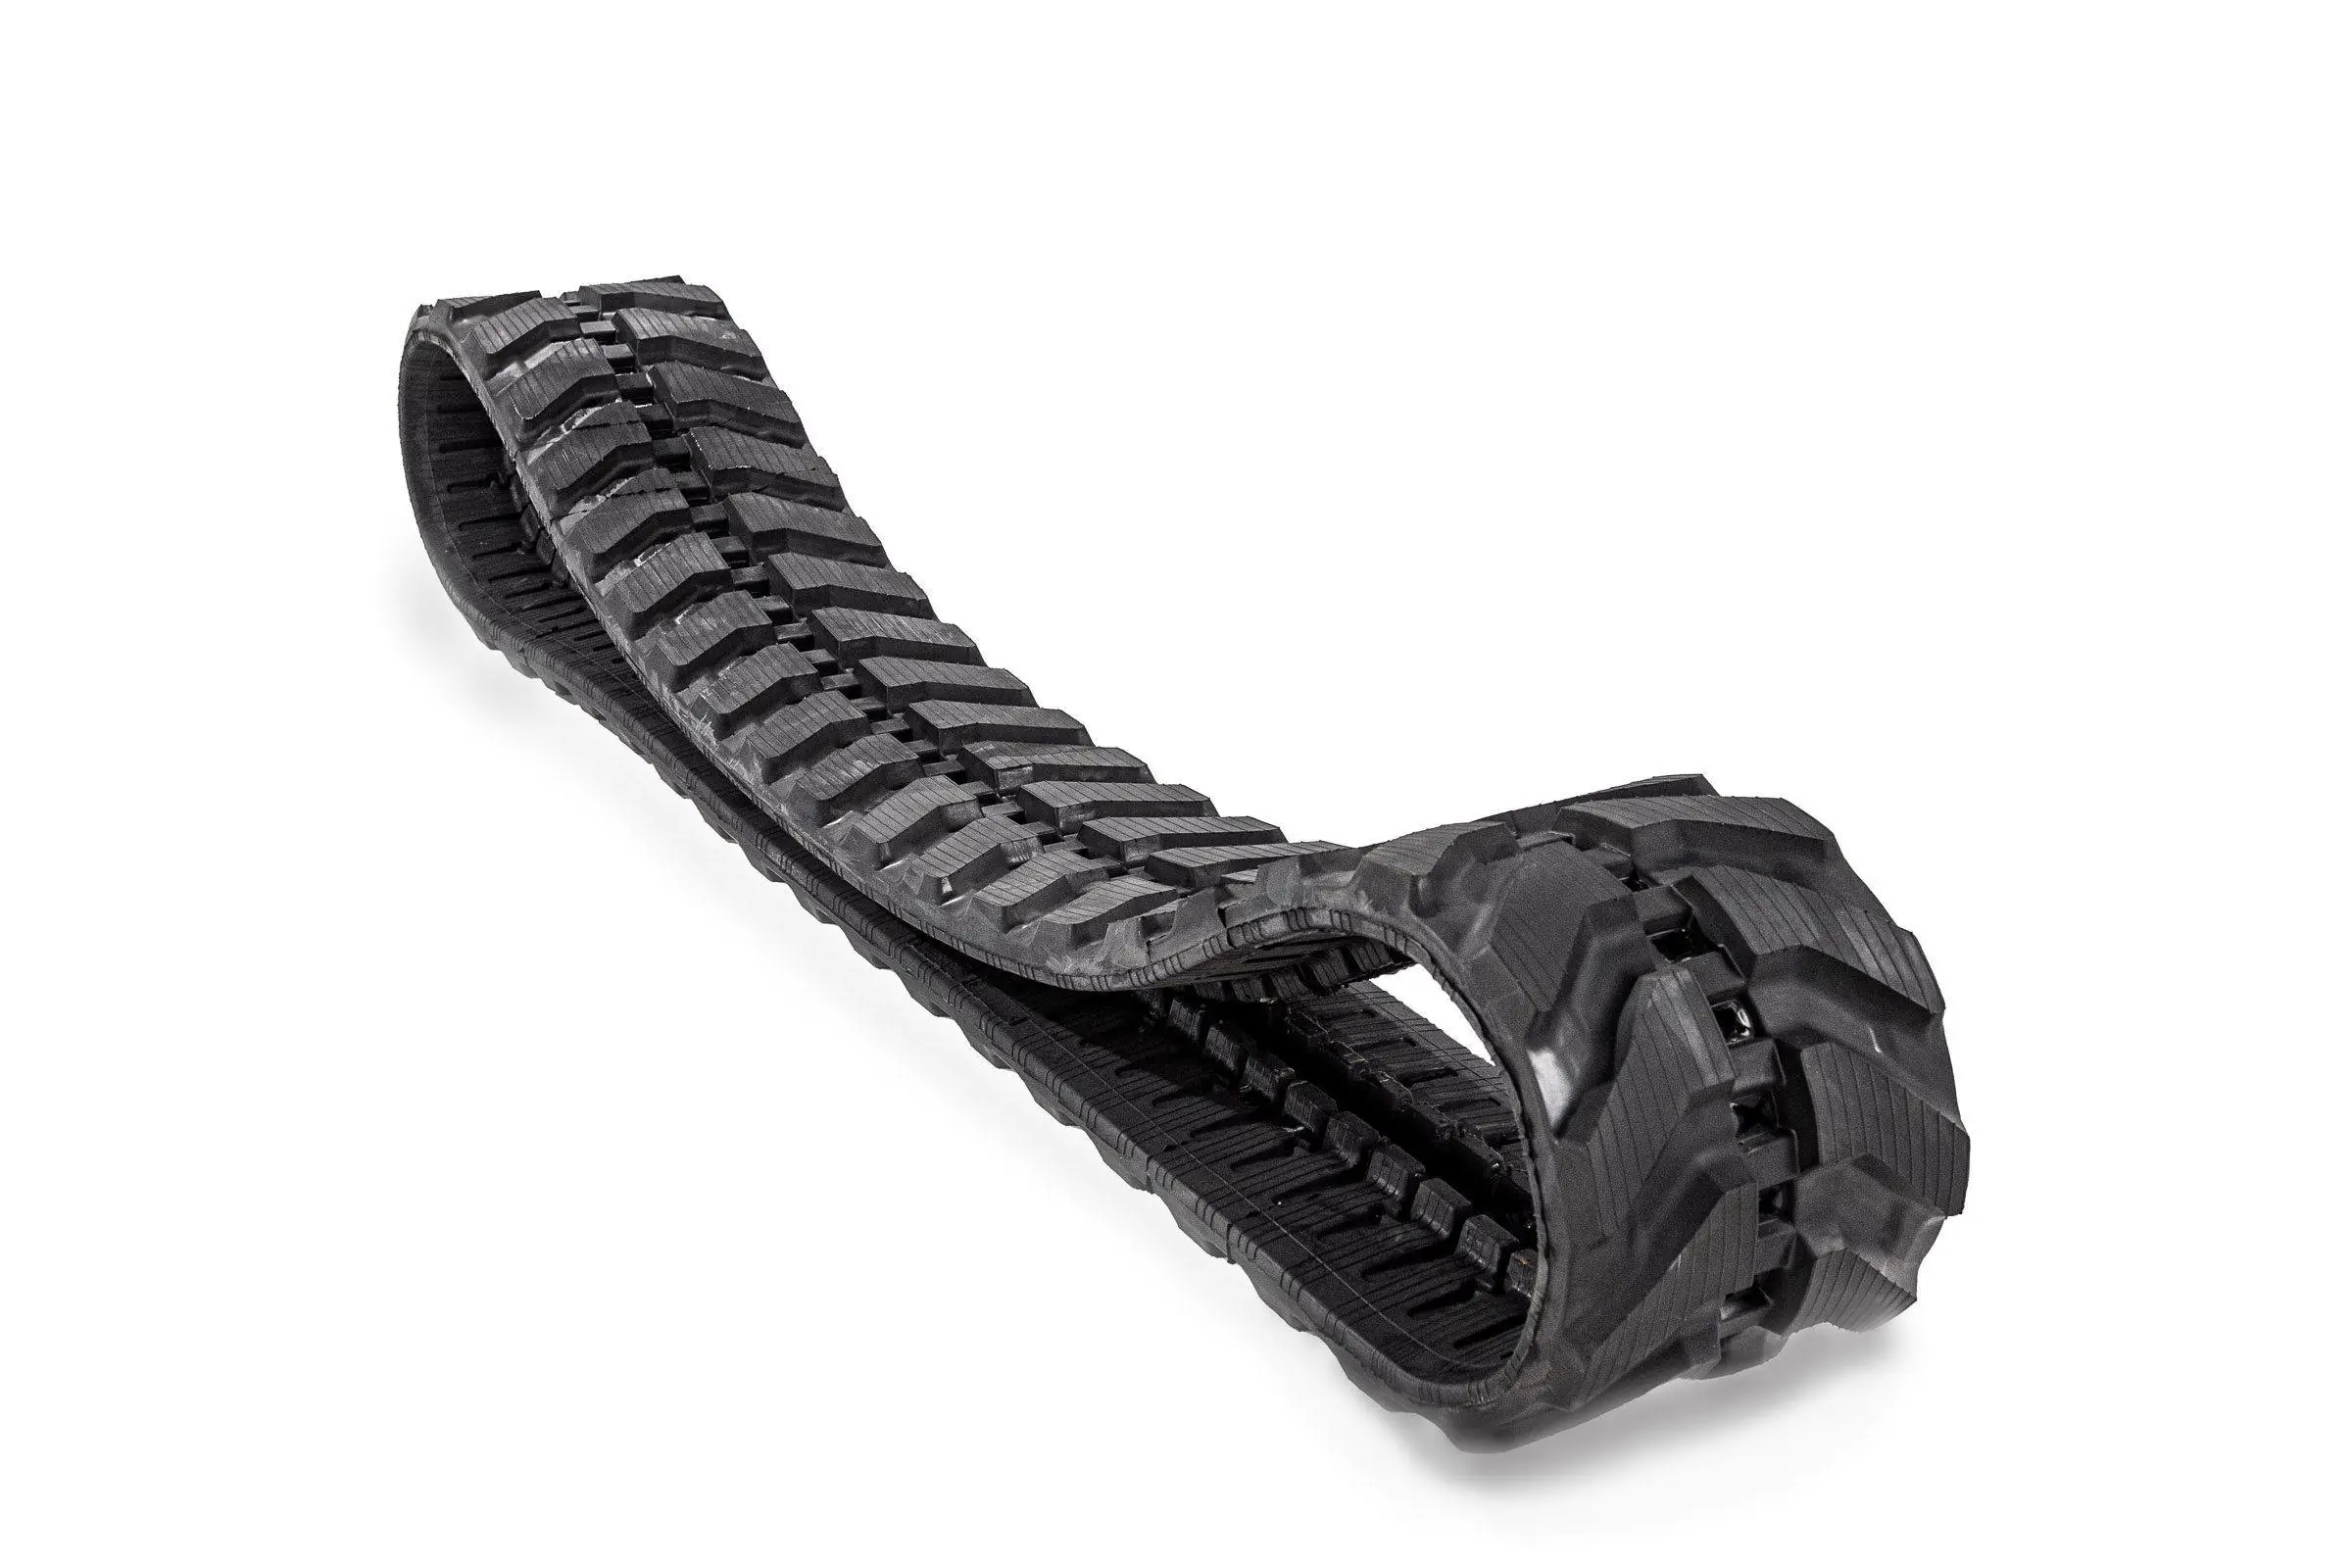
Related Parts
Method 2: Lifting an excavator without a blade
If the mini excavator does not have a blade, you want to rotate the boom and the bucket toward one side of the machine. Push the boom and the bucket against the ground. The mini excavator will lift up on that side as you can work on that specific track.
Once the new track is installed, lower the mini excavator and rotate the boom and the bucket to the other side of the machine. Perform the same technique to lift the second side to replace the other track.

Learn How to Change Your Mini Excavator Tracks in Minutes!
Lift Safety Lever Up Before Working on Track

Before working on the track, always have the operator lift the safety lever up. If the lever is not lifted, the operator could accidentally bump into it. This problem could cause serious injuries or death to the person who is working on the mini excavator’s rubber track.
![]()
For more information about renting heavy equipment or performing repairs, reach out to the experts at Rent1.