Don’t let the lack of a pin press hold you down to change your excavator tracks.
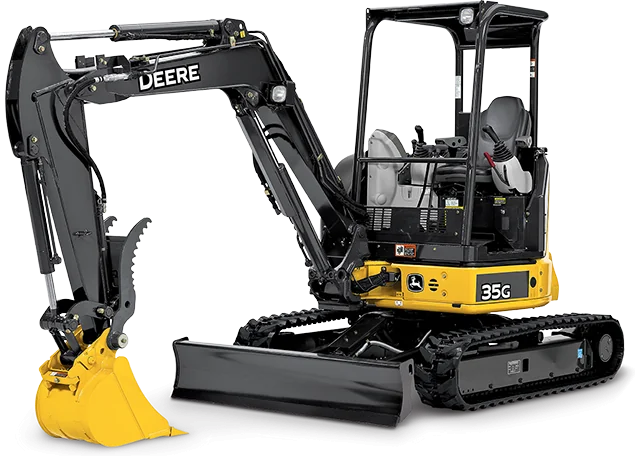
Read on to see how we swap the steel tracks on a Joh Deere 135G Excavator for one with rubber pads.
Keep in mind that this is a two-person task. One of you must operate the machine.
Also, you can use different tools or a variation of the list below.
Do you prefer to see the video version instead?
Table of Content
Tool List
- Track pin driver.
- 20lbs Sledgehammer
- 5ft and 15ft chains.
- 48in snap-on pry bar.
- Regular chisel bar.
- Punch.
- Snap ring pliers.
- 1/2 inch drive ratchet with a deep 24mm socket.
- 10mm ratchet.
- Grease gun and grease.
- Woodblock.
Locate the Master Pin and Remove the Snap Ring
First, turn the cabin 90 degrees toward one of the tracks, put the bucket on the ground, and push with the boom to lift the undercarriage.
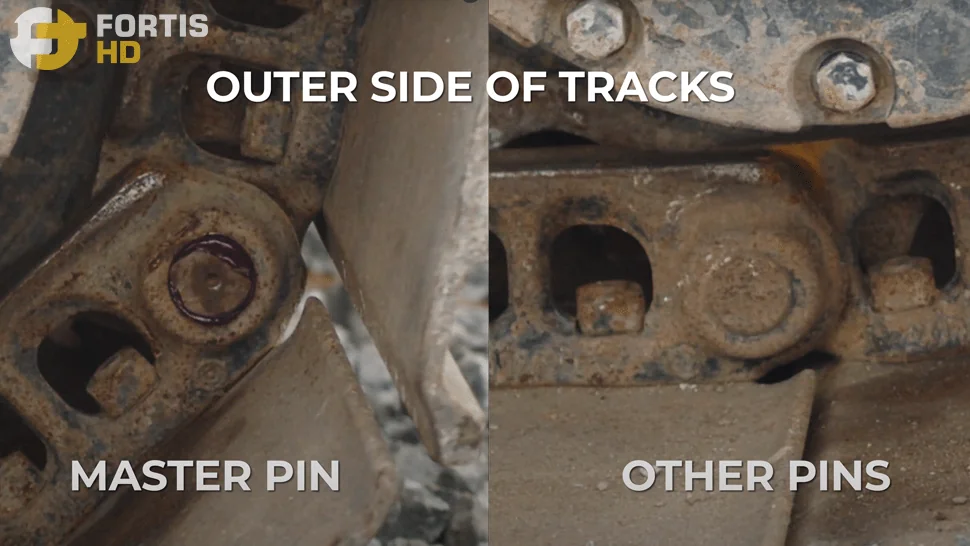
Look for the master pin. There’s only one in each track. It’s the largest pin in the undercarriage and holds the track chain together.
Depending on your machine, to find the master pin, look for any of the following features:
On the outer side of the track:
- A pin with a drill mark at the center of the face.
- A pin with an X grooved mark across the face.
- A pin with a circular groove and grease around it.
- A pin with a non-circular shaped face, but instead elongated (dowel type pin)
On the inner side of the track, the master pin will have either a snap ring or a cotter pin holding it in.
For machines with blades, roll around the track to line up the master pin on the sprocket. It’ll be easier to reach the snap ring.
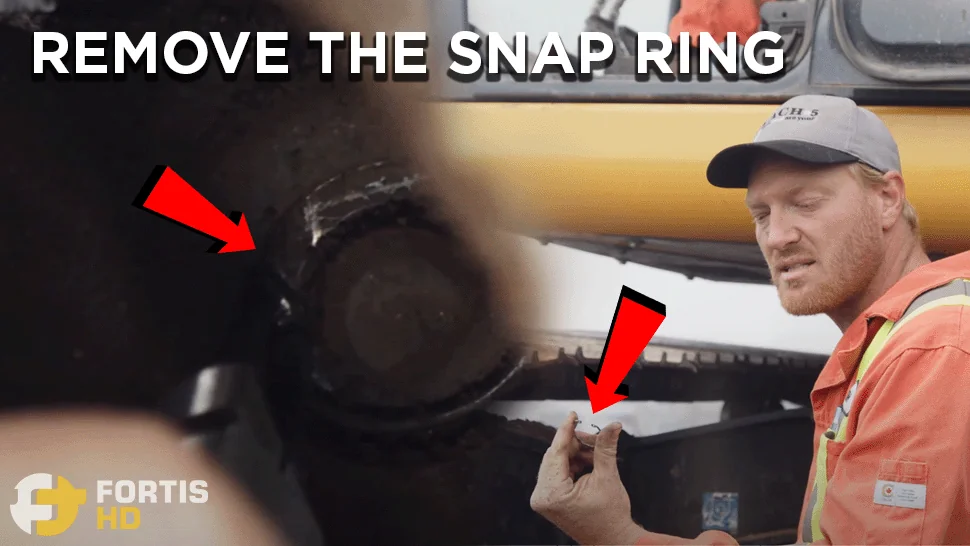
Remove the snap ring using the pliers. Sometimes, the snap ring will have too much tension because the pin is tight against it. Push it out a bit with a drive to take the tension out.
The John Deere 135G has a tapered master pin. The cross-section of a tapered pin varies in size and can only go in and out from the inner side of the track.
Slack Off the Track Chain
You must remove the track adjuster grease valve to release the track tension. Don’t do it with the excavator up in the air. Put it back on the ground so there’s less pressure in the grease valve.
Use the ratchet with the 24mm deep socket to remove the valve. You don’t necessarily need to remove the valve all the way out, though we recommend doing it to let more grease come out. Keep the valve in a safe and visible place.
Put the excavator back up.
The track will slacken off by itself on fairly new and clean machines.
You might need to help the front idler move in to slack off the track in older models. Run a solid bar or pipe through the sprocket to help pull the idler back in. Put it between the sprocket (at 135 degrees position / 10 o’clock) and the track. Hold it steady and tell the operator to travel the track slowly in reverse. You can use more than one pin or bar if you like.
Let go of the bar when the sprocket starts turning.
Push the Master Pin Out

Keep the excavator in the air and tell the operator to line up the master pin where it’s easy to swing a hammer. We recommend lining it up about the sprocket midheight toward the back of the excavator.
Put the machine back on the ground so the track doesn’t swing when you drive it with the hammer.
We used a drift to punch out the pin. Its size must be consistent with the machine’s size. No matter the size of the drift, consider attaching a handle to it to keep anybody’s hands away from the hammer blows.
Also, make sure to wear safety glasses. If you miss the pin, a piece of metal can come flying off.
There are two rings/washers inside the master pin track. Make sure you don’t lose them. They have to go in the track when putting it back on.
Install the New Track
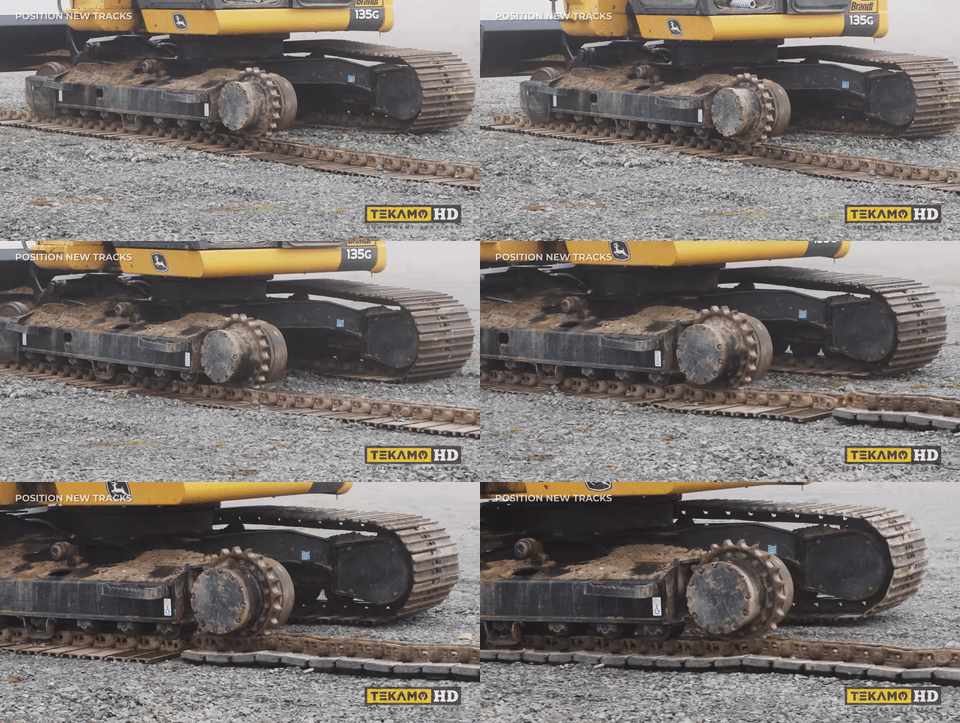
Lay the new track on the ground and line it up closely with the old one at the place where you split it up.
Now, walk the machine forward until the old track is lying on the ground. Then, go backward until the machine is on the new track.
The tracks can go on either side of the machine. However, you must install them in a specific direction, or they won’t grab the traction.
The correct direction is this one: the male/narrow end of the links pointing forward toward the blade and the female/wide end pointing backward toward the sprocket.
For Kubota skid steer owners looking to upgrade or replace their tracks, our Kubota Skid Steer Rubber Tracks offer a perfect fit and exceptional durability, ensuring your equipment operates efficiently.
Alternative Installation Technique
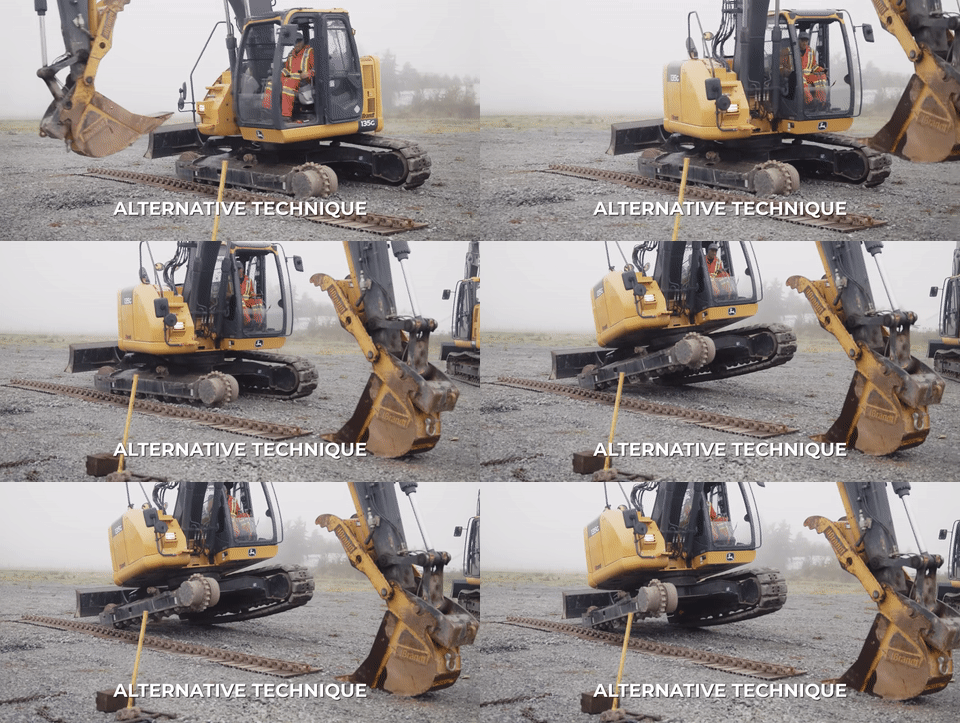
You’ll lift the excavator using the boom rather than running the machine along the old and new tracks.
Remove the master pin, split the track, and walk the machine to lay the track on the floor.
Locate the excavator in the middle of the laying track. Line up the cabin towards the back of the excavator, put the bucket on the floor, and lift the excavator.
Swing the undercarriage to get the sprocket off the track and put the machine back down.
Now, line up the cabin toward the blade, lift the excavator, and swing the undercarriage to get the idler off the track.
Repeat the above process to install the new track. Line up the cabin towards the front and end of the excavator, lift it, and swing the undercarriage to put the sprocket and idler on the new track.
Making sure you have the right tracks for your equipment is crucial for optimal performance. Check out our John Deere skid steer tracks selection to find the perfect match for your John Deere model, designed for reliability and longevity.
Join the New Track
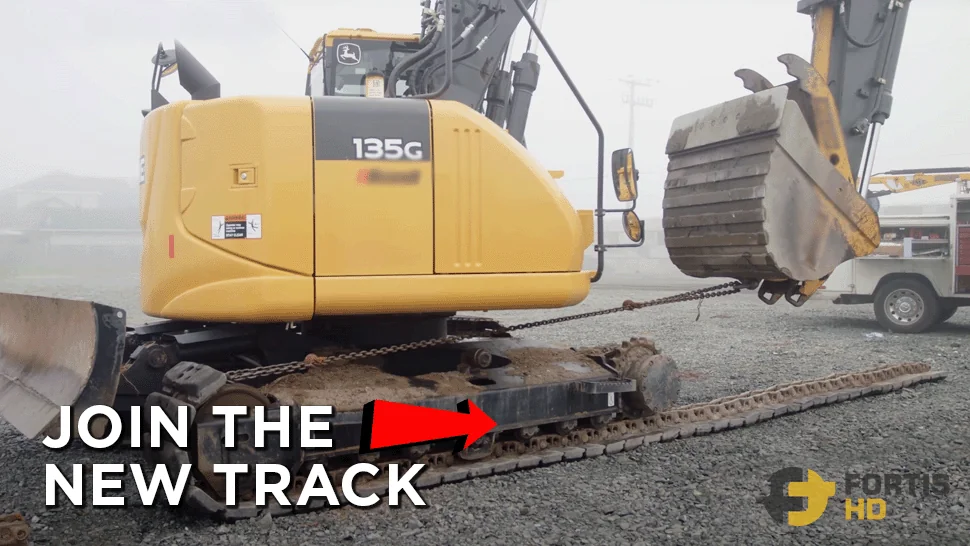
For the following technique, you’ll use chains, so once they are tight, keep everyone away at least the length of the chain for safety reasons — the excavator has enough power to break the chain.
The master pin can only go in from the inner side of the track, and the excavator has a front blade, so we must put the master pin on the sprocket end to have enough space for the driver.
Line up the cabin towards the back of the excavator and walk the machine forward until the idler is 1.5 feet away from the track end. Completely extend the bucket cylinder — we’ll use the bucket and some chains to pull on the track.
Instead of hooking the chain directly onto the track, we recommend sliding a punch through the link hole and hooking both ends of the 5ft chain onto the punch. Lift the track end and use a shackle to hook the 5ft chain to the end of the 15ft chain.
Lay the 15ft chain on the machine (on the idler, top roller, and beside the sprocket) and use a second shackle to hook the other end of the chain to the bucket — adjust the chain length accordingly.
Start the machine and walk it down the track chain. As the excavator walks down, the stick will pull the track end up and over the undercarriage. You should swing the boom a bit to line it up. Stop the machine just before the track’s end.
Put back the two rings/washers in the lower link. If they get loose or fall out, use a good amount of grease as glue.
Line up both ends of the track. In older models, you’ll probably need a wood block to hold the lower link — they tend to fall back down.
Put the Master Pin Back In
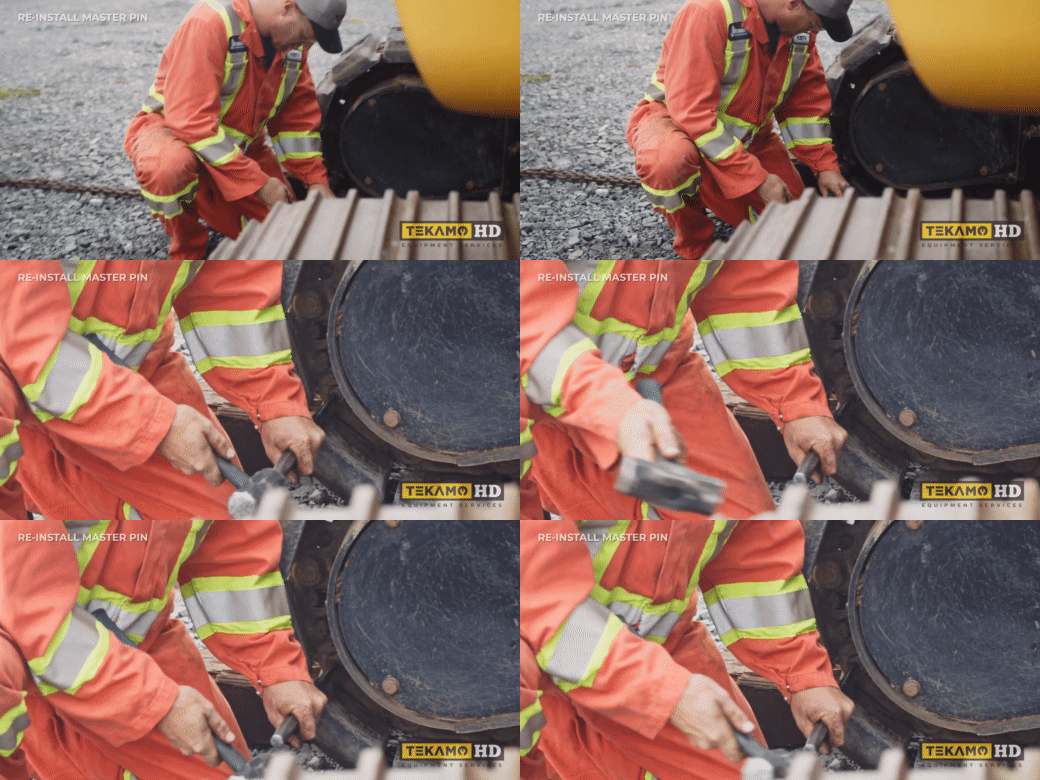
Remember, you can only drive the master pin toward the smaller side. The bigger side, the one with the nipple, is where the snap ring goes.
Wear your safety glasses when driving the master pin back in.
At first, you can use a drift and a small hammer, but eventually, because it’s a tapered pin, the taper starts to get tighter and acts like a wedge. You’ll need the pin driver and the sledgehammer again.
Don’t drive in the master pin too far. The taper, acting like a wedge, will open up the links, wearing them out sooner. Drive the pin just far enough to put the snap ring in.
Put back the snap ring, ensuring it’s all around the groove. If not, it may come out when the machine is operating.
Adjust the Track Tension
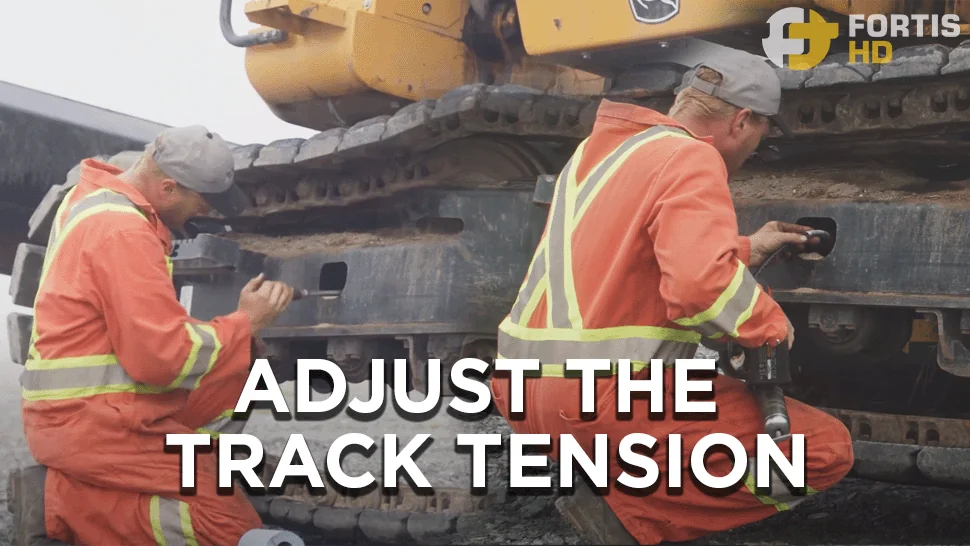
Lift the excavator once again.
Wipe the grease in the grease valve pocket, and screw back the valve. If the grease nipple doesn’t aim toward you, grab a short wrench and spin the nipple in the correct direction — for a John Deere 135g Excavator, you’ll need a 10mm wrench.
For 100s and 200s series machines, apply grease to adjust the track until there’s a gap between the top of the chain and the bottom of the roller — one next to the middle roller — where you can fit your four knuckles. For 300s models and up, throw the thumb also in there.
To get an accurate gauge, run the track backward so the sprocket pulls out any slack on top, putting it on the bottom. Recheck the gap and apply grease accordingly.

Need to change rubber tracks instead of steel? Check our article about Safely Changing a Mini Excavator Track. And, whether you have steel or rubber tracks and want to leave the replacement in the hands of professionals, book a certified mechanic at Tekamo HD.

