


Regular maintenance is vital to keep the machine running at 100% efficiency. It pays off in the long run as the operational costs are reduced, and the machine doesn’t break down unexpectedly during important projects.
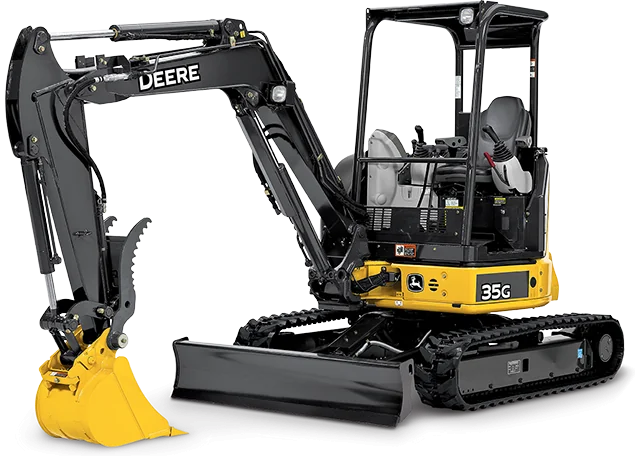
Hydraulic filters ensure that dirt and other contaminants don’t enter the hydraulic system. It is necessary to replace the hydraulic filters periodically to ensure smooth operation. This step-by-step guide will guide you on changing a hydraulic filter for the Yanmar C50R tracked carrier.
Related Parts
Table of Content
Step 1: Preparing the Filter
The first step is to unwrap the case drain filter and lubricate the seal. This will allow the filter to be pressed tightly with the mounting surface and gives you a better seal.

The filter doesn’t need to be primed. That means there is no need to prefill the filter before installation. There will be instructions written on the filter to guide you on how much it should be turned.
Follow those instructions.
Safety Guidelines
Always follow the safety guidelines when you are working under equipment. Wear a coverall for clothes protection and safety glasses to protect your eyes. Use gloves or PR-88 to protect your hands from oil. Also, use a hard hat to protect your head from hitting surfaces.
In this particular situation, you have to raise the bed of the dumper. For safety purposes, ensure the lock bar is held in its place, as shown in the image below. It ensures that you can’t power the bed down. Take the battery out of the machine, so nobody can start it accidentally while you are working underneath.

You can now install the first filter. Spin it on as indicated by the arrows. Don’t use a filter wrench.

Step 2: Installing the Hydraulic Filter
The next step is to install the hydraulic filter. It’s located inside the housing shown in the picture below. Lubricate the seal with oil. Open the housing, and place the filter inside it. Make sure the O-ring is in good condition and seated correctly. Here are the characteristics of a suitable O-ring.
- The cross-section of the O-ring should be round.
- It should not be hard and brittle.

After you have inspected the O-ring, tighten the filter housing using a ratchet. It should be properly seated, and no need to tighten it very hard.
Step 3: Reinstalling the Belly Pans
Now we can put back the belly pans. Be careful when moving and installing them, as they are pretty heavy. There could be a ton of dirt build-up when you remove them.

Step 4: Check and Fill Hydraulic Oil
Now moving on to the next step, we have to top up the hydraulic oil in the breather. First, blow off the area around the vent to minimize the risk of contamination.
Open the vent cap with a wrench. A metric wrench is a perfect size for this. Use a funnel, and start filling the hydraulic oil. The oil will take some time before it appears in the sight glass. Fill it up until the oil level reaches between the two red lines on the sight glass.

The hydraulic oil level should be checked regularly, especially if oil traces are on the ground. The type of hydraulic oil to be filled should be checked from the machine manual.
It’s a good practice to put the thread-sealing tape or compound around the vent threads before you put it back. It will ensure that no air passes through these threads.
Step 5: Reinstalling the Battery
Yanmar C50R has a 24 Volts starting system, and you need to ensure they are connected in the correct sequence. The positive terminal of one battery has to be connected to the negative terminal of the other.
Always connect the ground cable last as a safety precaution. If your wrench touches the machine’s body while tightening the positive terminal, the circuit won’t be completed as no ground is connected.
If you tighten up the negative terminal and the wrench touches the side of the machine, it will not create any sparks as the circuit is already completed through the ground strap.
Connecting the terminals in a proper sequence reduces the possibility of sparking and keeps you safe.
Step 6: Turning the Dump Box and Reinstalling the Panels
Now you have to fire up the machine to turn the dump box sideways. Move the dump box to one side to get access to the top panel. Adjust the position of the dump box so the panel is seated perfectly.
Step 7: Finishing
The last step is to undo the lock bar. Lower down the dump box, and it’s now ready for the next job.