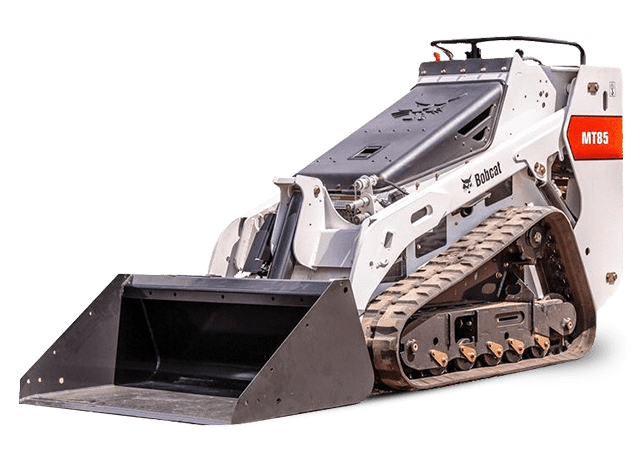
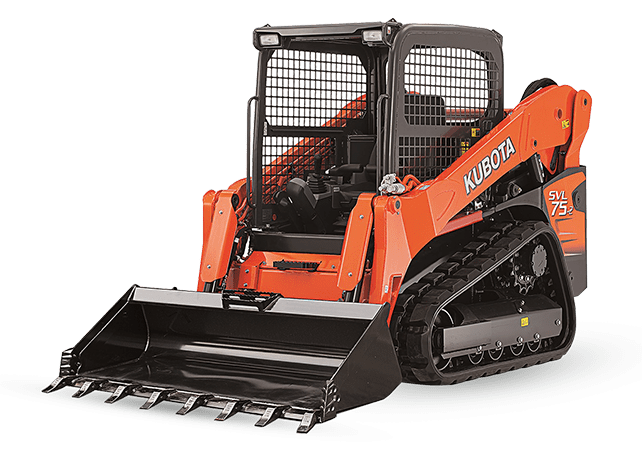
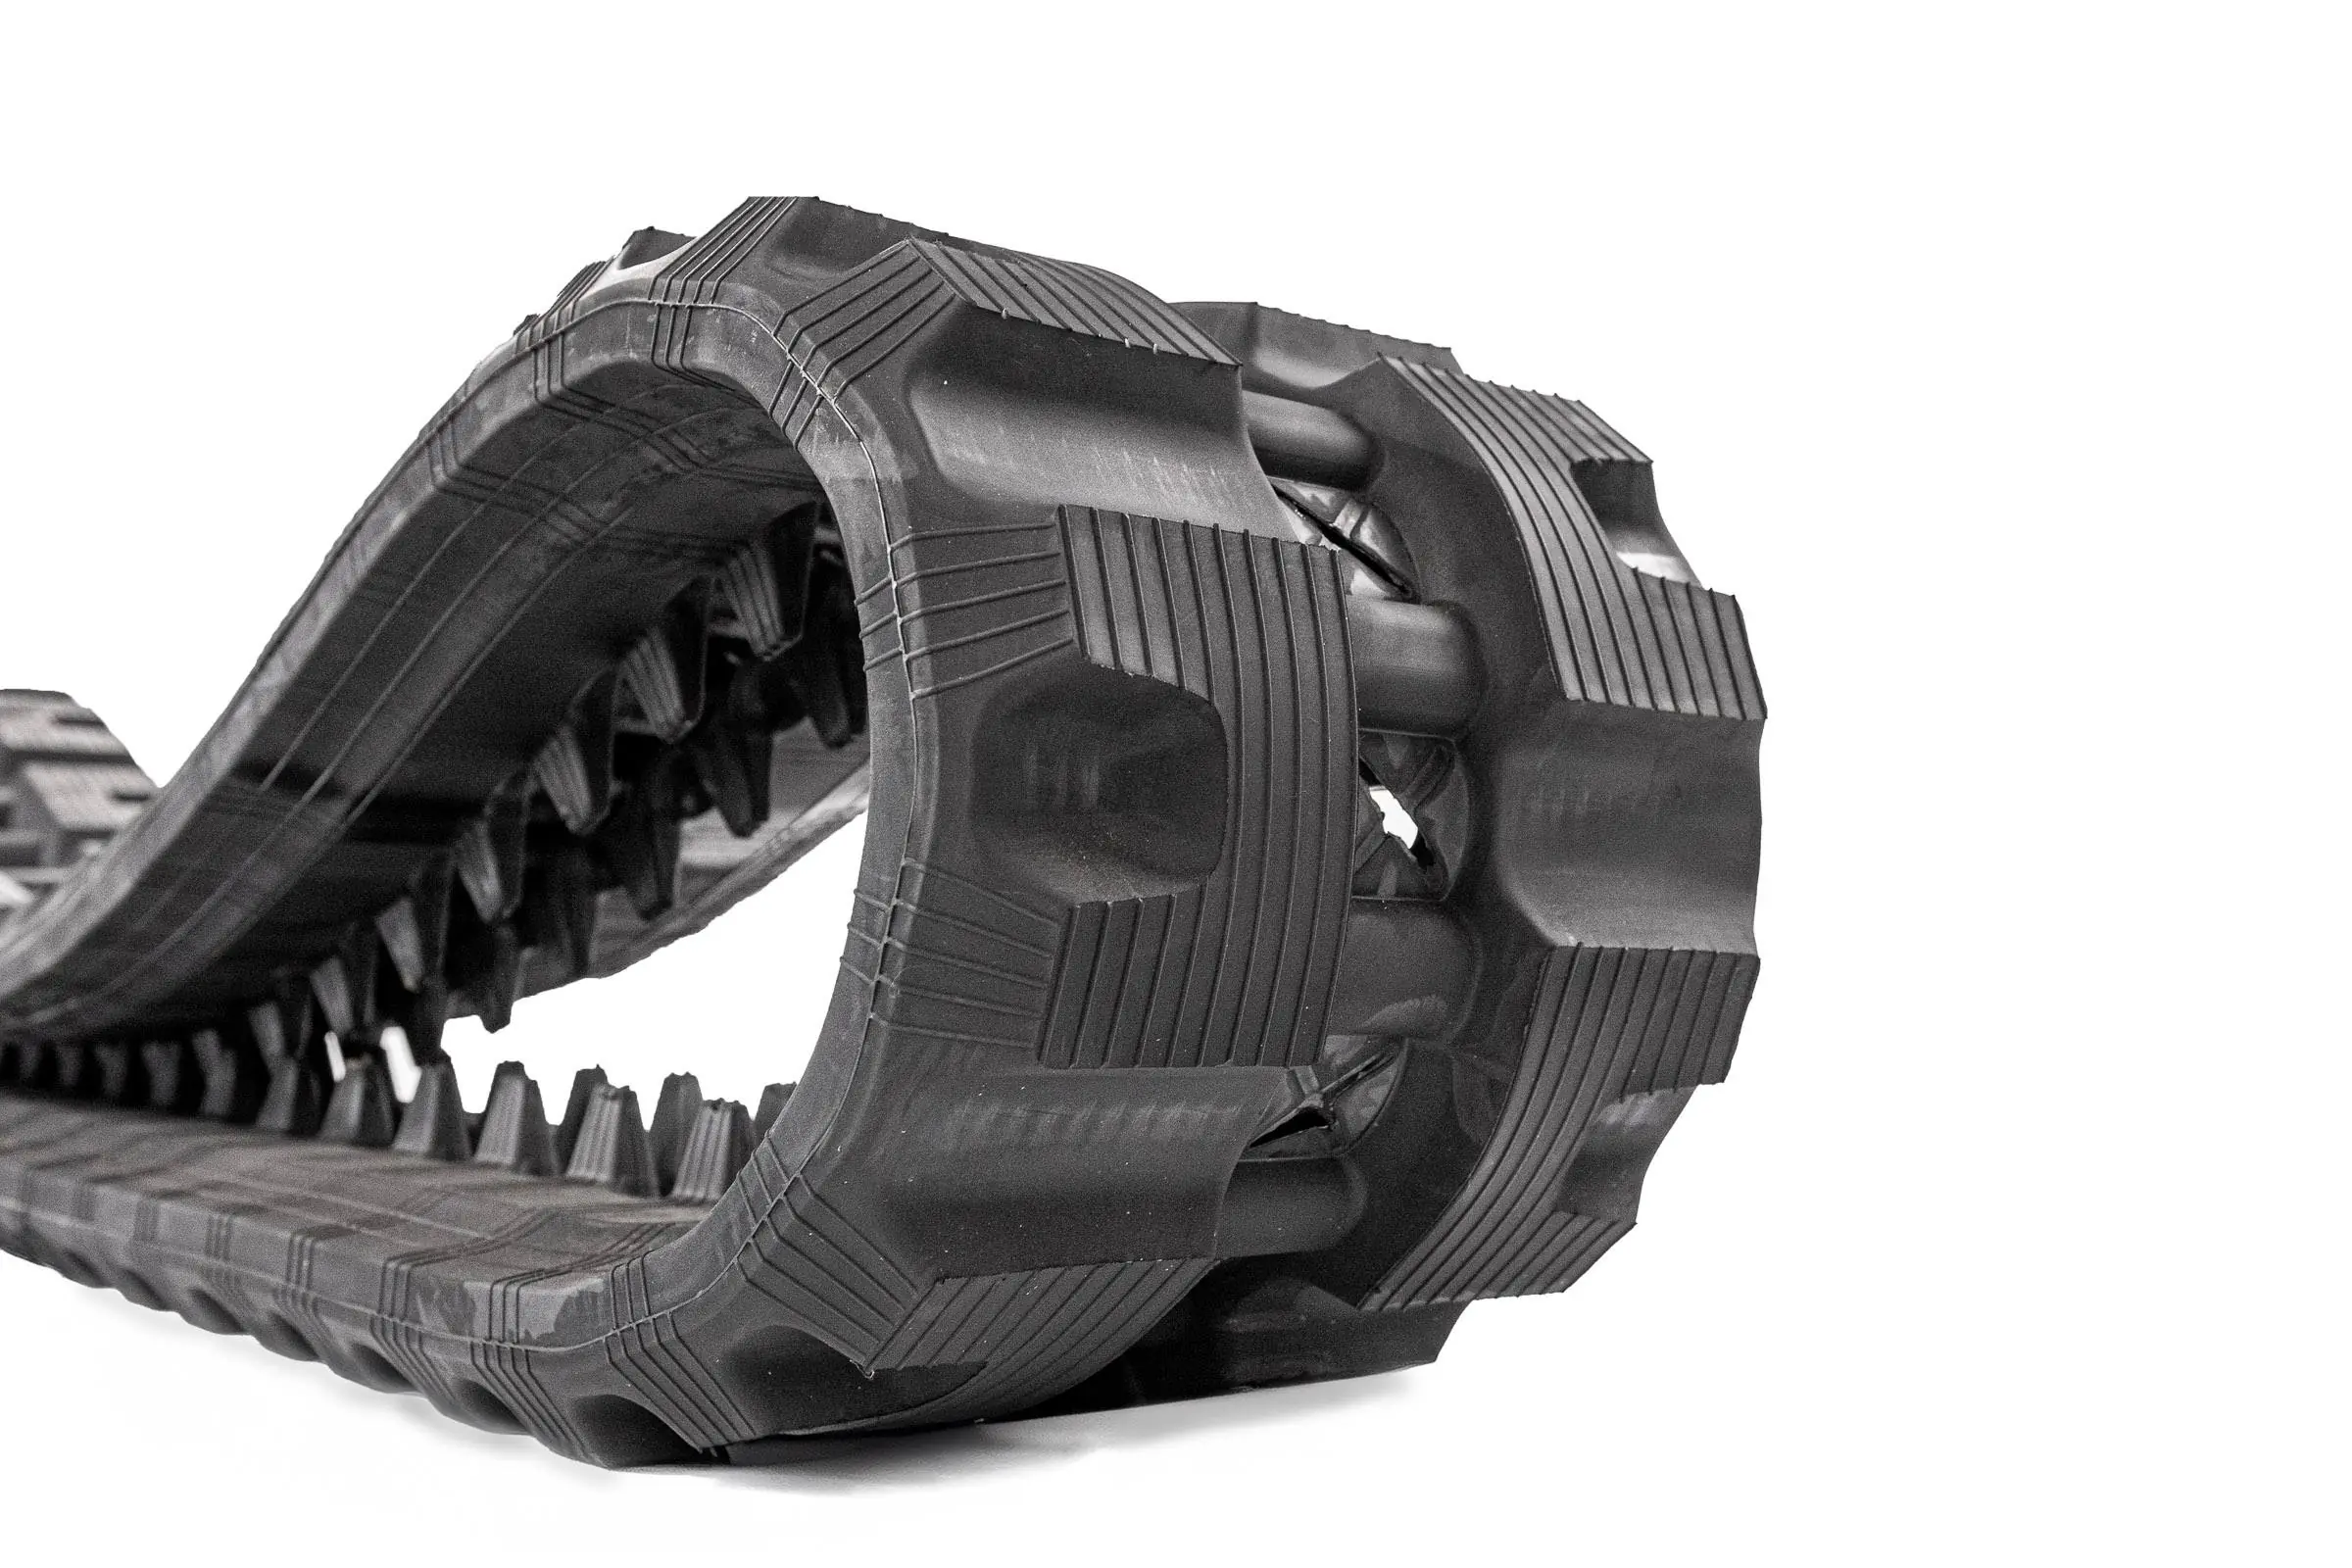
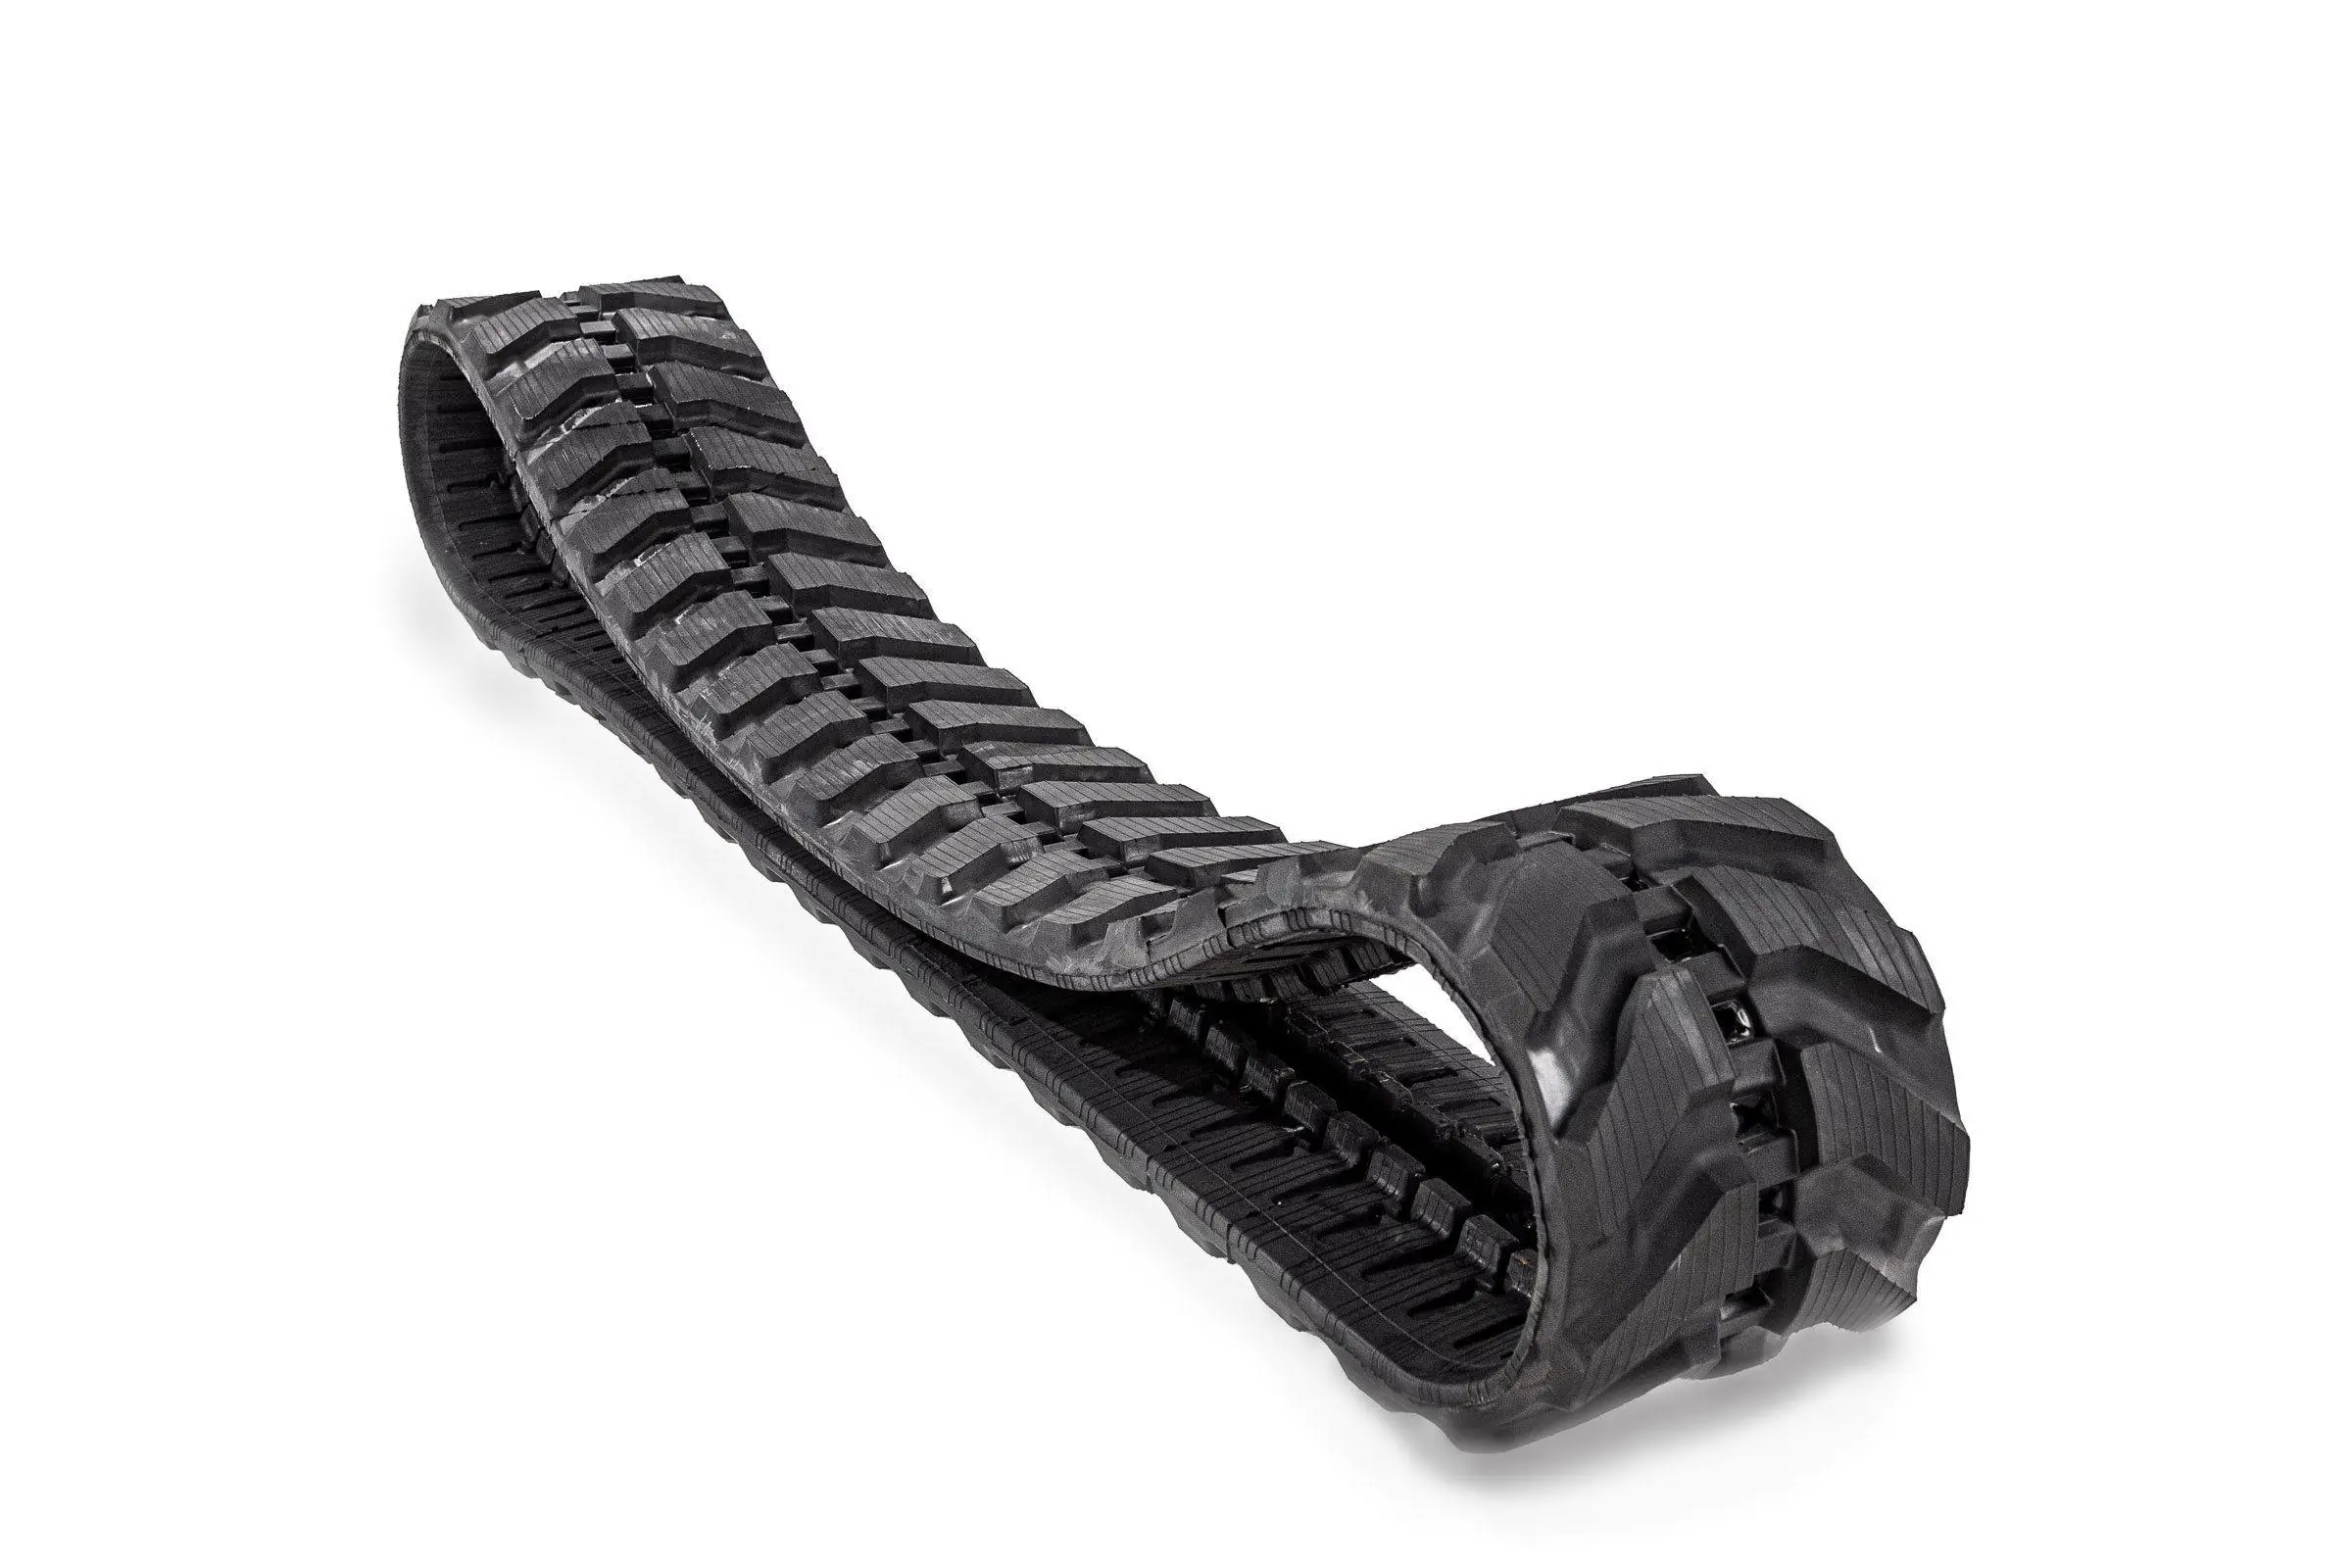
If you need to replace the tracks on your compact track loader, such as a Kubota, because they are worn, torn, gouged or ripped, you can perform the work yourself with the help of an operator.
Tools that you will need, include the following:
- 17mm deep socket wrench
- 1/2-inch drive ratchet
- 19mm deep socket wrench
- 6-inch deep socket extension
- chisel bar or specialty extendable chisel bar with pivot-end
- any grease gun
Table of Content
Step 1: Place in Blocks
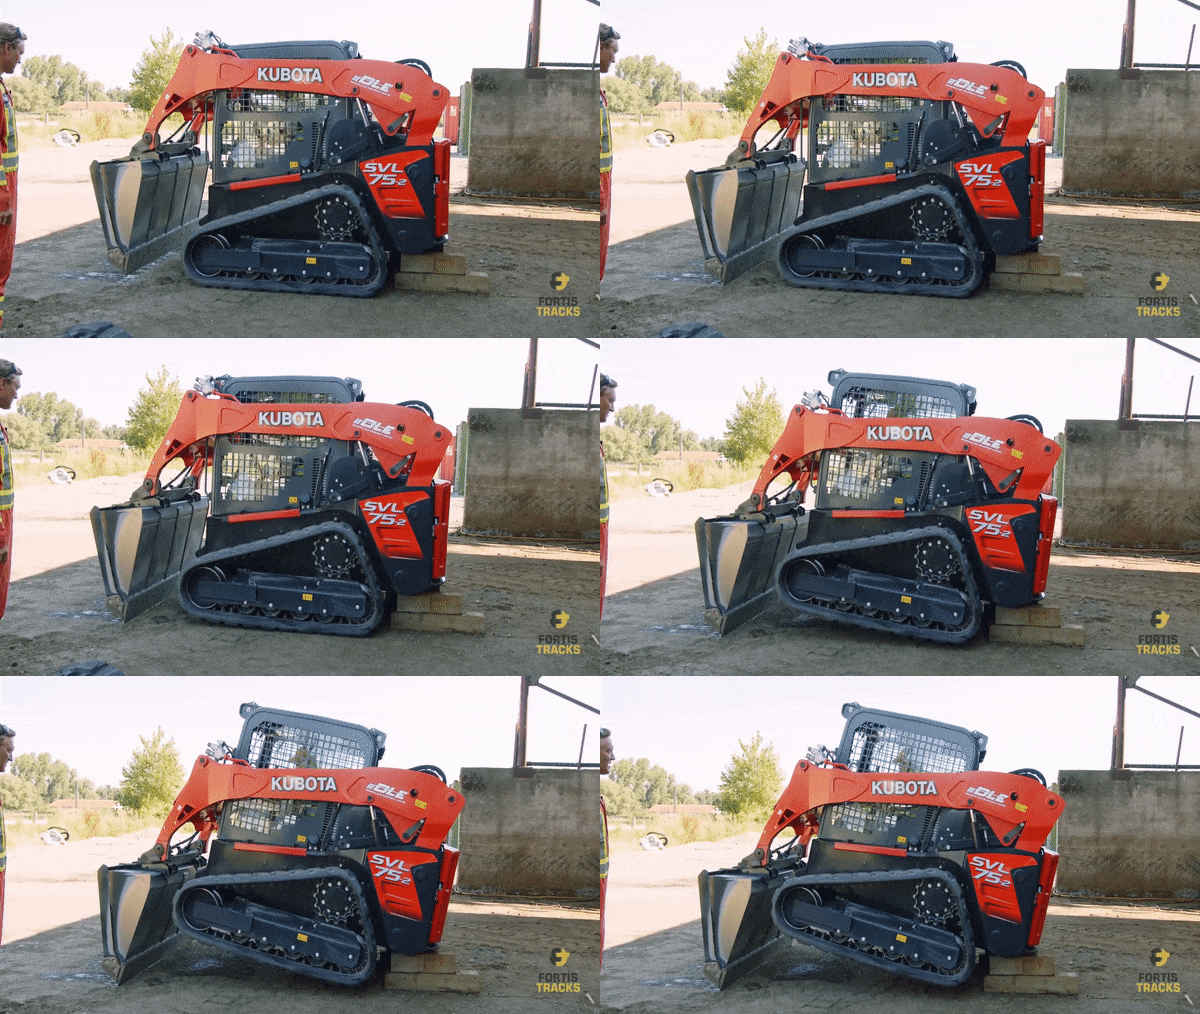
Place wood blocks on the ground at the back of the machine. Use the boom and bucket to lift the machine up on the blocks until fully off the ground.
Step 2: Loosen Track
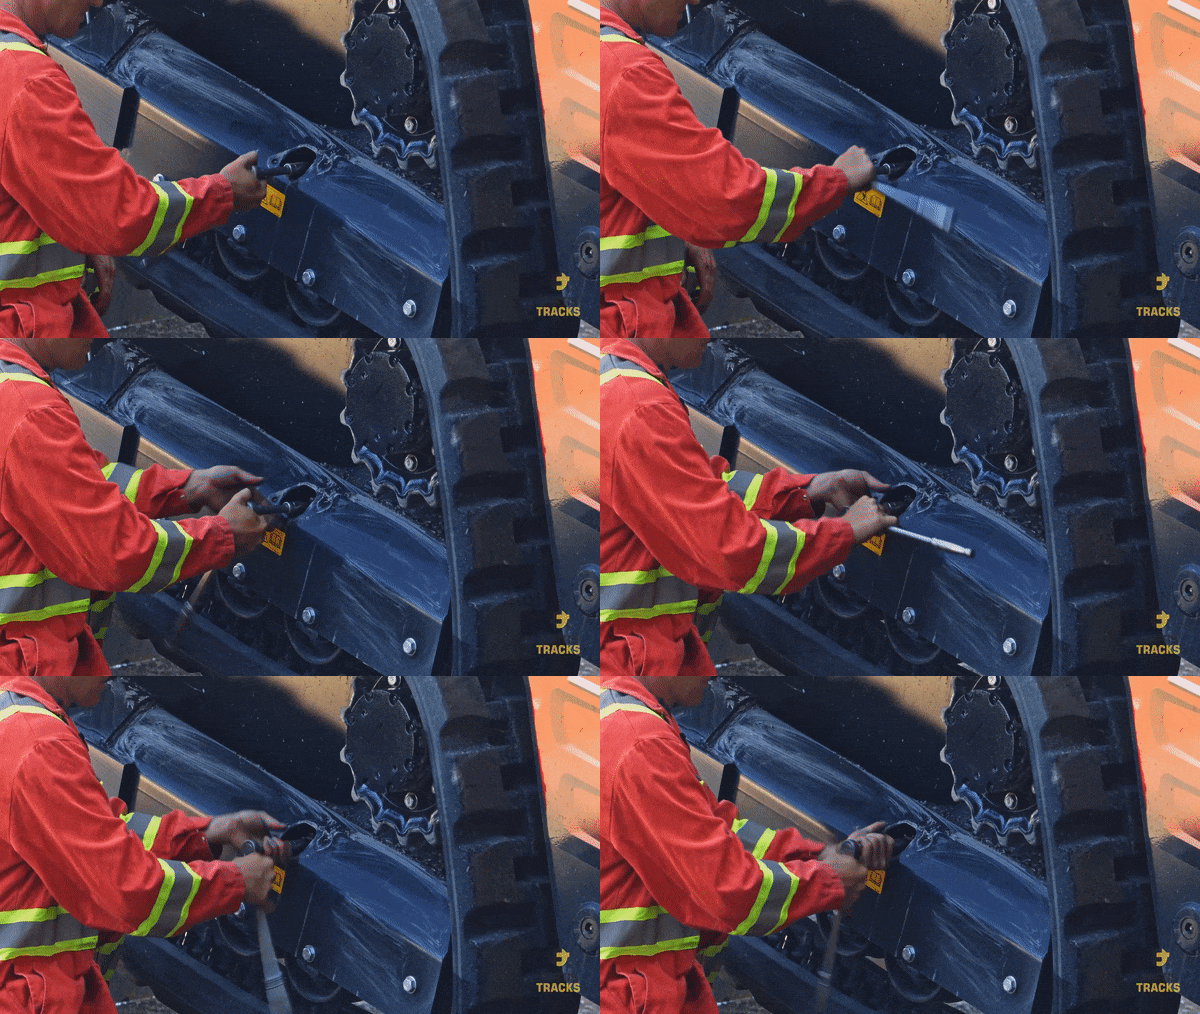
You loosen the track by removing the grease valve to release the tension. You can reach the grease valve through the access hole.
There will be two 17mm bolts holding the access cover in place as you can use the drive ratchet to remove the bolts. Loosen the grease valve with the 19mm open socket wrench and set aside. Grease will immediately come out as the track loses tension.
Step 3: Move the Idler In
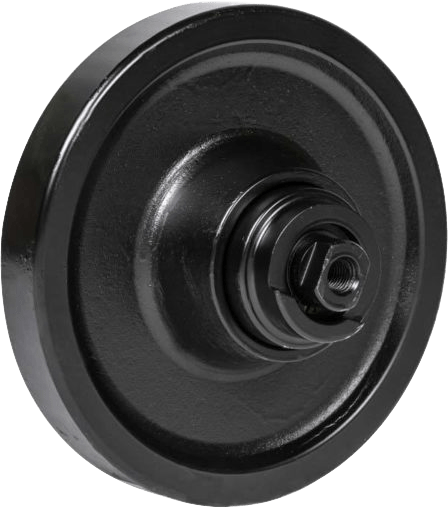
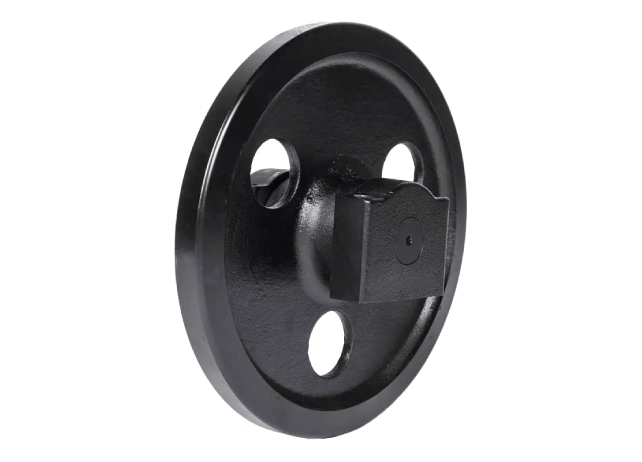
Use a chisel bar to move the idler in so that the track becomes looser. Place the bar in the sprocket and fire up the machine. Walk the track backwards as the chisel bar will move, placing tension on the idler as it moves in. As the idler moves in, more of a gap forms along the track and idler.
Step 4: Walk Off the Track
Next, place the chisel bar under the track and have the operator move the track forward. Leave enough space between the chisel bar and your body in case the bar kicks back so it doesn’t hit you. Once the track loosens enough, have the operator run the machine in reverse as the track will walk off the idler and sprocket.
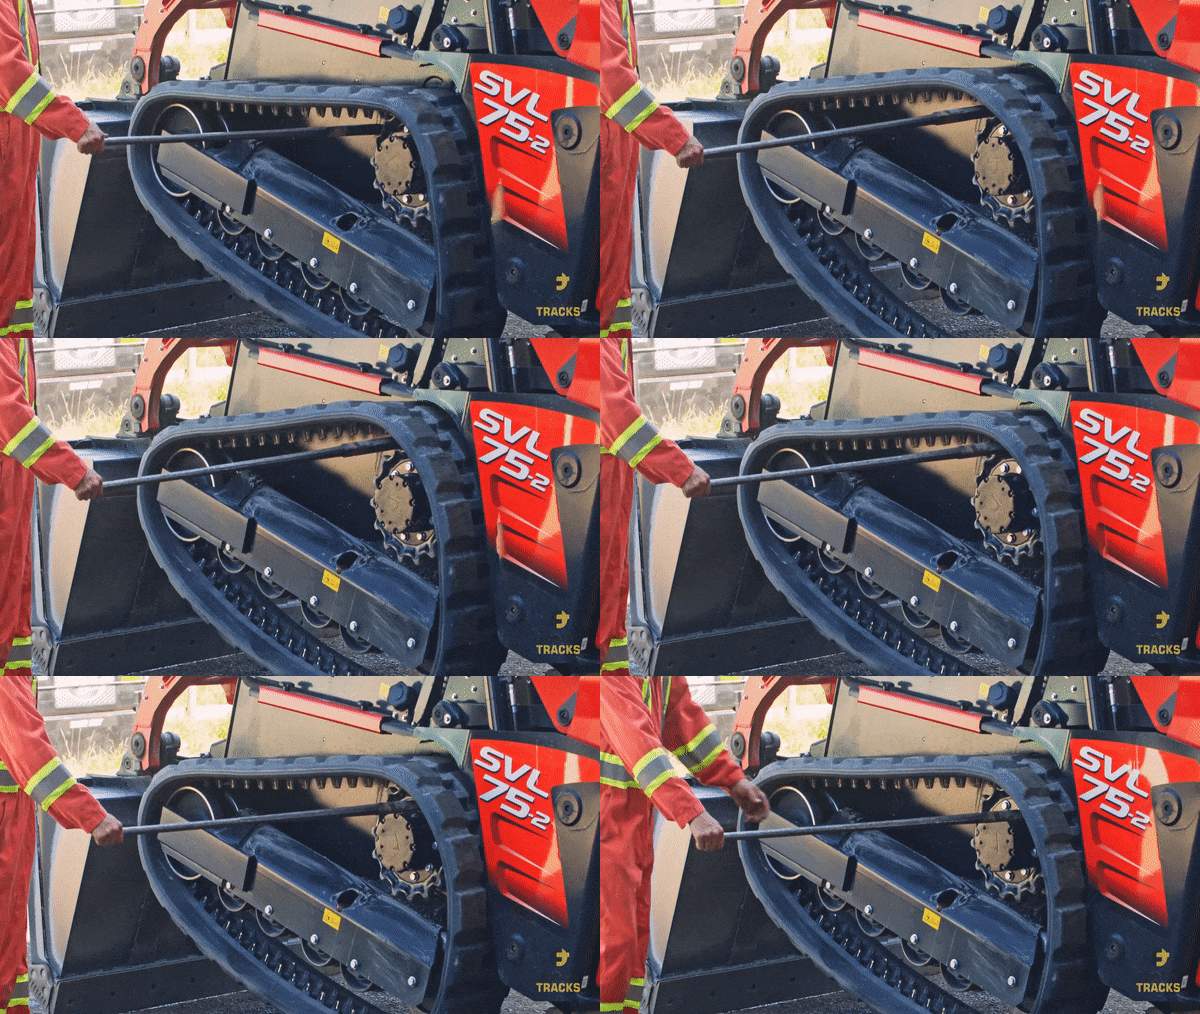
Quick & Easy Way to Change Tracks on CTL/ Skid Steer
Step 5: Moving the Track
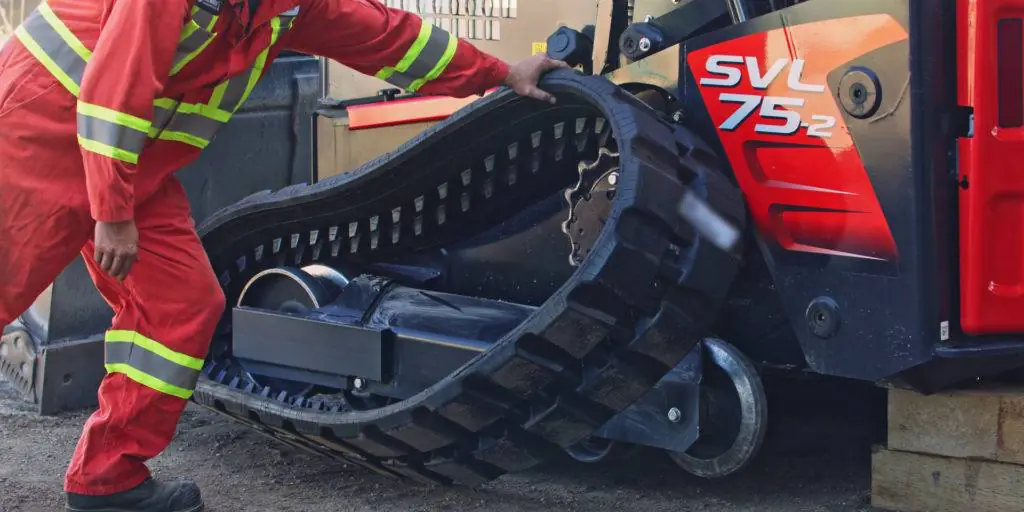
A compact track loader’s track is very heavy. You can use another machine or a crane to lift the track off and out of the way. Next, lower the compact track loader slightly. You can use a crane to lift the new rubber track onto the sprocket and idler, or you can try to lift it yourself.
Step 6: Placing on the Track
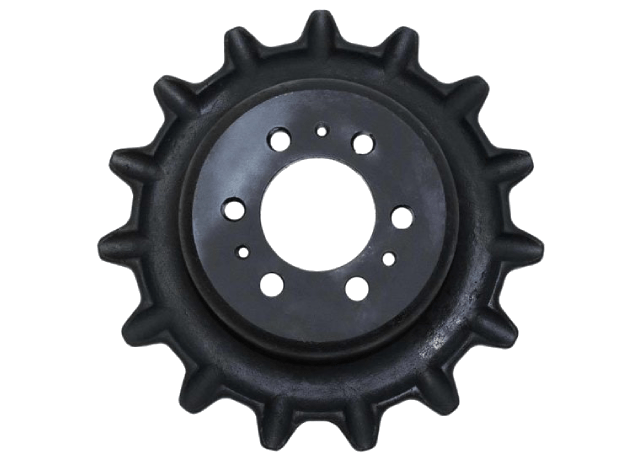
Start on the idler first. Get it pushed over the front idler. Then use a chisel to get it on the back idler as there is a bolt there that can make it difficult. Once it is in place, work on getting the track’s links on the sprocket. You may have to switch back and forth from the back idler and the sprocket to walk the track fully into place.
Step 7: Tension Adjustment
Clean the grease valve and access opening with paper towels. Place the valve on tight and use the grease gun to add grease.
If the valve doesn’t take any grease, it will need to be replaced as you can get a new part from an OEM dealer. Run the machine’s track forwards and backwards to check the tension. The track should be on nice and tight. Readjust the tension if required.

