


Suppose you need a new set of rubber tracks for your Kubota SVL95 skid steer. You double-checked the size and tread pattern you need using a reliable compatibility list. You bought a high-quality aftermarket set of tracks from Fortis HD and installed the first track.
The last step is to adjust the track tension. We’ll focus on that last step in this post. To see the whole process, check our post: How to Change Rubber Tracks on a Compact Track Loader.
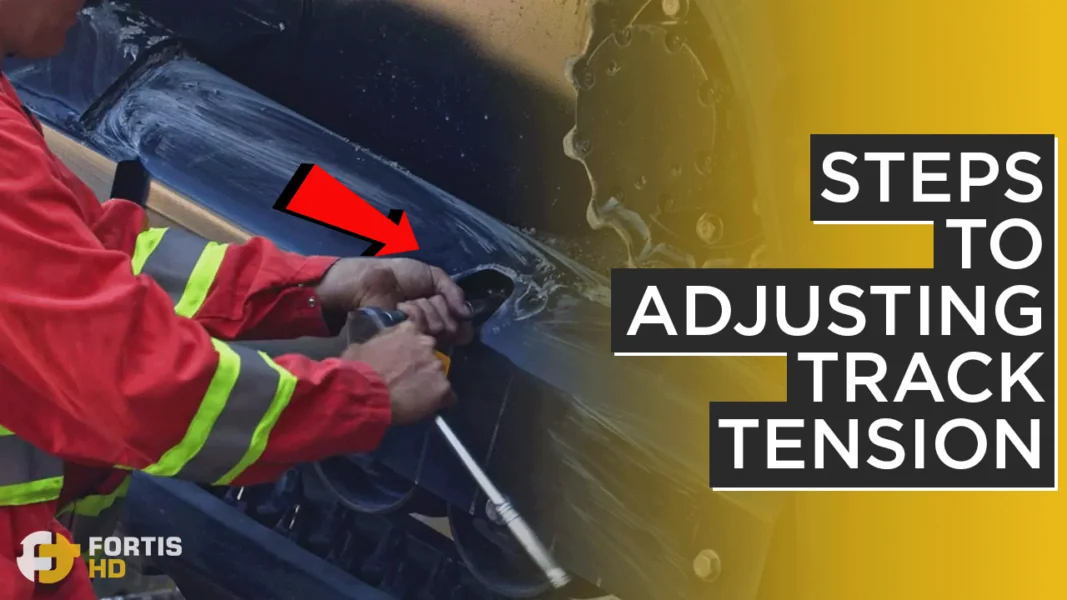
The track adjuster grease valve is typically in an access hole. The location varies slightly depending on the make and model. For example, you’ll find the access hole in the backside on some Bobcat models.
Even the system can vary. Some track adjusters are hydraulic, while others work with a threaded rod. Mechanical adjusters require manual effort to adjust and may not be as fine-tuned as a grease-fitting one. The Kubota SVL95 has a hydraulic track adjuster.
It’s time to pump grease to adjust the tension. We recommend two things:
- Wipe the grease gun’s end to avoid introducing debris or dirt into the track adjuster system.
- Use an electric gun because the SVL95 takes a fair amount of grease.
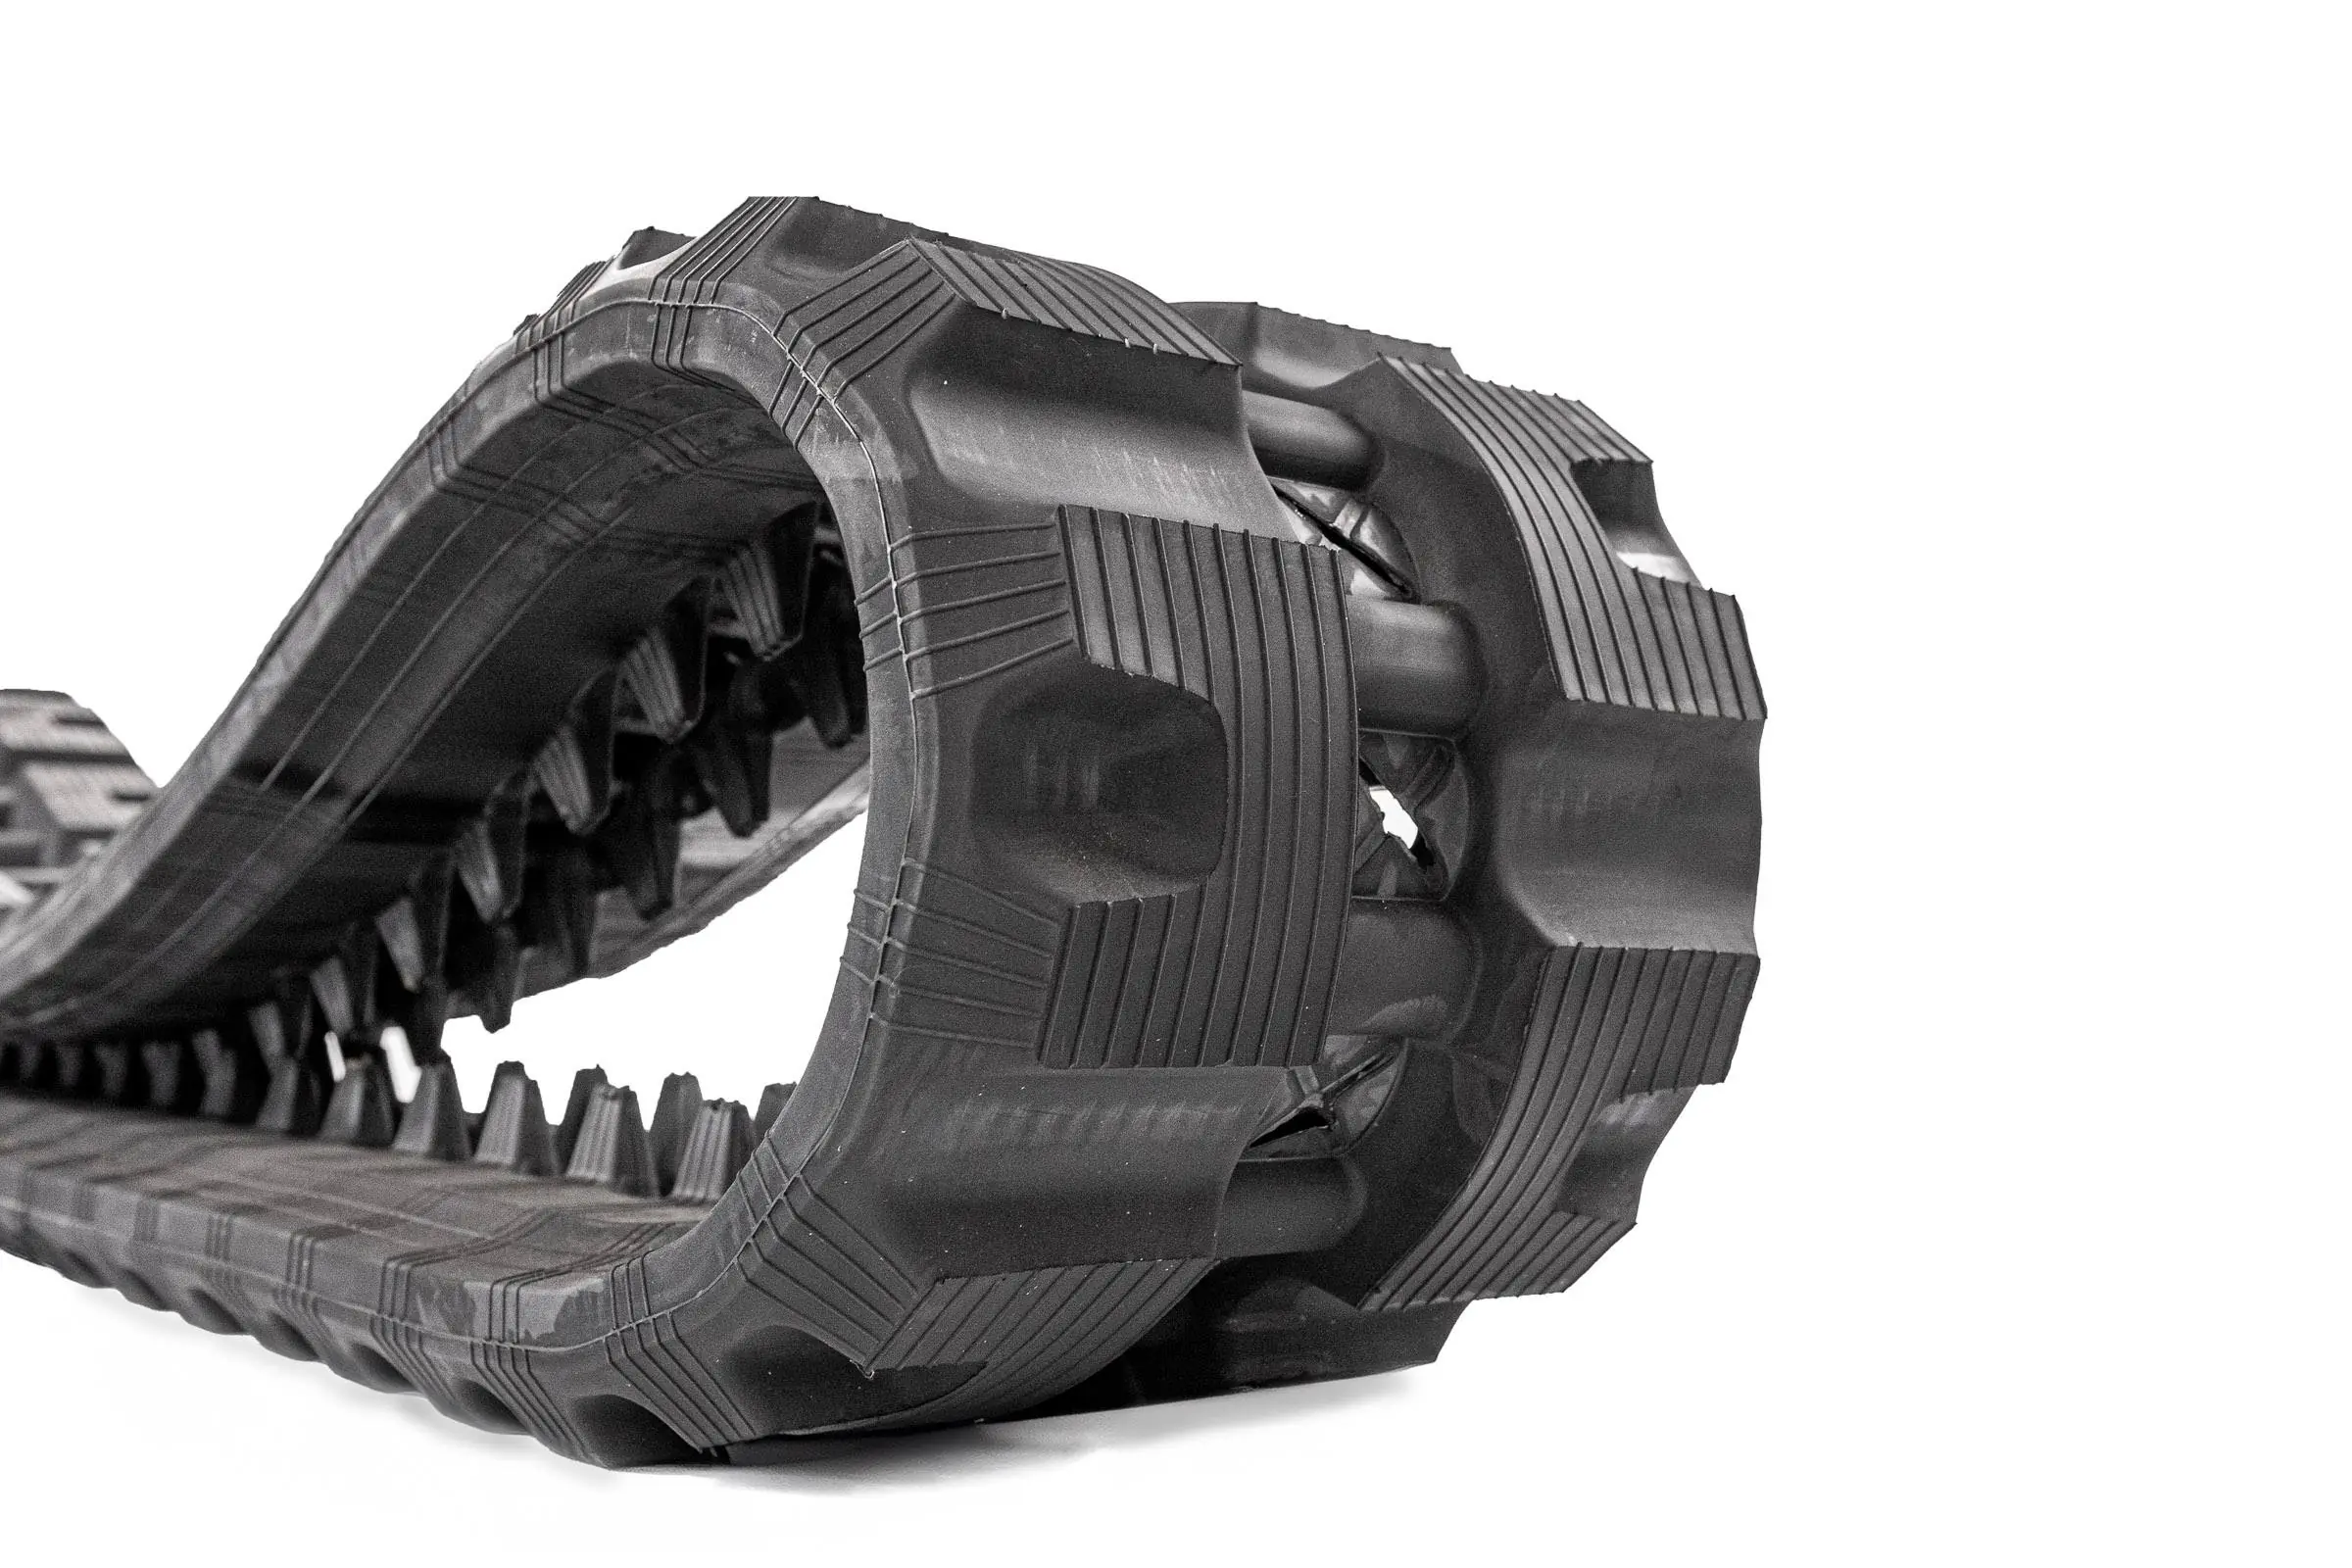
Related Parts
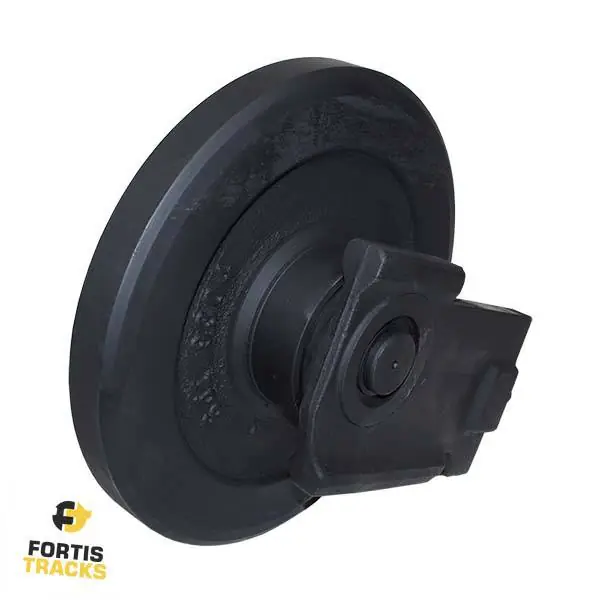

What exactly happens when you add grease to the system? The grease fills a cylinder, pushing a piston against the front idler. The triangle form by both idlers and the sprocket gets bigger as the front idler moves out, tightening the track.
To learn more about the components of the undercarriage and how they interact, go to our comprehensive undercarriage guide.
If you notice grease coming out between the grease nipple and your grease gun when the track starts tightening up, it might mean the end of your gun is worn out and not sealing on your grease nipple. Or, the grease nipple is damaged, whether due to corrosion, debris, or a tool being on it. We recommend going for sure and replacing both.
Pump grease until the track isn’t slack on the bottom and there’s not much sag on top.

Tell the operator to travel the track forward and backward for a few seconds to double-check the tension.
![]()
Save time and money with an experienced heavy equipment operator. At Rent1USA, we provide experienced heavy equipment operators who will get the job done right the first time and handle equipment maintenance.