Changing a mini excavator track can be done in minutes when you have the right tools and steps available. Before you begin the job, you want to have a simple chisel bar or a long pry bar handy. You also need a 19mm open-end wrench and a grease gun. Now check out the steps on how to change the track.
Learn How to Change Your Mini Excavator Tracks in Minutes!
Table of Content
Step 1: Lifting the Machine
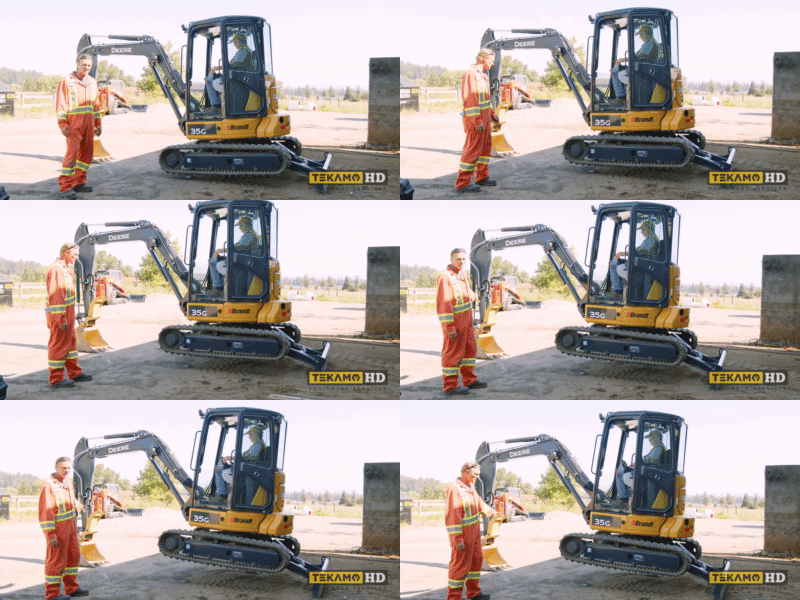
The mini excavator may come with a blade or without a blade. So there will be two ways to lift the machine.
With a blade: Push the blade down into the ground on the back end. Then push the boom and bucket down into the ground on the front end. With the boom and bucket pushing down, the mini excavator will lift into the air.
Without a blade: Place the boom and bucket to the side of the machine that will have the track changed. Push the boom and bucket into the ground to lift one side of the mini excavator.
Ensure that the operator lifts the safety lever. This is to prevent the lever from being accidentally bumped which could drop the machine and hurt the person changing the track.
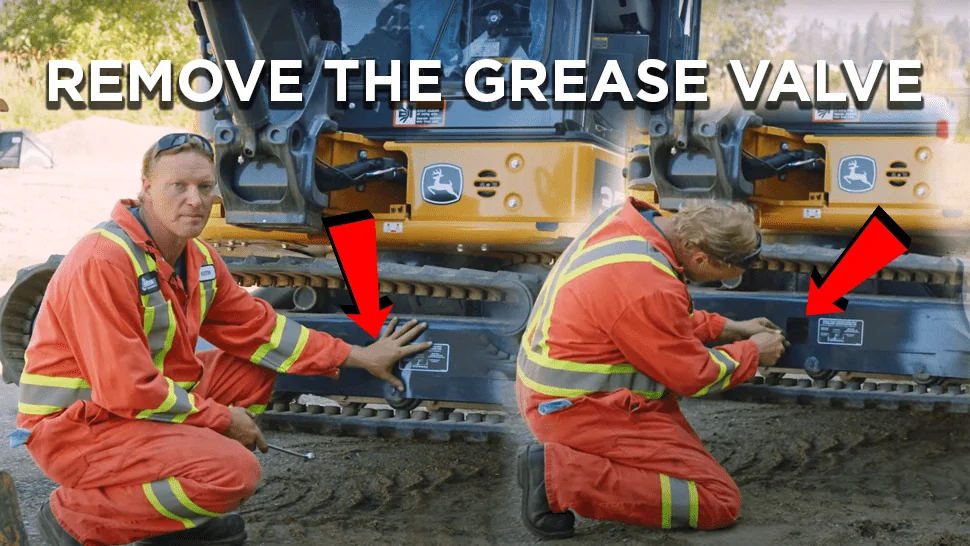
Step 2: Remove the Grease Valve
There will be an access hole on the side. Inside the access hole is the grease valve. The 19mm wrench can help you take out the valve. As the valve loosens, grease will start to come out as the tension along the track begins to lessen.
Step 3: Remove the Track
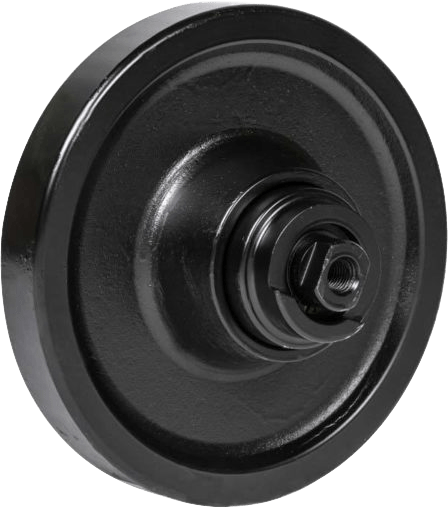
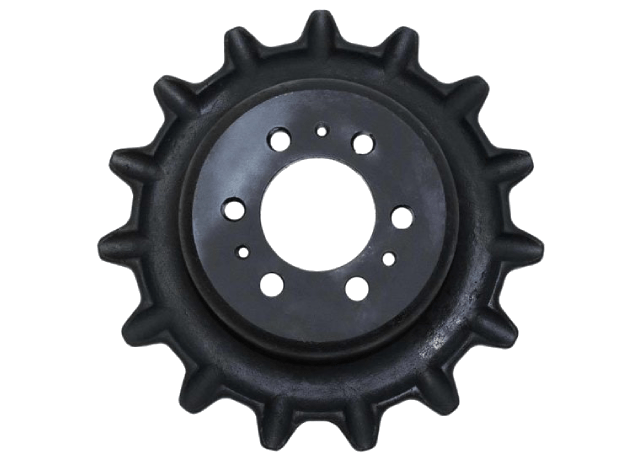
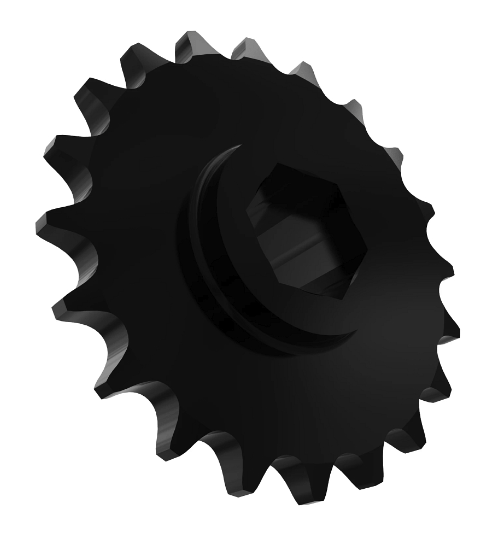
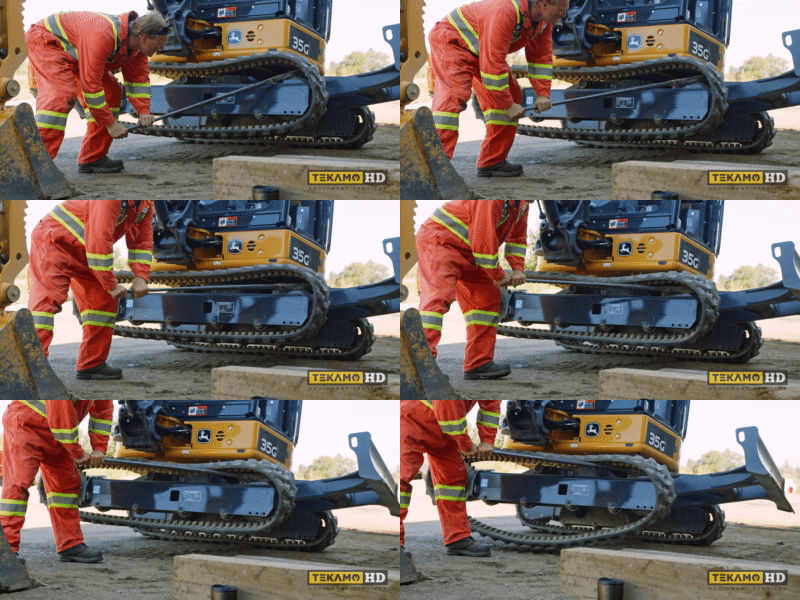
On new machines, the idler on the mini excavator will immediately come in and loosen the track. Yet for older, machines, sometimes the idler needs to be pulled in. Have the operator fire up the machine as you can place a pry bar along the sprocket. As the operator walks the track, it creates tension that helps to move the idler in. If the machine is off, you can also stand on the bottom track to create tension and pull the idler in. Once the idler is in enough, work the tracks off the front idler until it walks off and then move it from the back sprocket.
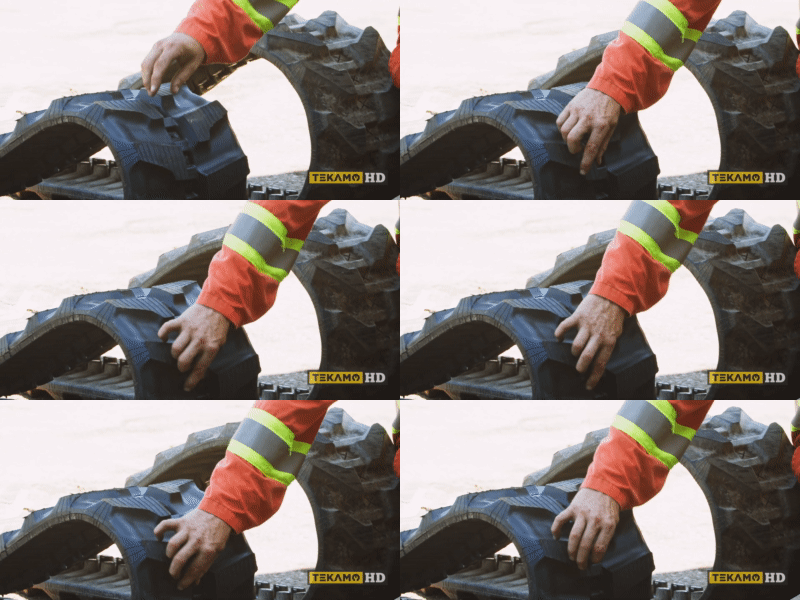
Step 4: Place on Aftermarket Excavator Tracks the Right Way
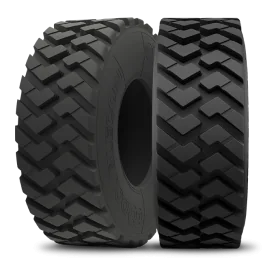
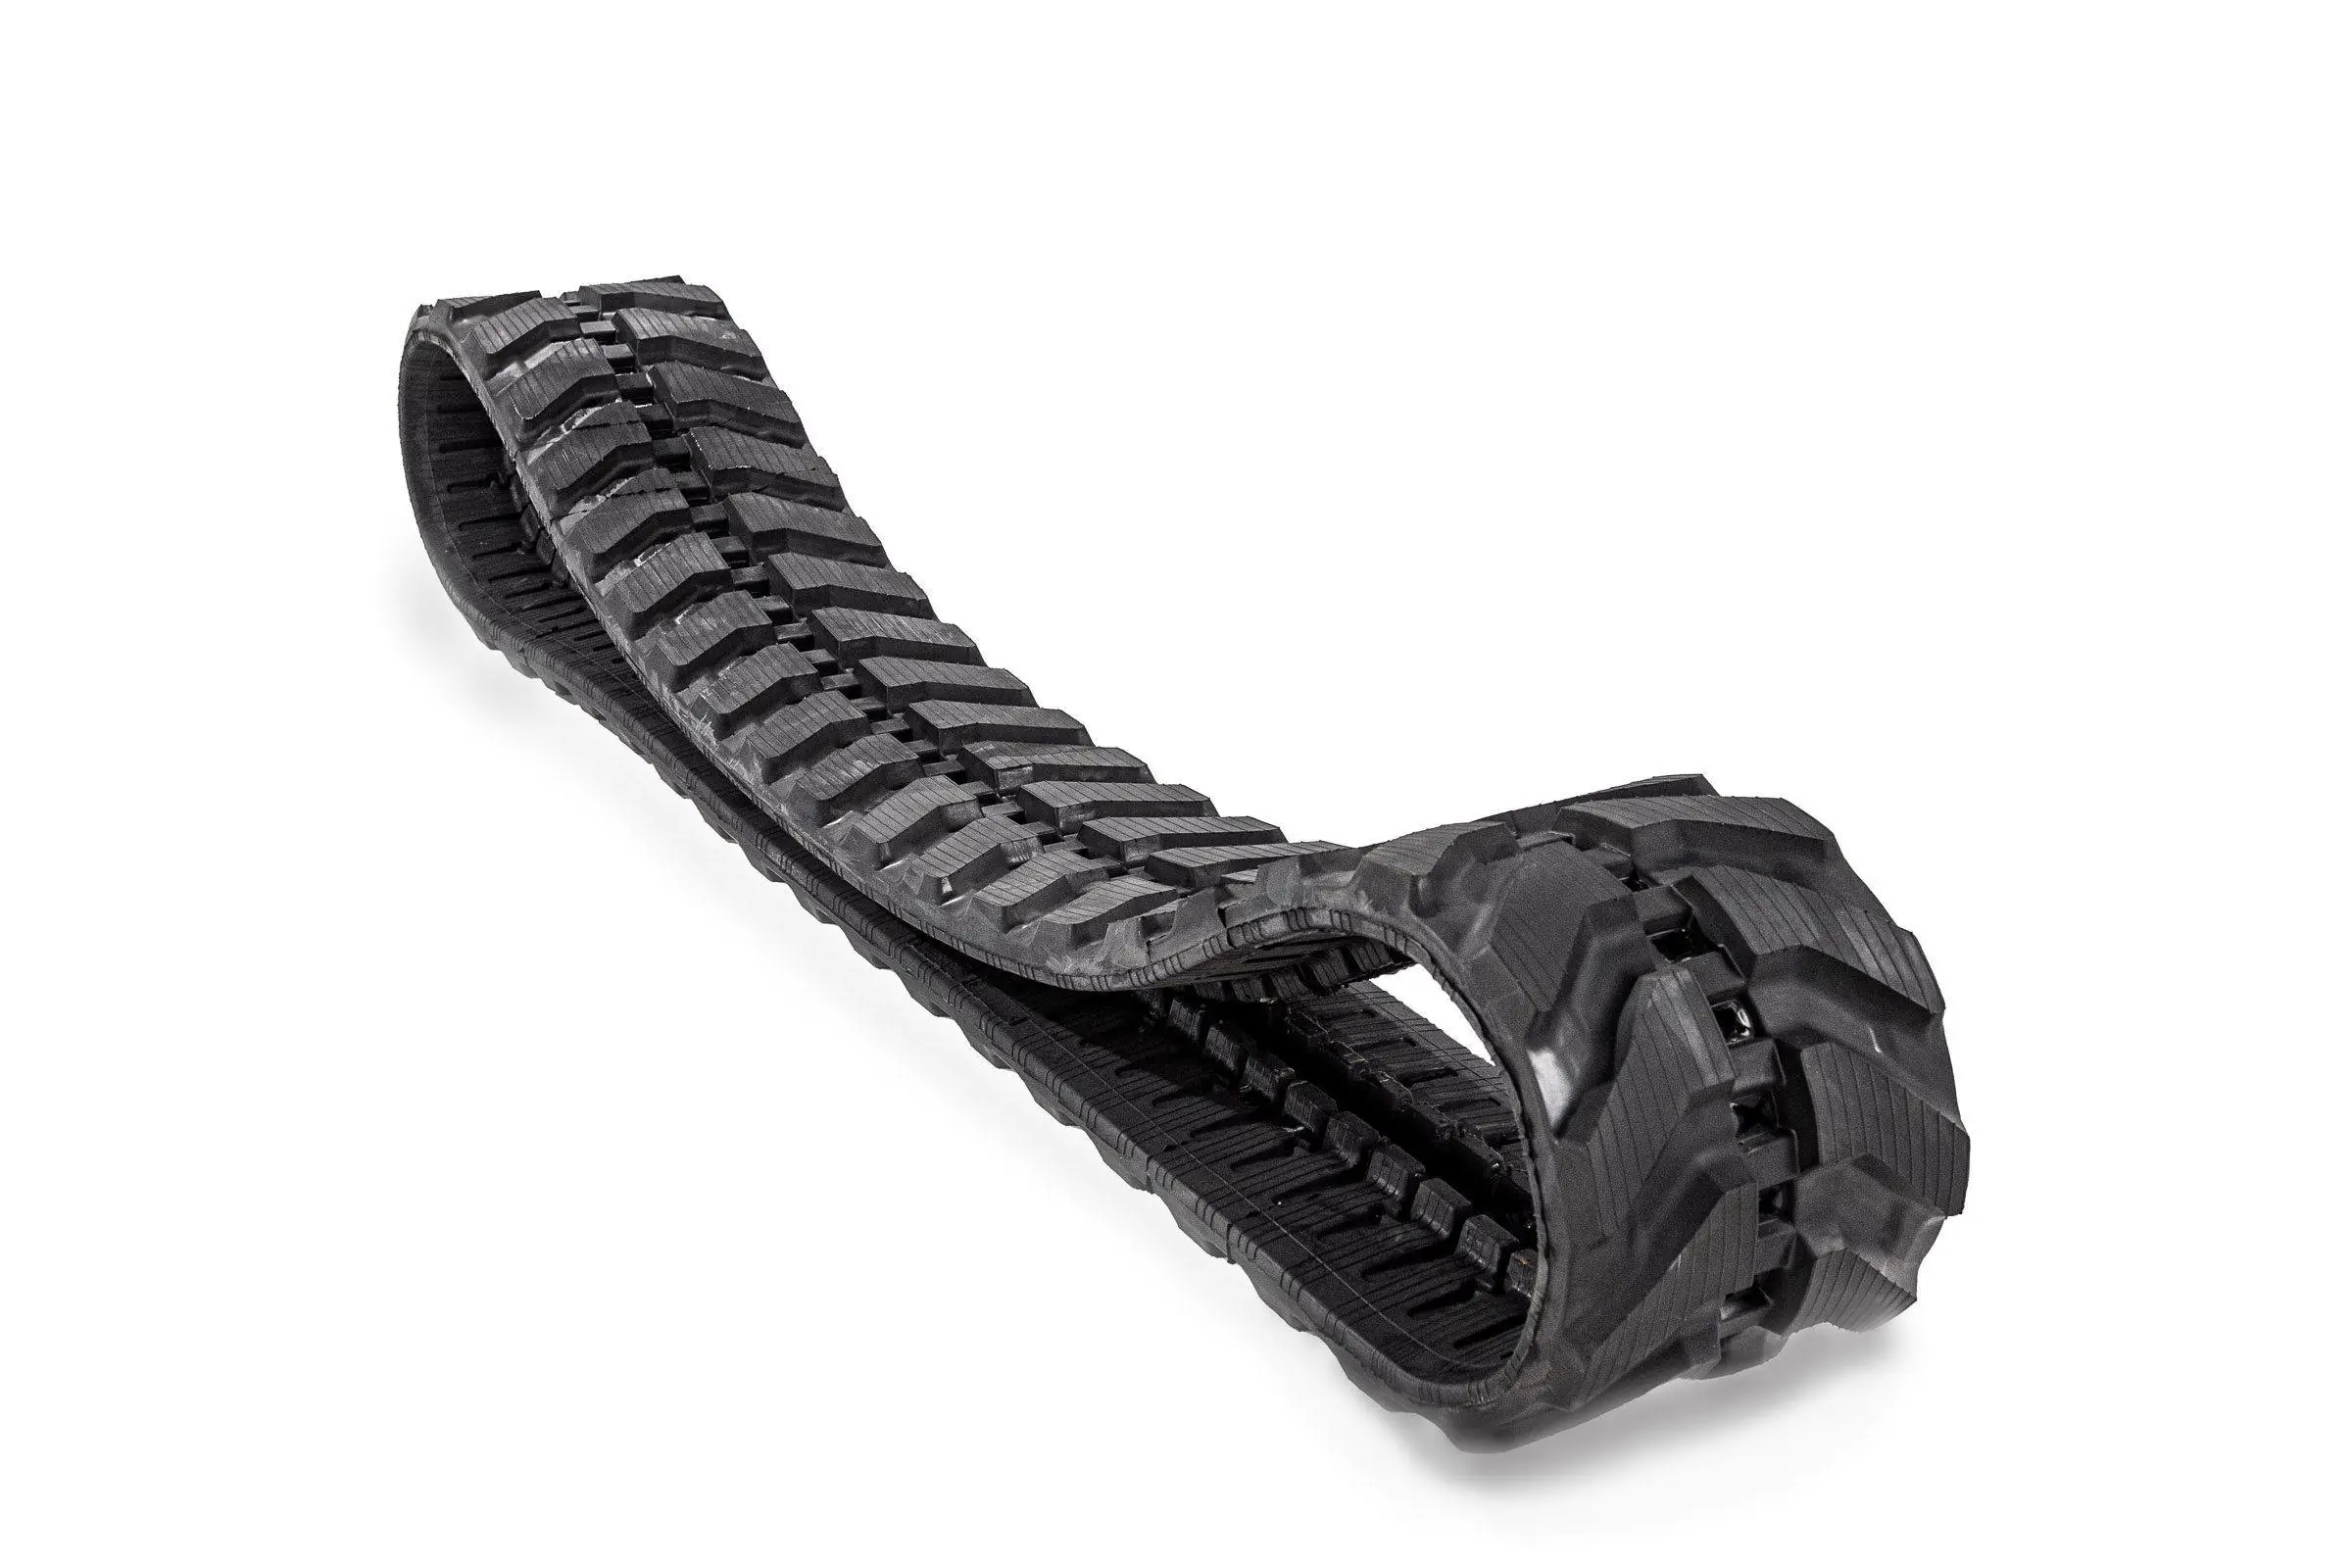
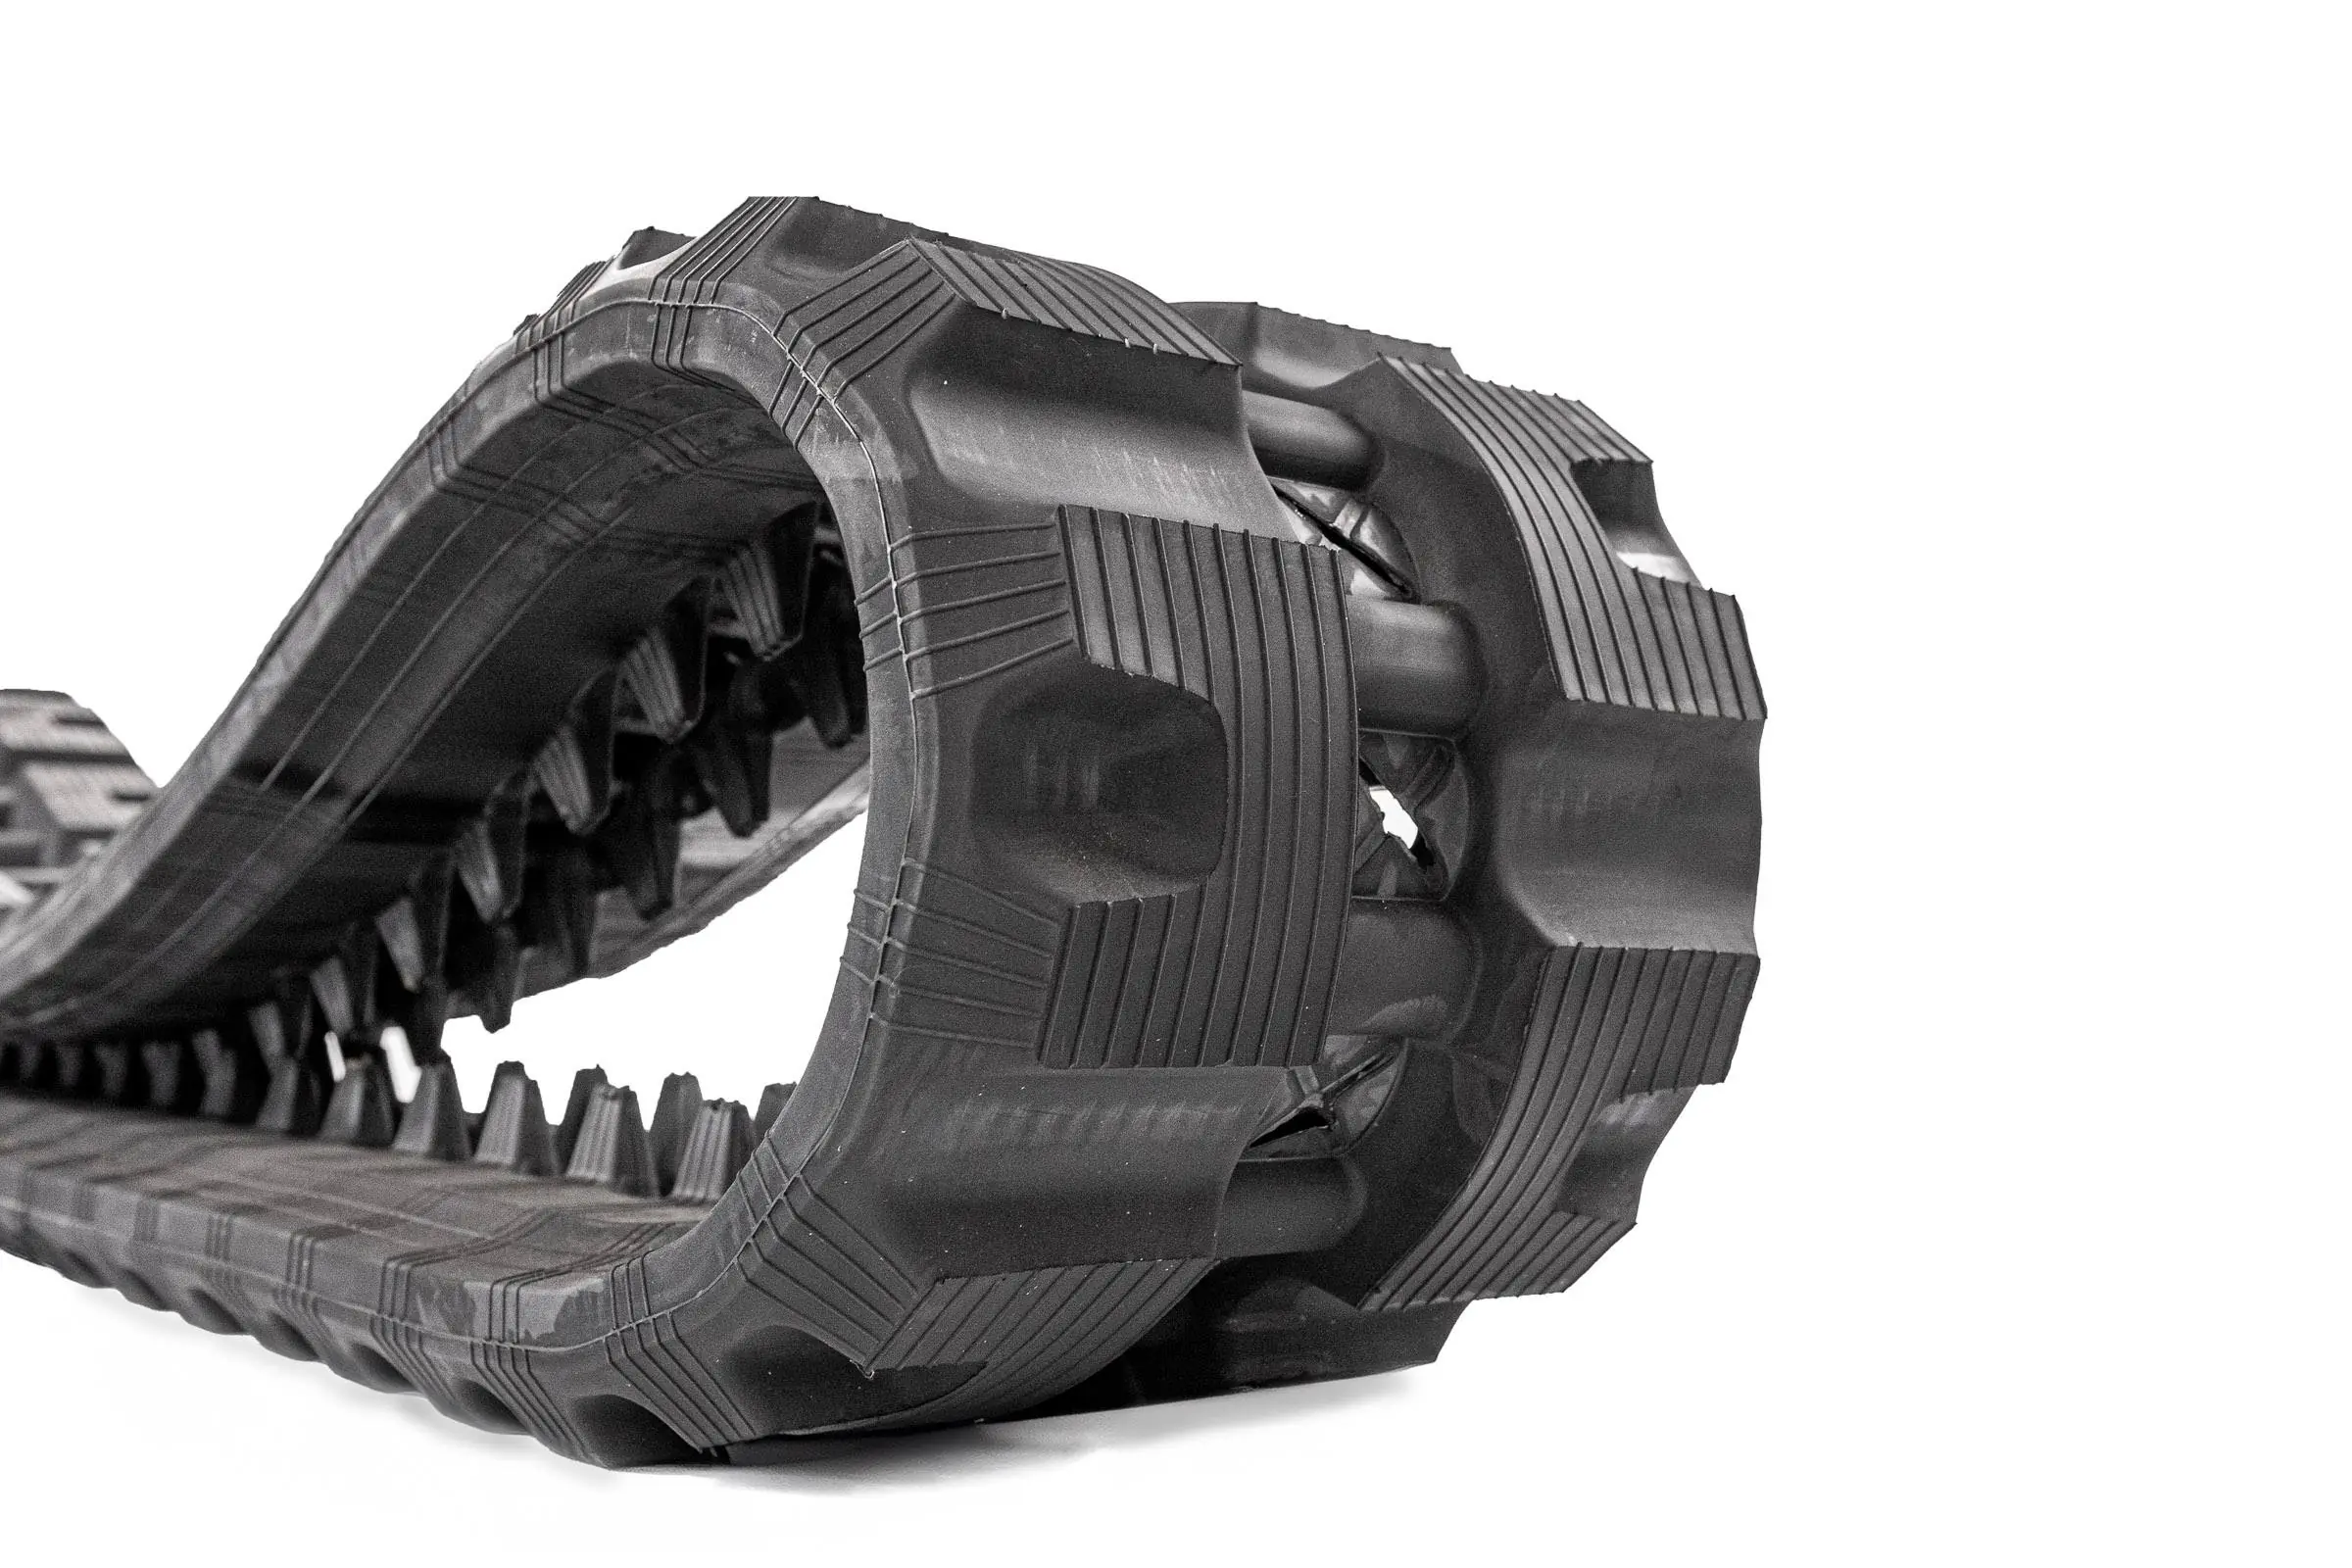
All excavator tracks are directional as the tracks will have a V-shape toward the middle in a forward pattern. You need to make sure to put the tracks on with the V-shape facing toward the front idler. As the track travels under the excavator, the V-shape will then point toward the back sprocket. The track must be put in the right way because if the excavator is working on really soft materials, the track will force the mud out and gain more traction. If the track is in the wrong direction, it acts like a paddle and pushes the mud under the machine.
Step 5: Install the Tracks
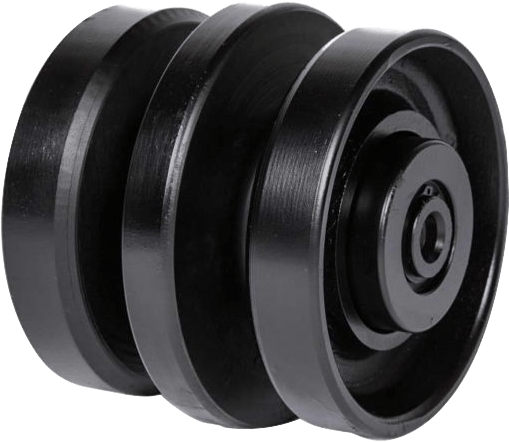
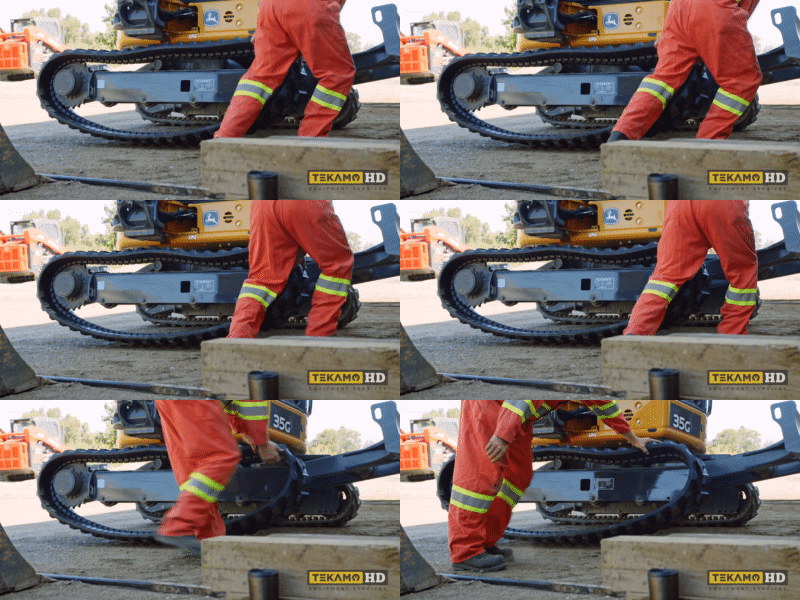
Lower the mini excavator. Now you can lift the heavy track over the back sprocket and the carrier roller on top. Next, work the track so that it is over the top of the front idler. Have the operator lift the machine into the air. The operator should travel the track forwards as you use the pry bar to push the track over the idler and into place.
Step 6: Adjust Track Tension
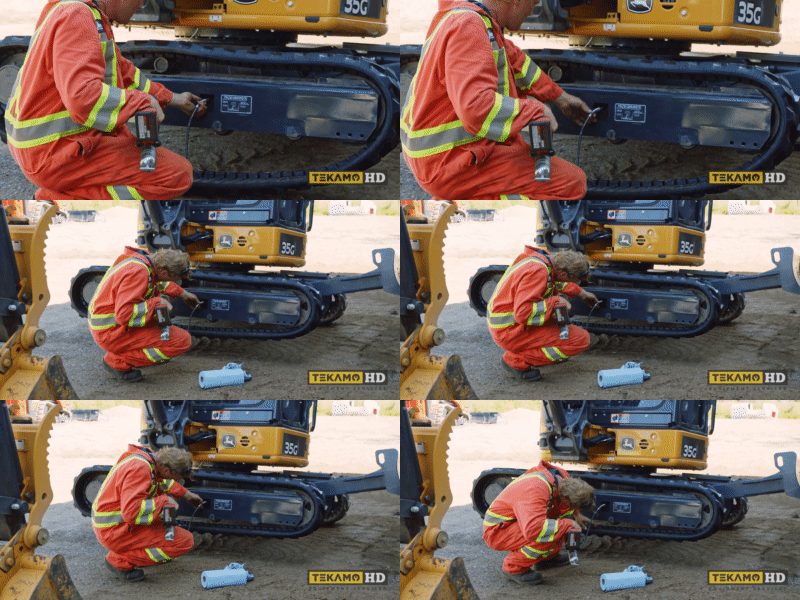
Use paper towels to clean the inside of the access hole and grease valve before reinstalling. Screw and tighten the valve back into place. Add grease inside using the grease gun to adjust the track tension. You want to have about an inch of play between the bottom roller along the middle and the upper rail along the track. The operator should fire up the machine and roll the track forwards and backwards to check the tension. Always have the operator end the operation of the track in the backwards position.
Keep in mind that the track may need adjustment in a few hours after operation as it will loosen up more.
![]()
If you are looking for aftermarket tracks or more details about servicing mini excavators, contact Fortis HD.


