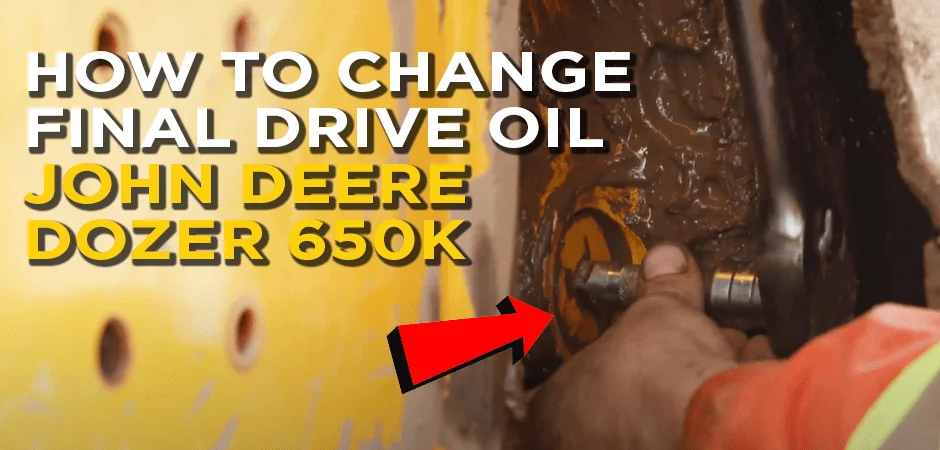
The final drive in a John Deere 650k is one of those parts that tends to take a heavy beating, so it’s going to require proper maintenance.
And while you may want to extend the life of the final drive on your machine for as long as possible (and who doesn’t?), sometimes it reaches a point where you just have to replace it.
Instead of waiting for the final drive to come to its bitter end, why not learn how to change and check it in this thorough step-by-step guide.
How to Change FINAL DRIVE OIL / Check Final Drive Oil - John Deere Dozer 650K
Step 1: Crack Loose The Top Plug
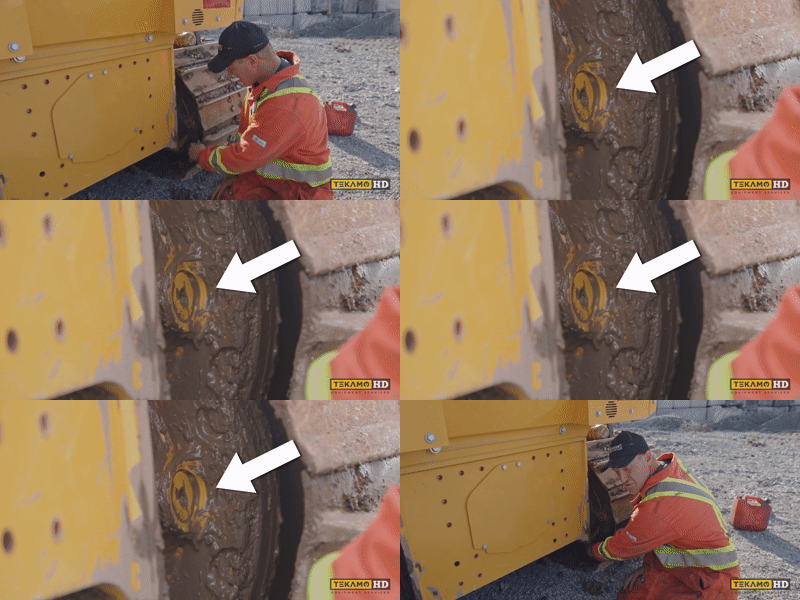
There are two final drives on the John Deere 650K. One is on the right side, and the other is on the opposite side. Both final drives have exactly the same plugs, and both follow the same replacement process.
We are going to start with the one on the right side.
Before anything else, make sure you’re cleaning off the check-and-fill plug as well as the drain plug. This helps to get your tool into the plug for easy removal.
To drain the final drive oil, you always want to vent the top first just in case there’s any kind of pressure in there.
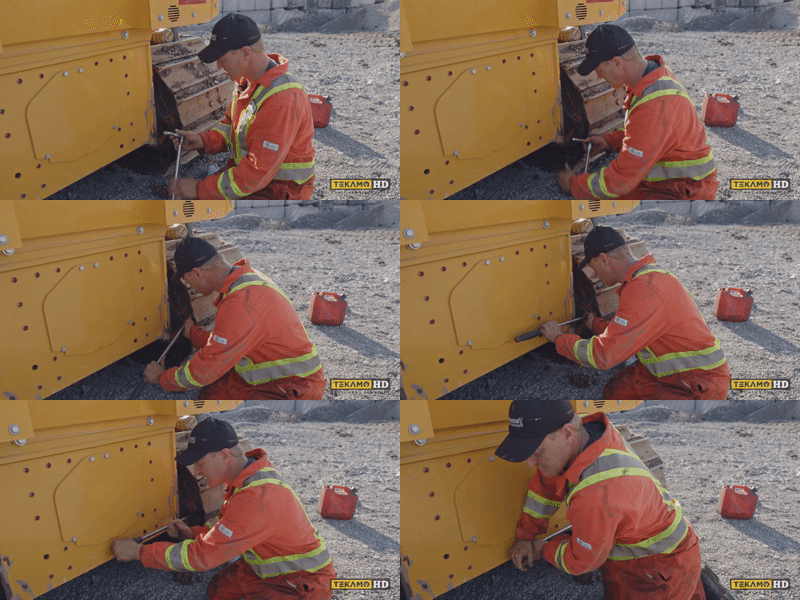
To crack loose the top plug, you’ll need a half-inch drive socket with a little extension. This will help to get it away from the frame so you can reach the plug easily. The wrench has a square hole that fits into the plug and should feel a bit snug.
Sometimes the plug can be really tight, forcing you to put quite some strength into loosening it. Other times it is just tight enough that you can easily loosen the plug.
To pull it out, pop the extension off the ratchet and put it on the plug, then pull the plug out slowly just in case there’s lots of pressure in there. Make sure the plug is clean so that no mud gets in there when you pull it out.
Step 2: Checking Final Drive Oil
The oil level should be very close to the top with the plug out. If it’s not coming out right away, or if it’s coming out just a little bit, that’s okay.
Put your finger in there just to confirm whether or not it’s full. Ideally, it should be full.
Step 3: Final Drive Oil Change
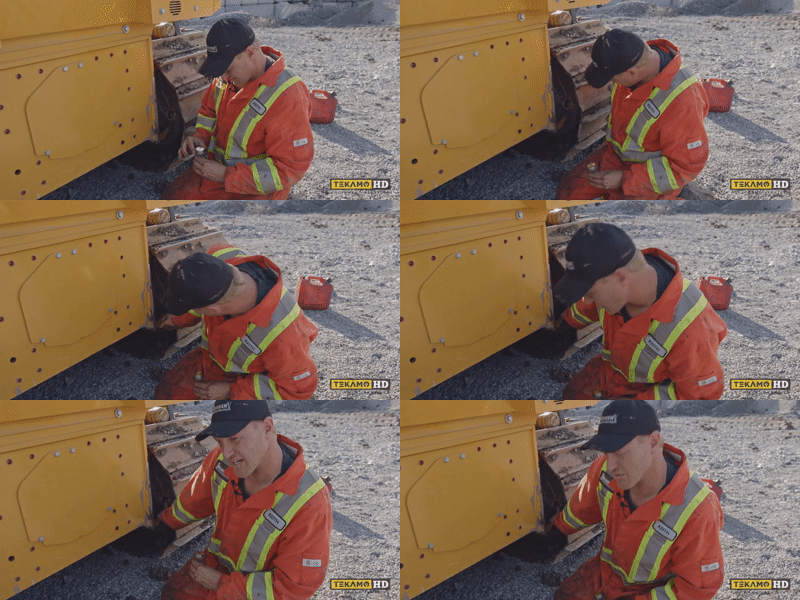
Now that the plug is out, it’s time to pull the bottom plug out and let it fully drain.
After it has finished draining, reinsert the bottom plug and then refill from the top plug hole until you see oil coming out of the plug hole. That should alert you that it’s full.
Once you are done checking and/ or changing the final drive oil, you can put the plug back in (making sure it’s clean and free of any mud, dirt, or gravel). Use the wrench to secure the plug so that it’s nice and snug otherwise, it will come out while in operation. Now you’re all set, that’s how you check and change the final drive oil on a John Deere 650K.
Now you can move on to the second final drive and repeat the exact same process.
![]()
Want to learn more maintenance tasks that you can do on your own to save money?
Check out our article on Changing Hydraulic Filters.

