


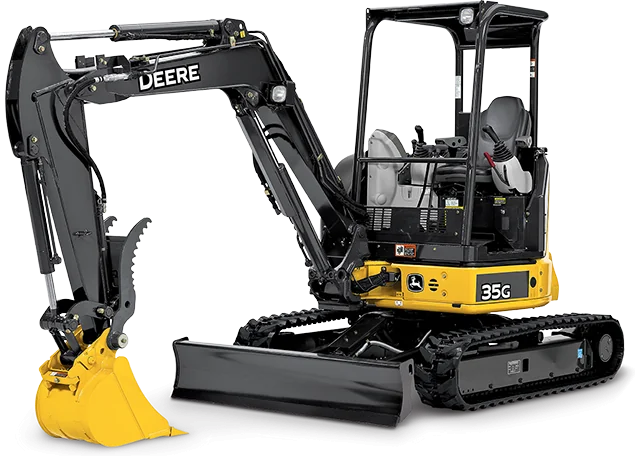


An excavator has a hydraulic system that helps to operate the arm and boom attachments to perform work. The hydraulic system has filters that help screen the hydraulic oil to prevent contaminants from entering the system. Learn how to change the filters using these steps.
Table of Content
Step 1: Vent the Hydraulic Tank
Cold morning temperatures that start to heat up during the day may cause a positive pressure in the tank. Venting the tank prevents excess oil from spilling out. Remove the cover on the machine Remove the fill cap from the hydraulic tank to vent it. Always remove the fill cap before removing the filter cover.

Step 2: Remove the Filter Cover
Take off the filter cover and pull up the suction screen. The suction screen helps to prevent contaminants from getting under the tank. Check to see if the metal screen is clean. Clean off any contaminates and then reinstall.

Related Parts
Step 3: Remove Hydraulic Return Filter Cap

Take off the cap to the hydraulic return filter. There is a snap ring on top after removing the cap as you will have to remove it using pliers. Some machines have a spring that pops the snap ring up. Remove the filter as a lot of oil will drain off it. Have a drain pan nearby to catch the excess oil.
Step 4: Install New Filter

Inspect the new filter as you want to make sure it is the same length and diameter as the old filter. There may be some differences if you are using an aftermarket filter instead of an OEM filter. Some aftermarket filters do not have a handle on the top. You can remove the handle from off the old OEM filter and install it onto the aftermarket filter. Place the new hydraulic return filter into the hydraulic canister on the machine. Push it down onto the pipe at the bottom of the tank.
Step 5: Reinstall the Snap Ring and Covers

Reinsert the snap ring and place the hydraulic filter cap in place. Line the bolt holes and place the bolts back in. Place on the other covers to the filter screen and the hydraulic fill cap. Place back on the machine cover.
Step 6: Remove Old Hydraulic Pilot Filter

Have a catch basin ready to catch the oil when replacing the old hydraulic filters. Place it under the filter and pull the filter out using a strap filter wrench or special pliers. Once the filter is removed, take the new filter and compare it to the old OEM filter to ensure it is the same size and has the same seals and thread so it will install properly.
Step 7: Change Case Drain Filter

With the old hydraulic filter removed, you want to change the case drain filter before installing the new hydraulic pilot filter. Not all machines have a case drain filter behind the pilot filter. Crack it loose and remove the filter while catching the oil in the drain pan. Compare the new drain filter with the old one to ensure the new filter will fit properly. Lubricate the seal using a little bit of old oil and install it.
Step 8: Install Pilot Filter

Lubricate the seals on the pilot filter with a bit of old oil. Hand-tighten the filter on the threads.