


A faulty wiper, radio and heater are often a result of an electrical issue. However, it’s hard to know exactly what is the cause until you get down to inspect each of the parts.
Here’s how to troubleshoot faulty wipers, heaters and radios on a Komatsu PC200LC.
For more Komatsu electrical work, we also have a tutorial on how to to install cabin and boom lights.
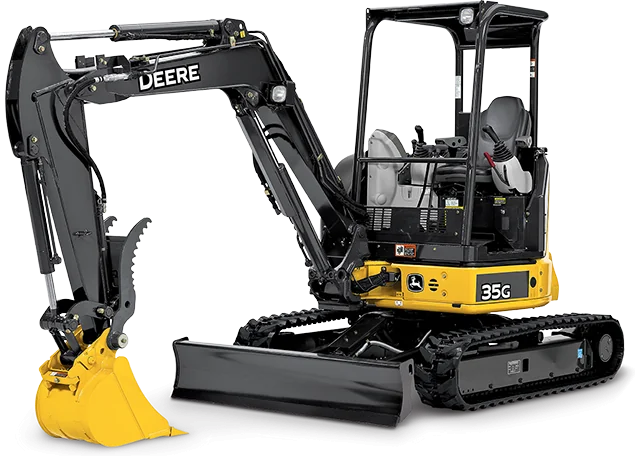
Komatsu Excavator Repair on a PC200LC - Wipers, Heater, Radio
Table of Content
Check The Monitor For Codes
One of the first things you are going to do is to check the monitor for codes or inactive codes. Scanning the codes is a good starting point for any electrical troubleshooting. Fortunately, this machine is fully electronic, so it’s able to tell you if it has any electrical issues.
You’ll have to get into the machine to access the monitor to check the codes. Ensure that you use the three-point contact (two hands, one foot) at all times when climbing on any heavy-duty machine. This is a standard safety rule in the industry.
You are going to check for any abnormality in the codes related to any of the issues you want to troubleshoot. For example, since these are electrical issues, go straight to the electrical systems codes and press enter. It will show you all the error codes it has had.
Because you already have a faulty wiper motor, it will show you that there is a wiper motor short.
Activate the washer and check if indeed the wiper is working or not. If you listen keenly to the motor, you can tell whether it’s empty.
Next, check the wiring to make sure that the connectors are properly sealed and that water hasn’t leaked in.

Wiper Troubleshooting
To troubleshoot the wiper motor, you’d first need to pull off the motor cover so that you can access the wiper motor. For this troubleshooting, you particularly want to check that the connections are well connected and that nothing is shorting out.
Before you get to the motor, there is a wiper arm that has a link (lever) that goes right through to the motor. You want to check if the link has rubbed through any wires or harness or anything like that.
First, remove the air ducting cover, and you should be able to see a plug-in right down the motor. It can be very hard to reach the plug-in, so you may want to loosen up the motor and the motor support.
Ensure that the plug-in is connected all the way through and that the seal on that plug-in is sealed from elements like water, moisture, and things like that.

At this point, you want to check if there are any corroded connectors. So pull it apart and have a look at the wiper connector pins. Corroded connectors have a green or scaly white material build-up.
If the connector is nice and clean and the male ends of the connector also look okay, then there is no need to pull it apart. But if you do find corrosion, the connector will need to be replaced.
Now check that the lever is not rubbing against any wires or harness. To make sure that there is absolutely no rubbing in the wire harness, make the lever work, and watch as it moves. If no wires are touching the lever, then it’s working okay.
Assemble everything back together and put the motor cover back on.
Related Parts


Heater Troubleshooting
For the motor blower, you will first be checking to see if there’s power. If you confirm that there is power, but it’s not running, then you’re going to have to figure out why it’s not running.
So to check the fuses, open up the fuse panel, and right on the inside of the fuse panel, you will see all the fuses listed. There should be 23 or 25 fuses listed, and you can actually see which fuse goes where.
Take your voltmeter and start testing the fuses one by one to see if they have power. Remember to test both sides of each fuse.
When testing the fuses, it’s always good practice to remove each fuse and physically inspect the spade connectors, especially since the system’s already open. For instance, if you want to check the A/C unit, just look up the number and pull it out and have a look at it. You want to make sure that the little electrode at the center is intact as well as the spade connectors.

To troubleshoot the blower motor, pull off the whole rear cover assembly, including the bottom one, because that’s where the blower motor is. Its located right behind the panel.
It may take you a bit of time to find the relay for the heater control because there are so many relays inside the panel. Unfortunately, the relay you are looking for (r20) is inaccessible. It is in the back row, which is hard to reach. The easiest and possibly the best thing to do is to remove the down cover to access the motor and then check if there is power at the motor.
If there is power at the motor, you can be sure that the relay is perfectly okay. However, if there’s no power at the motor, then you’ll have to pull out all the plates and the ECM to get to the r20 relay. This route is pretty difficult, but you have to get it done either way.
Pull off the motor cover, and start checking the motor right away. There is a little harness on top of the cover that feeds the motor. Pull it off as well and take a look at the pins. Then use a voltmeter test to see if there is power coming in. Remember to leave your ignition on and put your fan on high as you do the testing.
Check both circuits as well as both terminals. Don’t push the probes inside the connector when testing, as they would actually expand the connector, and then it’s going to create more issues in there.
To tell if the motor is faulty, it may give you battery voltage, but it’s not turning as it should. If you find that the motor is faulty, then that’s great news because it means the relay is working, and therefore you won’t have to go chasing after the hard-to-reach relay.
You can do a quick check on the monitor to be sure. Turn on the fan, put the fan speed to the maximum, then turn it off, and you should hear the clicking sound telling you that the relay is working.
To confirm even further that the motor is not functioning properly, you can provide power directly to the motor and ground the terminals, then test to see if there is power.
If the motor is still showing that it’s faulty, there is a pretty high chance that it’s totally burnt out or is simply open.

Radio Troubleshooting
Pull off the radio panel to get to the wires. You will have to remove two covers before you can get to the wires, There is the bigger cover that you can see right away, and then there is another small cover on the back. There are more bolts under the small cover, and then on the inside, there are also a couple more that you need to remove.
Remove the bolts, then remove the covers. When the radio is not working, you will see that there is no display, which means it’s completely dead and needs to be replaced. Check the plug-in as well as all the connections. They need to be all nice and clean.
You will have to get a replacement from the dealership because this is not a standard radio- it’s very short and seats very deep.
So now, you’ve cleared the fault codes on the wiper motor. It was perhaps moisture or something in the connection that was triggering the error code. You’ve also tested the heater motor fuses and checked the relay. As well, you checked the voltage at the motor, and finally, you’ve checked and tested that the radio is not functioning properly and needs to be replaced.