The lifespan of heavy equipment is determined by how well it is maintained. You should carry out your machine’s service if you have completed 1000 hours of your Komatsu excavator. This step-by-step guide will show you how to DIY 1000 hours service of a Komatsu excavator.
It is essential to wear proper PPEs before starting maintenance work. If you don’t want to wear gloves, you may use pr88 to protect your hands against gasoline, diesel, oil, and other petroleum-based products. Let’s get started with the step-by-step process for excavator maintenance.
Table of Content
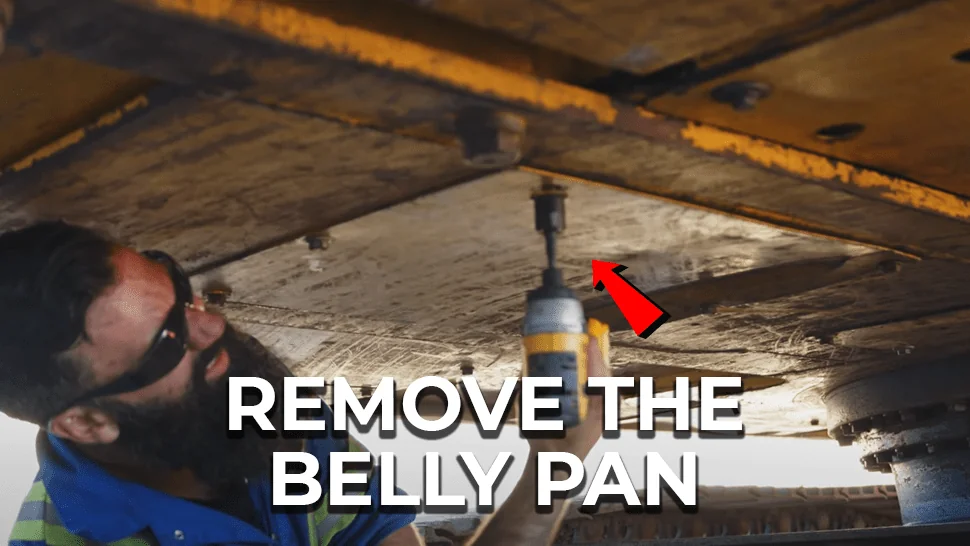
Step 1: Remove the Belly Pan
Remove the belly pan on the bottom of the machine. You have to be careful when removing them. They can be heavy and come crashing down from the dirt buildup.
Step 2: Drain the Oil
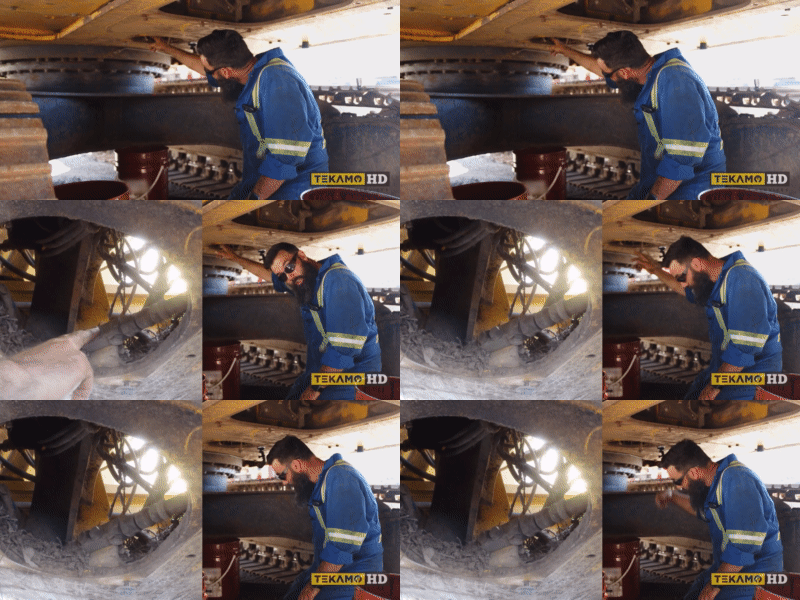
The drain line runs underneath the control valve, as shown in the picture below. It’s accessible from the rear of the machine. Use a 22-millimeter wrench, pull the plug and catch the oil in a catch pan.
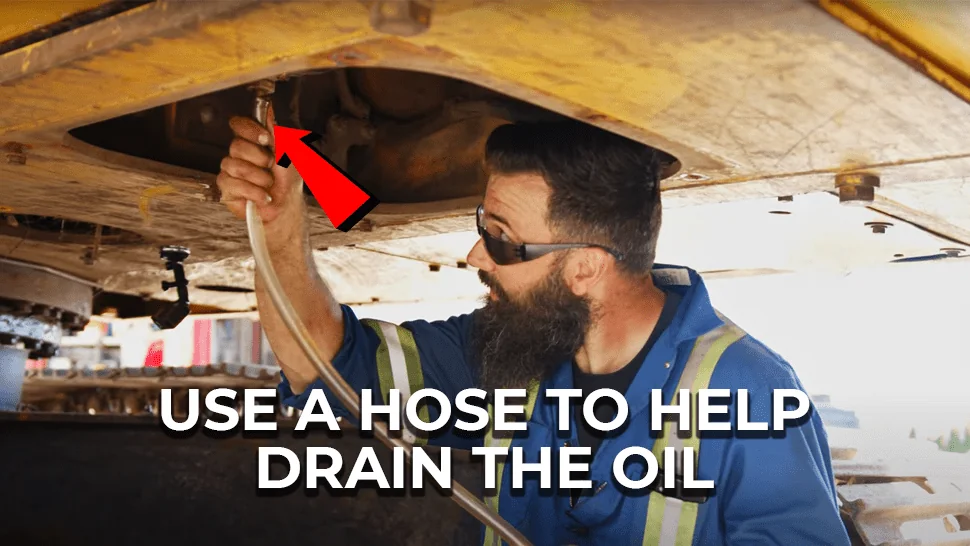
Now move over to the engine oil drain. Use a hose to attach to the drain and direct the oil into the bucket.
Step 3: Replace the Engine Oil Filter
The engine oil filter is in the compartment for a hydraulic pump of a Komatsu excavator. Remove the engine oil filter and use a bucket to catch the oil spilling.
Lubricate the seal of the new oil filter, and follow the arrow marks to the guidelines on the filter to fix it properly.
Step 4: Replace the Fuel Filter
The next step is to replace the primary fuel filter or water separator. You need to unplug the water and fuel sensor at its bottom. Now remove the filter using a filter spanner. A tray is located underneath the filter to catch any fuel.
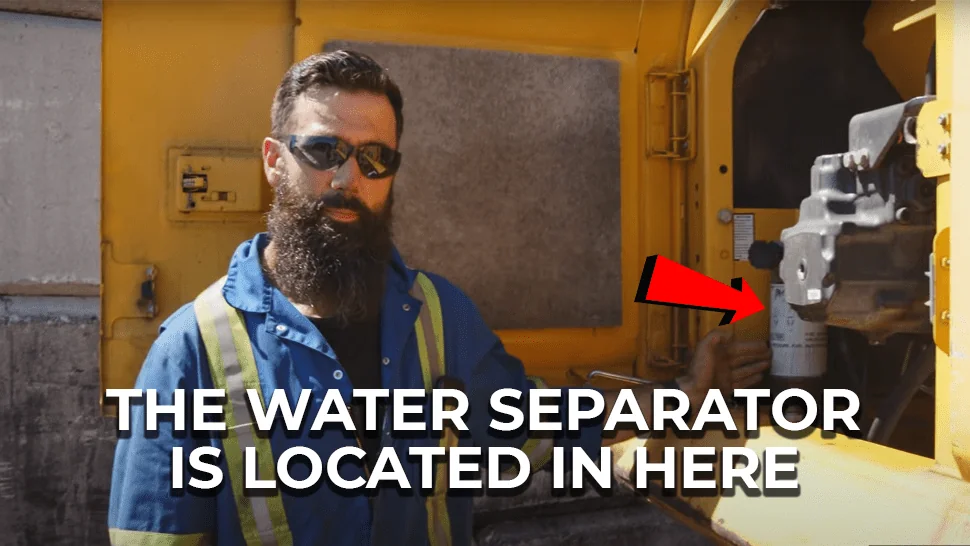
Now we have to remove the plastic sediment bowl at the filter’s bottom. Don’t exert too much force, otherwise, you may break or crack it.
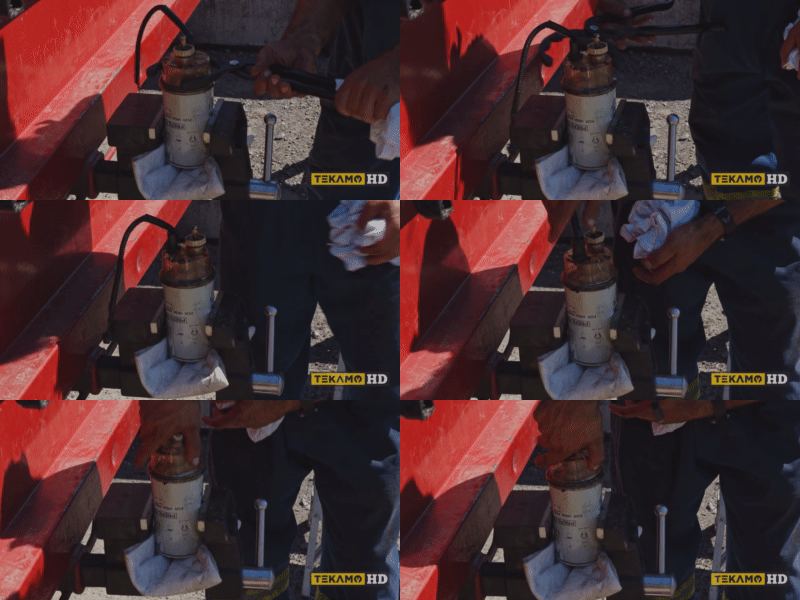
If the new filter doesn’t have a provision for a sediment bowl, you can keep it with you for future use. The water and fuel sensors will be attached to the filter. Remember to replace the O-ring before you insert the sensor into the filter housing.
Now prime the fuel filter, and install it. When you are priming it, ensure that the fuel goes into the outside smaller holes. It is where the incoming fuel goes in, and the fuel comes out of the larger center hole.
Make sure you don’t put the fuel in the center hole. Also, lubricate the seal with the fuel. That’s all that you need to change the engine and fuel filter.
End Notes
Excavator service is vital to increase its lifespan and efficiency. You can service the excavator yourself using this simple maintenance guide.
To learn more about machinery repair, check out our blog.


