


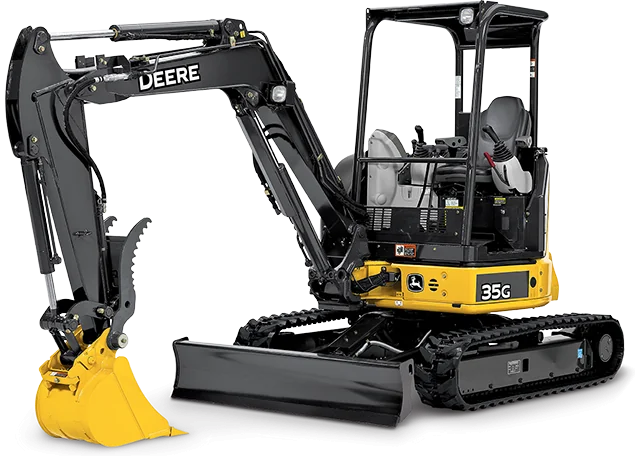


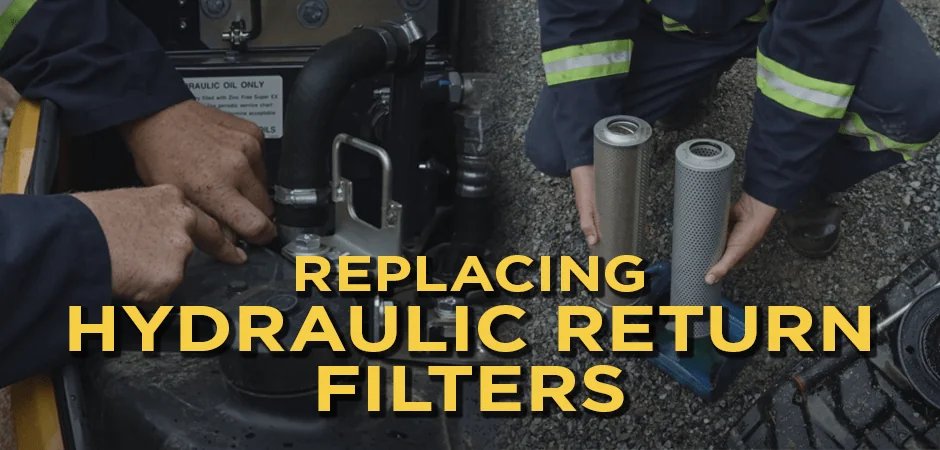
Changing the hydraulic filter yourself can help you save money, especially if you are working in a remote location where obtaining maintenance services can be difficult. Learn how to change the filter on a John Deere 35G excavator using these following steps.
Step 1: Vent the Hydraulic Tank
There may be a bit of pressure within the hydraulic tank. If you do not vent it, the hydraulic oil will come out. There is a cap on top much like a radiator cap. Turn the cap until it stops. Then push down on it and turn the cap some more. It will come off.

Table of Content
Step 2: Remove the Bolts
You can remove the bolts on the cap using a 13mm socket on a ratchet. There are 4 bolts on it and a spring underneath the cap. First, remove the 2 bolts that are across from each other. Then place your hand down on the cap to lower the spring as you remove the remaining 2 bolts.

Related Parts
Step 3: Take Out the Bypass Valve
Release the cap as it will pop up due to the spring. Remove the spring inside as there will be a bypass valve underneath. Take out the bypass valve to reach the filter.

Step 4: Remove the Filter
Have a drain pan or a holding container ready to catch the oil that will come out of the filter when it is pulled out. Lift the filter and let the oil drain back into the hydraulic return tank so it does not leak all into the machine. Place the filter into the drain pan and set it aside.
Step 5: Inspect the New Filter

Unwrap the new filter and inspect it by comparing it to the old filter. You want to ensure the replacement part will properly fit as there may be slight differences with aftermarket track parts. Check to make sure the top and bottom of the filter are the same, then check the length and diameter.
Step 6: Install the New Filter

Install the new filter into the John Deere 35G excavator by dropping it into the hydraulic return canister. There will be a pipe inside that the filter will fit around. Then place in the bypass valve and spring back inside over the filter.
Step 7: Place the Caps Back On
Put on the hydraulic return filter cap as you will have to press down on the spring. Place in the two bolts that are across from each other first so that the cap comes down evenly. Then place on the two remaining bolts. Once that is done, put the hydraulic cap back on.
![]()
For more information about servicing a John Deere 35G excavator try our articles on Excavator Repair or our Mini Excavator Maintenance Guide.