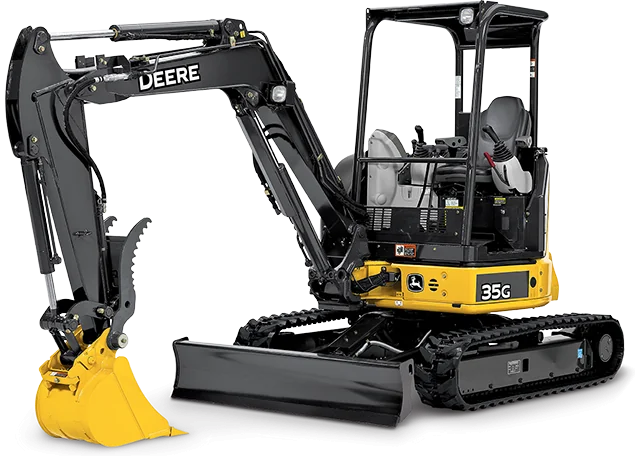
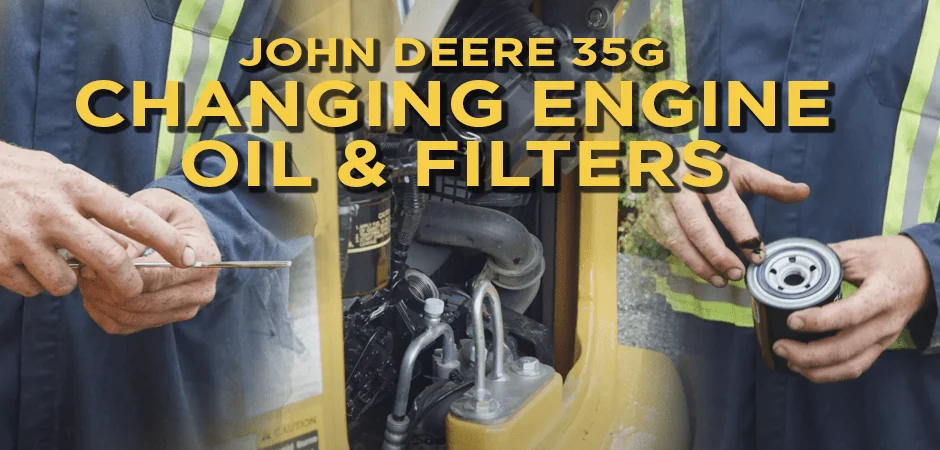
When performing maintenance on a mini excavator such as a John Deere 35G, you will also want to service the engine oil and the oil filters. Doing both tasks at the same time can improve performance ensure the machine runs optimally.
It does not really matter which task that you do first, whether changing the filter or changing the engine oil. Let’s go over the steps in changing both the engine oil and filters on most mini excavators.
Mechanic's Guide To Changing Engine Oil & Filters - John Deere 35G
Table of Content
Step 1: Remove the Oil Filter
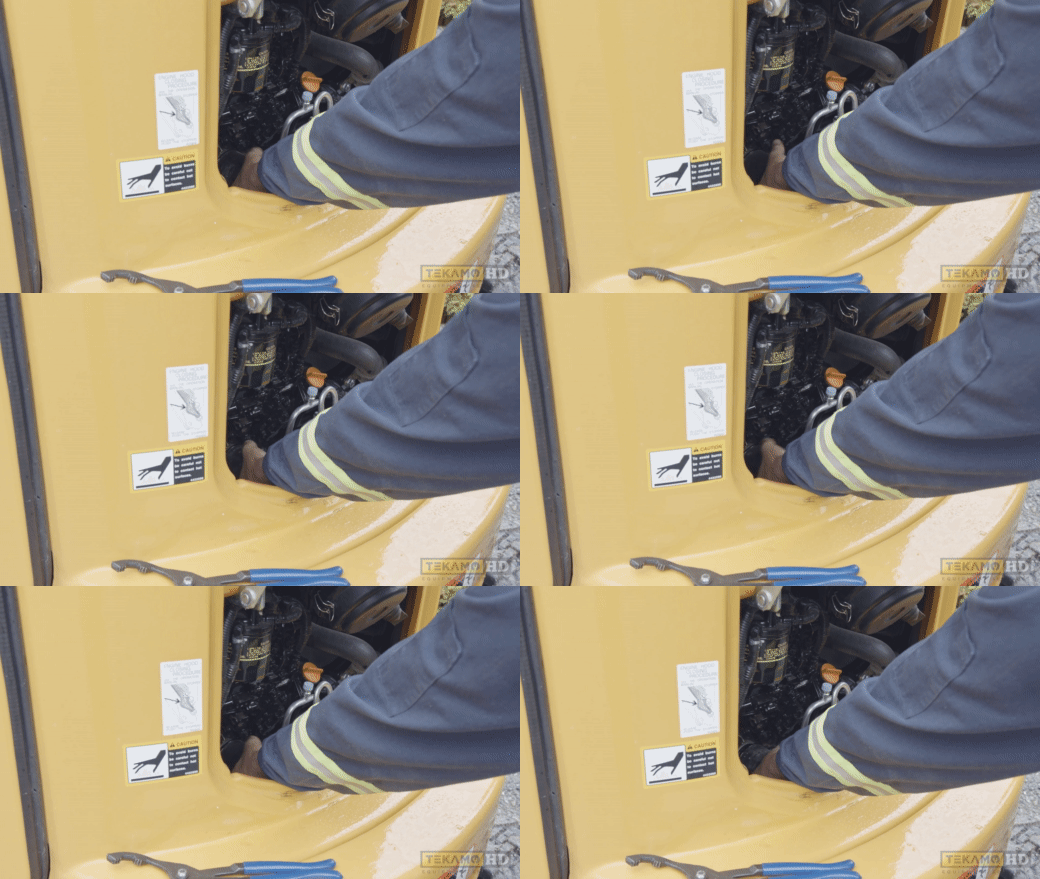
You can use filter pliers or strap wrenches to take the filter out. Always have a catch basin ready to catch the oil that comes out. You want to unscrew the oil filter and set it aside.
Step 2: Check the New Oil Filter
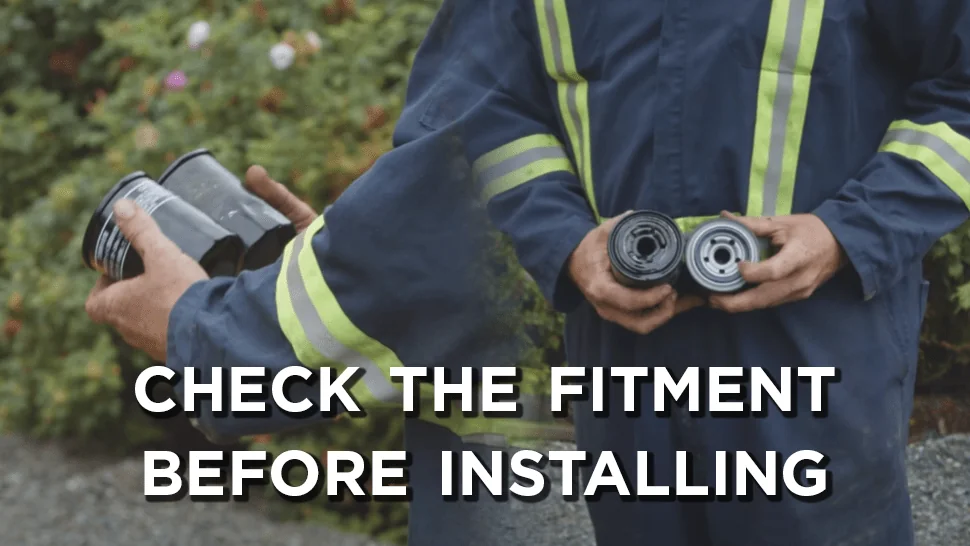
Before placing in the new filter, you want to check it to see whether it is the same dimensions as the old filter. You want to inspect whether the filter is an aftermarket part or an OEM part. Look at the threads, seals, width, and length by using the old filter as a comparison. Only put the correct size filter into the mini excavator.
Step 3: Lubricate the Seal
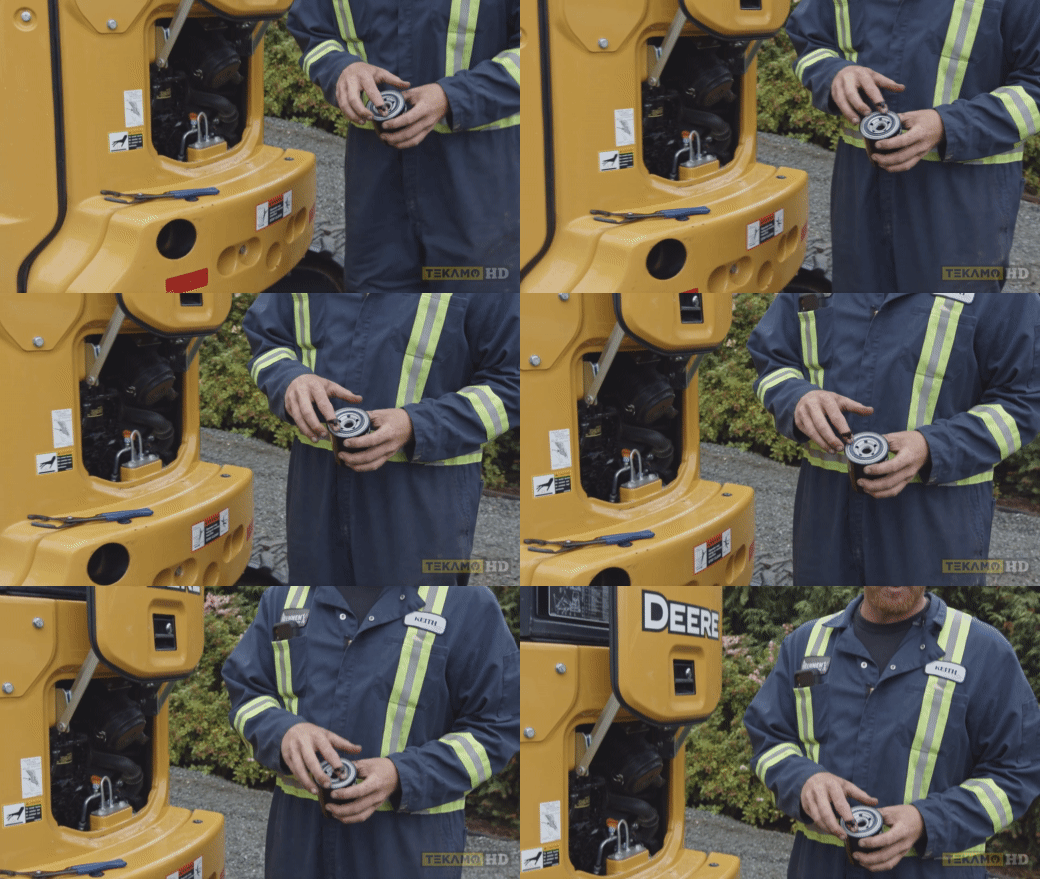
You want to ensure the seal is lubricated before placing it into the machine. Sometimes the new filter will have a bit of lubrication already on it. If the seal is dry, take some of the oil from the old filter and run it around the seal.
Step 4: Install the New Filter
Screw in the new filter by hand. You can use a tool to screw it in. However, you do not want to over-tighten the filter as this issue can damage the threads and end up causing the filter to leak oil. Then you can move on to changing the oil.
Step 5: Unscrew the Drain Plug (and Remove the Belly Pan If Necessary)
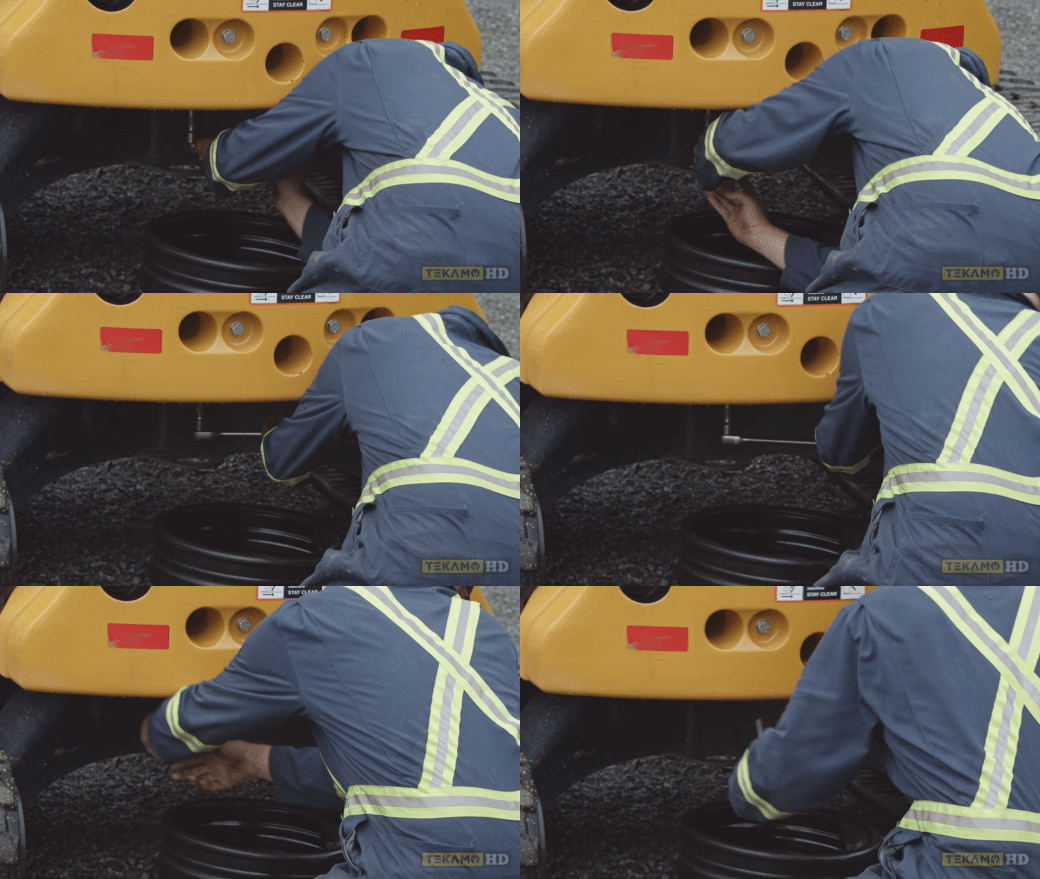
Some mini excavators will have a belly pan on the machine that will have to be removed before changing the engine oil. Check to see the oil pan as you will need a 19mm ratchet and socket to unscrew the drain plug. Have the drain pan ready to catch the engine oil when it comes out. If the oil is draining slowly, you can vent the engine oil tank by taking out the dipstick. This will allow the air pressure inside to force the oil out more.
Step 6: Prepare the New Oil
Depending on the size of the new oil container, you may need to use a 1-litre oil jug with a funnel to fit it over the engine oil tank opening. You can also use a pump with a hose attachment.
Step 7: Fill the Engine Oil Compartment
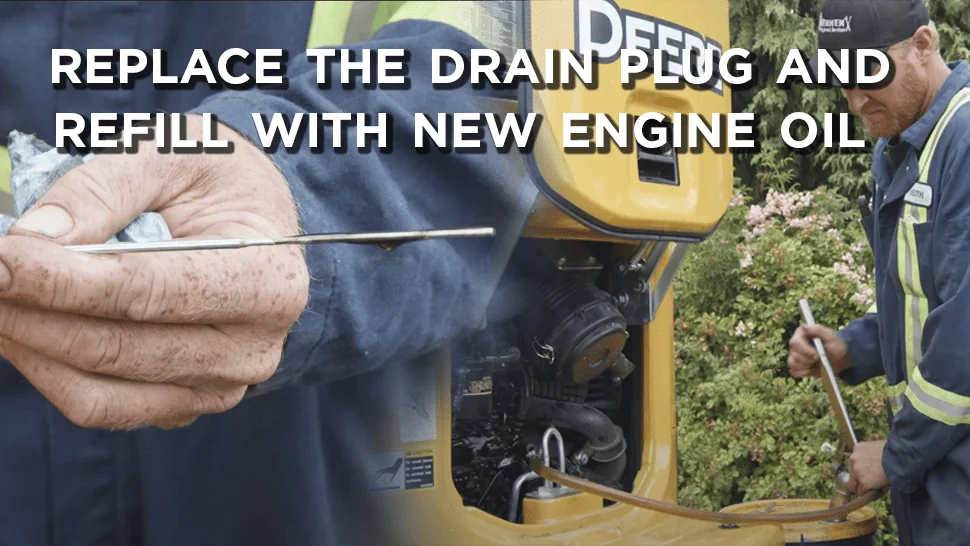
After all the engine oil is drained out, place the drain plug in. Next, pour or pump the new engine oil into the mini excavator. Periodically check the engine oil level to ensure that you do not overfill the tank. When you hit the top line, place the dipstick back in and put on the caps.
Step 8: Run the Mini Excavator

Turn on the mini excavator and let it run for a short time to let the engine oil fill up into the filter and the engine. Then turn the machine off and let the oil settle. Check the engine oil level as it may have gone down. Top off the tank until reaching the top line on the dipstick. Afterwards, clean up your maintenance site.
![]()
For more advice about how to change the engine oil and filters on your heavy equipment or how to repair a John Deere 35G, contact Fortis HD.

