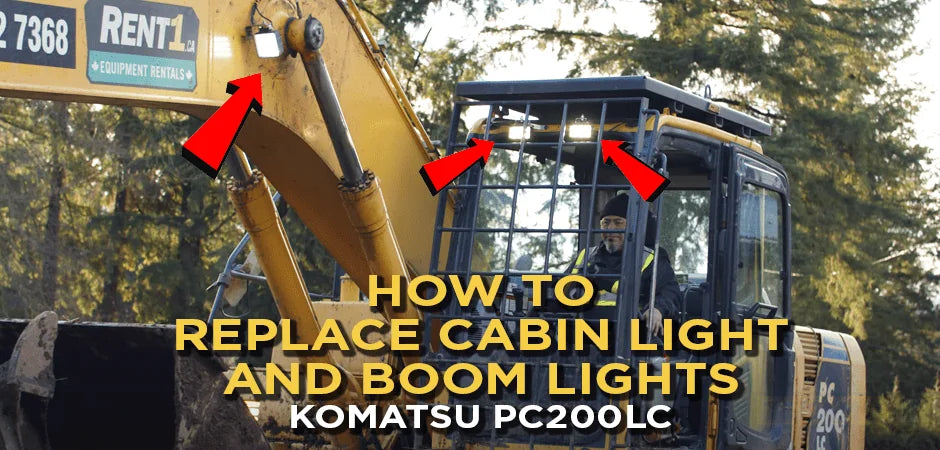
How to Replace Cabin Light and Boom Lights in a Komatsu PC200LC Excavator
Written by Luis Montes
Updated On July 17, 2023

Featured Tools
+

Written by Luis Montes
Updated On July 17, 2023

+
Want to replace your cabin and boom lights on your Komatsu PC200LC Excavator?
Here’s a detailed guide that takes you through all the steps of installing new LED lights on the cabin and excavator boom. LED lights are much more durable and energy-efficient – giving you more bang for your buck.

Replacing cabin lights is a very straightforward process, here’s how to do it:
The first thing you are going to do is make sure that the LED lights have the right voltage. You may have noticed that most of the boom lights in the market are 12V which is not sufficient for this machine. The boom lights have to be 24V and preferably low profile. This is because the machine comes with a rollover protection system (ROPS) that can block the light. A tall boom light will also not fit properly because of the ROPS.

Head over to the cab to test whether the cables have power. Always be cautious when working around electricity and wear the right safety gear to keep you safe.
You will first need to put the lights on before using your multimeter to check the voltage. Check that all connectors have power at the plug-in. Your multimeter should at the very least read 25V for each connector. If they all have voltage, then you don’t have to check for power in the fuses. You can straight away start mounting the brackets to install the boom lights.

There are two options here; to custom make your own brackets or order brackets from manufacturers. You will need time for the latter as it will probably take a week or two before your shipment arrives.
Creating brackets is both cost-effective and time-saving. You can easily make brackets out of an adapter plate. You will just need to modify it a little bit by bending and twisting it around and then drilling holes big enough for the bolts to pass through.
When creating your own modified brackets, first establish the point of placement for both lights. You want to make sure that the lights fit right inside the square of the ROPs so that the light shines through the screen.
Once you figure out how the lights will be placed, keep bending and twisting to get the perfect angle. Strive to achieve a 90-degree bend. This will sit flat on the placement point.
Drill two mounting holes on the brackets big enough so that the bolts can fit in properly. One hole will mount to the cab and When you choose to DIY brackets, be prepared to make changes on the fly till they fit perfectly.

Once the brackets are mounted to the cab, it’s time to test-fit the lights to see how best to position them so that they have an excellent aim.
Mount them upright first. If they seem high, there is a good chance they will keep hitting the bar. Unscrew and mount them upside down.
Keep retwisting and re-bending until it looks perfect but be careful not to damage the bracket.
With the lights physically installed, it’s time to do the wiring.
Take the grommets that were there before, and make a little hole right down the middle so that the wire goes through. The grommets will keep the wires secure as well as prevent water from leaking into the wires.
You’ll notice that you have a lot of wires coming from the power source. That’s okay. However, you won’t be using them all. Only take the one you want to use and let the rest sit inside the cab behind the grommet.
Take the wire from the light as well and push it through the hole you poked on the grommet.
Take the butane torch and heat the connectors starting from the middle as you work your way out. You can switch to a higher setting if it’s taking longer to shrink.
Move the connector around a bit as you heat it. As the sealant melts, oxygen also gets out of the connector. This will help in preventing corrosion during winter or when the weather is humid.
Heat it till it’s all shrunk and completely sealed. The sealed connectors should be clear as well, so that you can see through to the wires. There shouldn’t be any movement of wires if you try to pull it out. If you want to really protect your wiring, you can construct a cable harness to wrap them in.
Finish up the wiring by fixing the grommets back, then move over to the other side and repeat the same steps:
Your cab lights are now installed and properly se
Replacing boom lights follows pretty much the same steps as replacing cabin lights.
You start by checking for power and then doing a test fit of the light to come up with a plan on how to install the boom arm lights. Having a plan in place helps minimize mistakes.
As you try to find the best way to mount the light for excellent aiming, you may discover some problems along the way that you’d need to solve creatively. For instance, the washers may be too small for the hole that they pass right through, forcing you to use extra-large washers.
Once you find the right position to install, connect the wire from the power source to the wire on the lights. You may find that the light wires have terminals, which is often the case because most dealers use terminals. In this case, you either chop off the terminals and use a sealed butt connector to join the wires or simply get a Deutsch type connector to adjoin the terminals.
If using the latter option, cut off the terminals and use blue butt connectors to join the wires because the wires are a bit thicker. Slide in the heat shrinks and test the lights to see if they are working.
If they are working, take your torch and heat shrink just as we did earlier with the cabin lights until the connectors are completely sealed. Start applying heat from the center as you work your way out so that the goop can slide out and seal.
Once done, tie all the cables and wait for when it’s dark to see what angle the light is aiming. You may need to make a few adjustments to get a perfect aim.
You can read the article 1000-Hour Maintenance Service of a Komatsu PC200LC Excavator

Get top-quality parts and tracks your Komatsu excavator at FortisHD