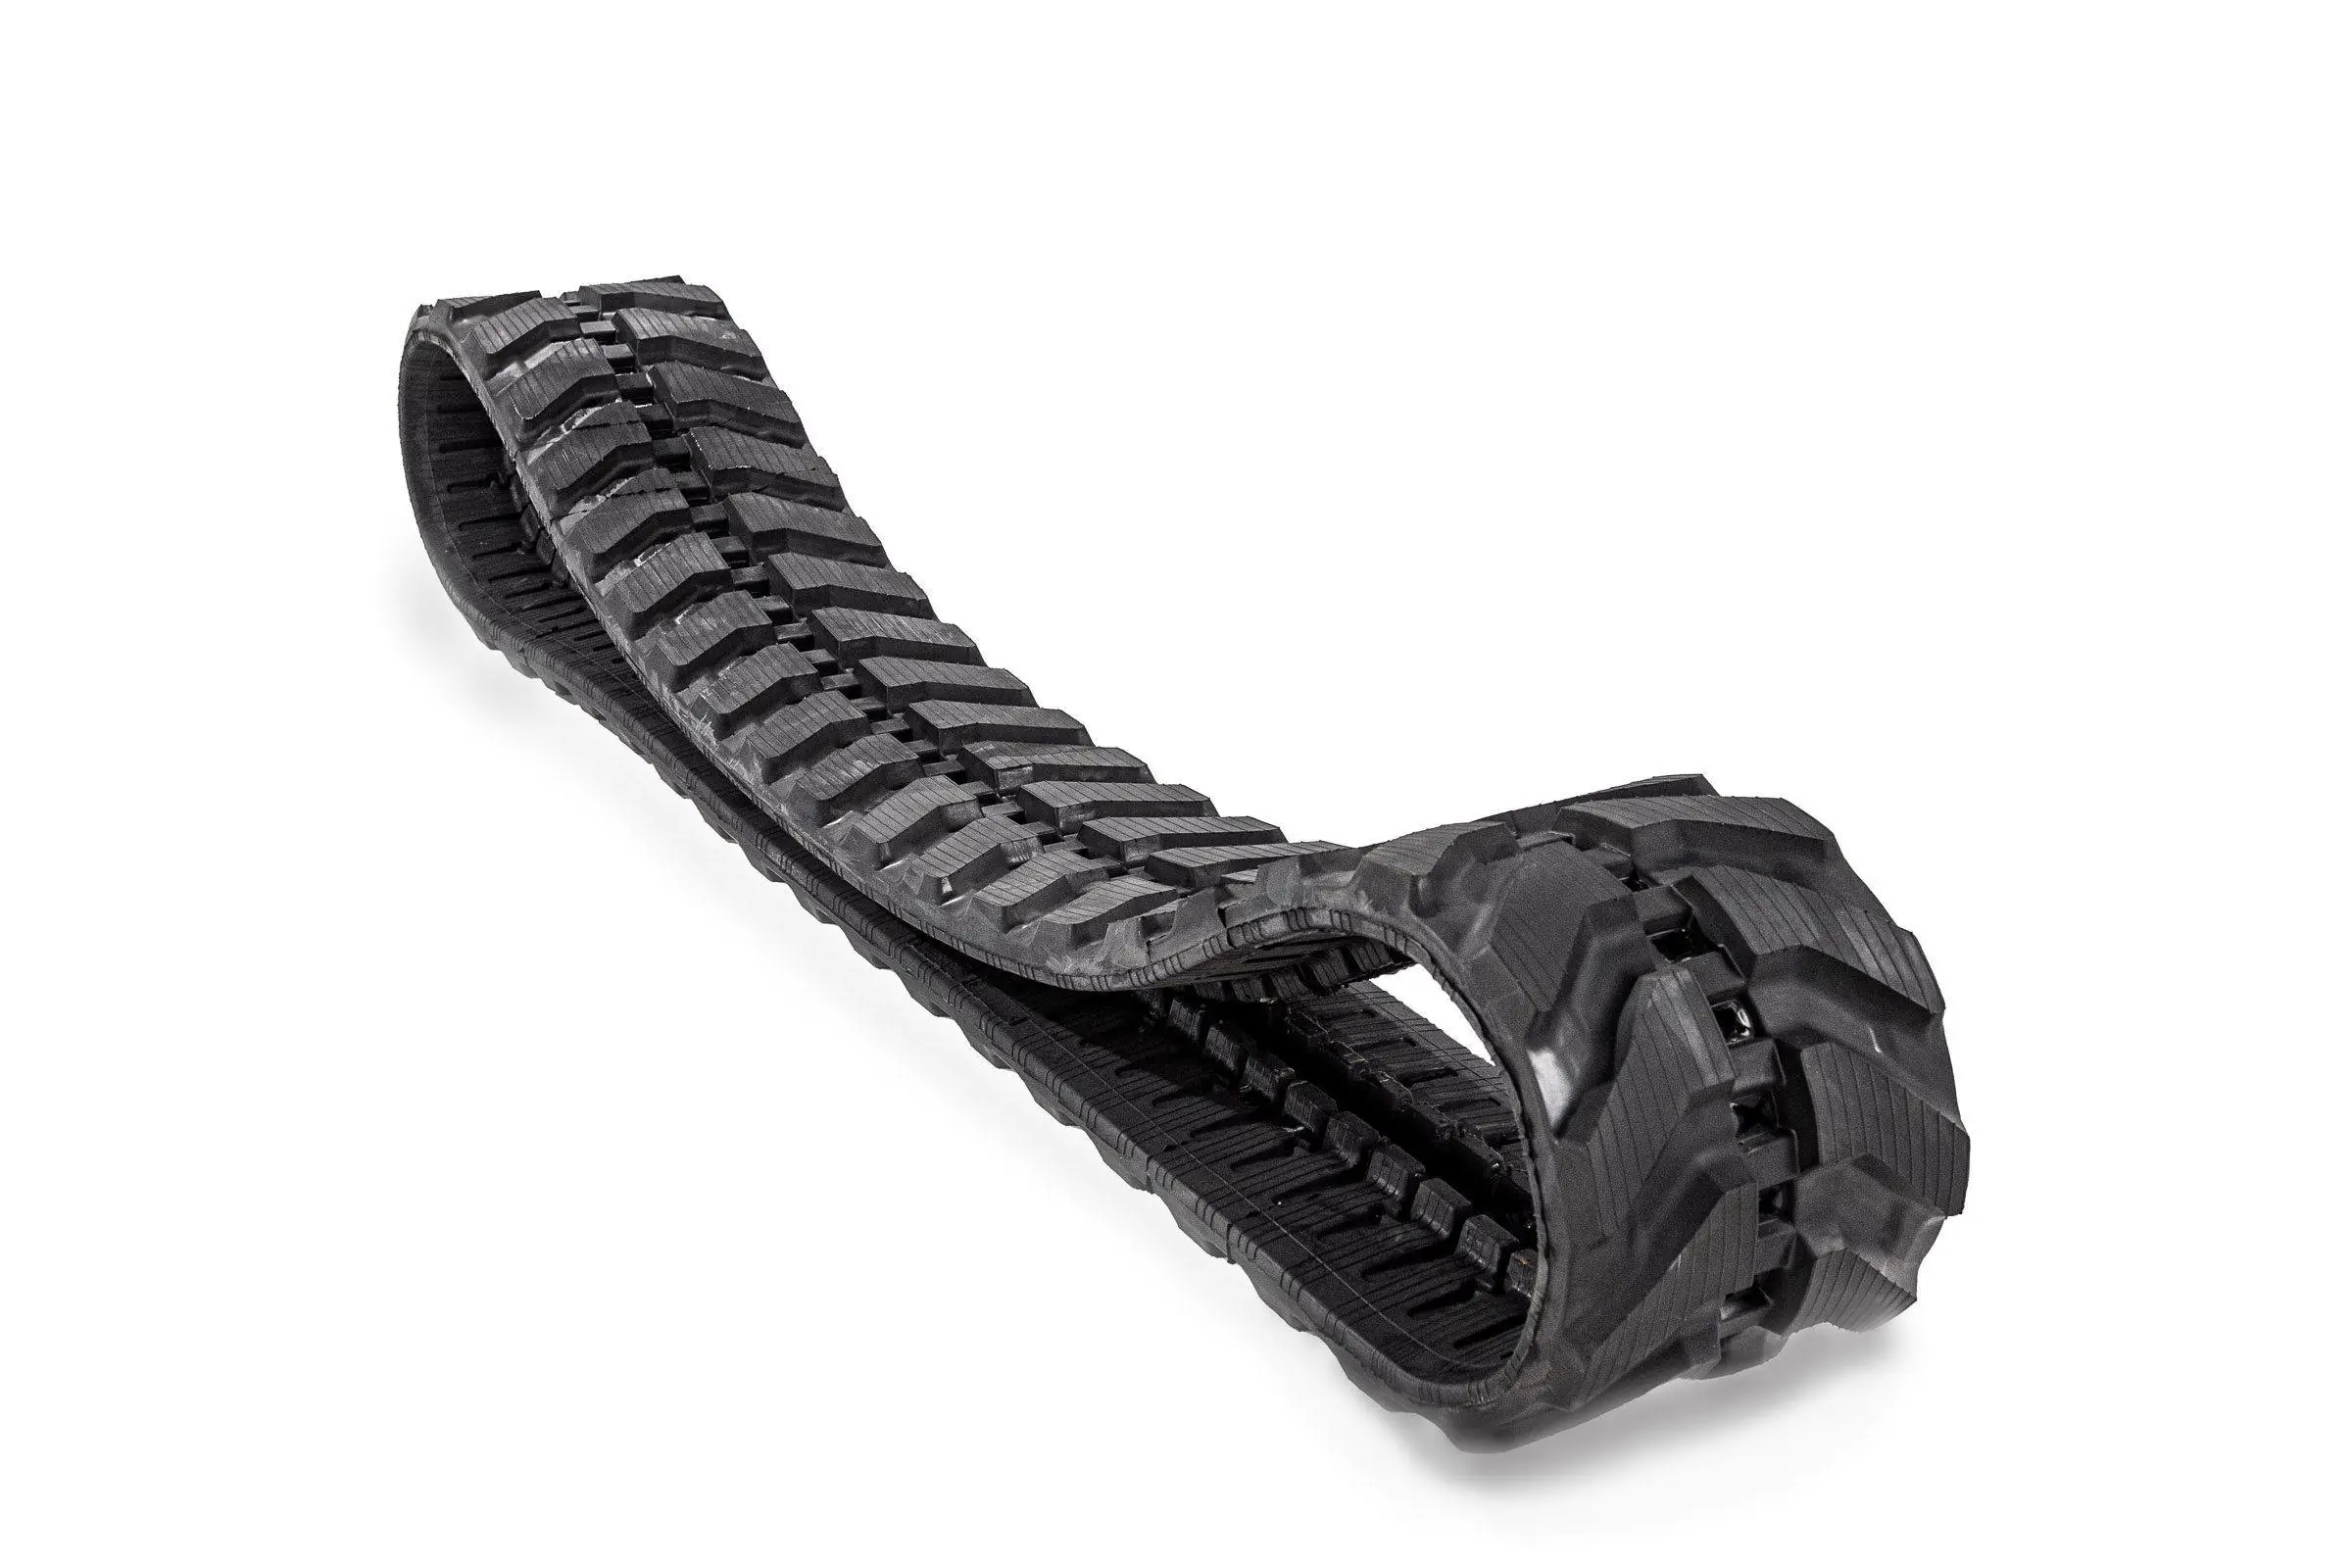
Cabin air filter replacement is a vital routine maintenance task not only in a 650K John Deere dozer but in all vehicles. The filter helps to keep dust, pollen, mold, debris, dirt, exhaust gases, and bacteria from getting into the vehicle HVAC system (unlike the engine air filter which keeps dust and debris out of the engine). It also helps to clean the air inside the cab so you can breathe fresh air.
Given the 650K Dozer’s heavy-duty work, the air filter can get dirty pretty fast. And not only that, it can get clogged when left for far too long, which affects the cab’s performance as well as the air conditioning system.
It’s easy to tell when your John Deere Dozer cabin air filter is due for a replacement. The air inside the cab will be smelly, dusty, musty, or have a generally unpleasant smell. You may also notice a decrease in the air circulation around the passenger’s seat or perhaps a decrease in the performance of the heating and cooling system. All of these are sure signs that you need an air filter replacement.
Changing the air filters on a 650K Dozer is a pretty straightforward and easy task. You can do it on your own to save some bucks. And the best part? There are no tools needed, and it only takes a couple of minutes!
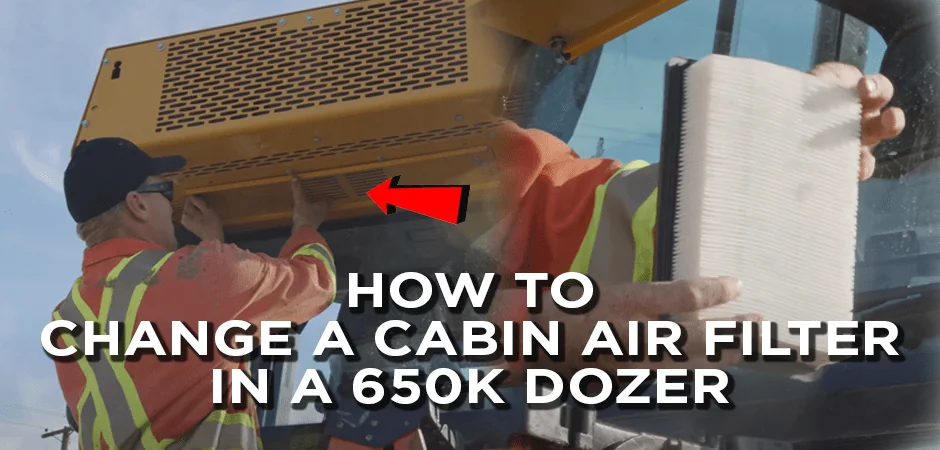
This post will guide you on how to change the two air conditioning filters on a John Deere 650k in two easy steps.
John Deere Cabin Air Filter Replacement - 650K Dozer - NO TOOLS NEEDED
Table of Content
Step 1: Changing The Fresh Air Filter Behind The Cab
The 650K has two filters, one on the inside of the cab and one on the outside. The first filter we’re going to be changing is the fresh air filter outside the cab. This filter is located in the cabin air filter housing right behind the cab, underneath the unit itself.
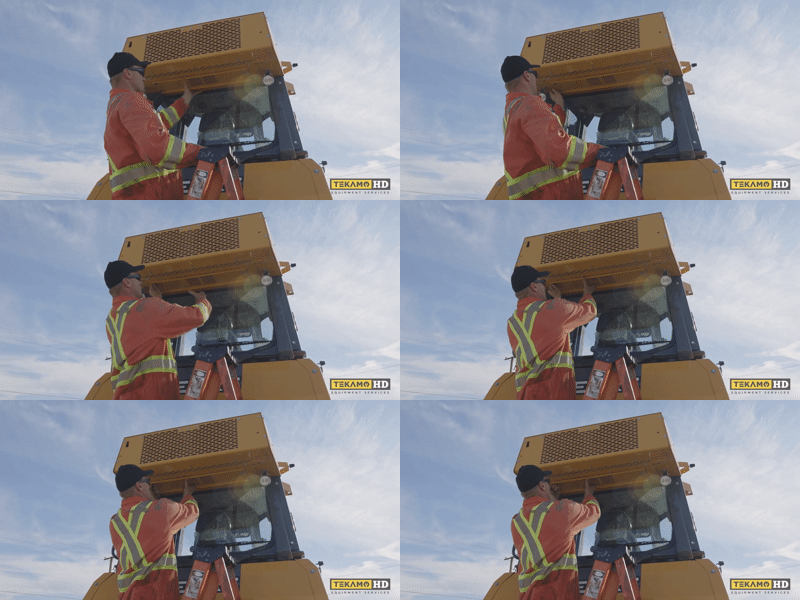
Underneath the cabin air filter, there’s a panel that protects the filter. You’re going to need to remove this first. The panel is secured with two wing nuts that you can easily unscrew by hand.
Hold the panel with one hand, so it doesn’t fall, as you unscrew the wing nuts using the other hand. The panel will pop down by itself, and you should see the dirty filter come down right after. Don’t pull out the panel. It’s okay if it remains halfway open in an inclined position. You can still easily access the filter without it coming off completely.
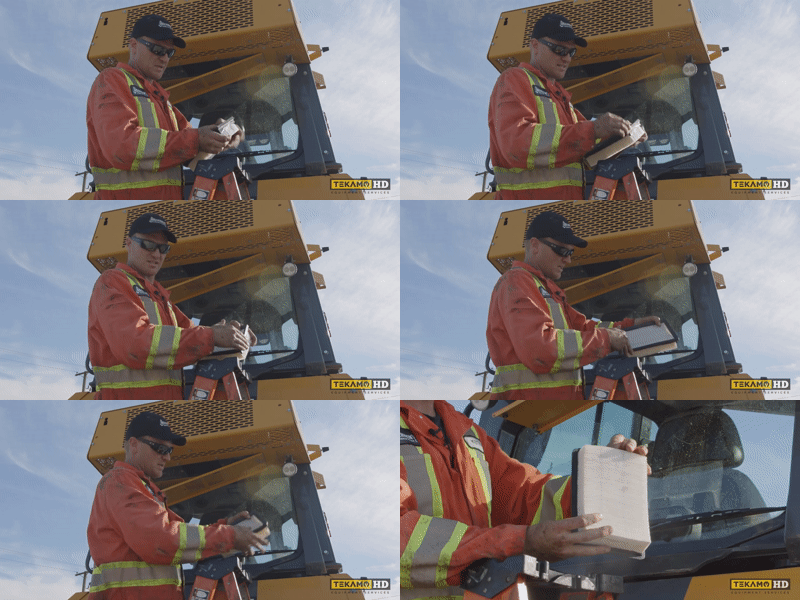
Remove the dirty air filter and replace it with the new air filter. Make sure you handle the new filter with care. Even a tiny tear will render it useless, and you’ll have to buy a whole new one and start this all over again.
The new filter should be straight all the way around for it to make a good seal. If there’s a part that is bent, straighten it out first.
To replace the air filter, pop the new one up inside the cabin air filter housing. Then push the panel back up and screw back the wing nuts with one hand while holding the panel with the other. Just as you did when unscrewing the wing nuts.
And viola! You’ve successfully replaced your first air filter.
Step 2: Changing The Air Filter Inside The Cab
The second air filter that we need to replace is inside the cab itself. You’ll find it located behind the operator’s seat in the back corner.
There are two ways to pull out the air filter cover. One is by using the little silver tub in the middle, and the second way is using the white longer tabs on the side. Both methods work pretty much the same way, but you may find that the middle one could be a little hard to pull out.
Start with the middle tab. Pull it towards the front of the machine. If you find it difficult to pop out, switch to the tabs on the side. Again, pull out the tabs, and the filter should come right off without having to use too much force.
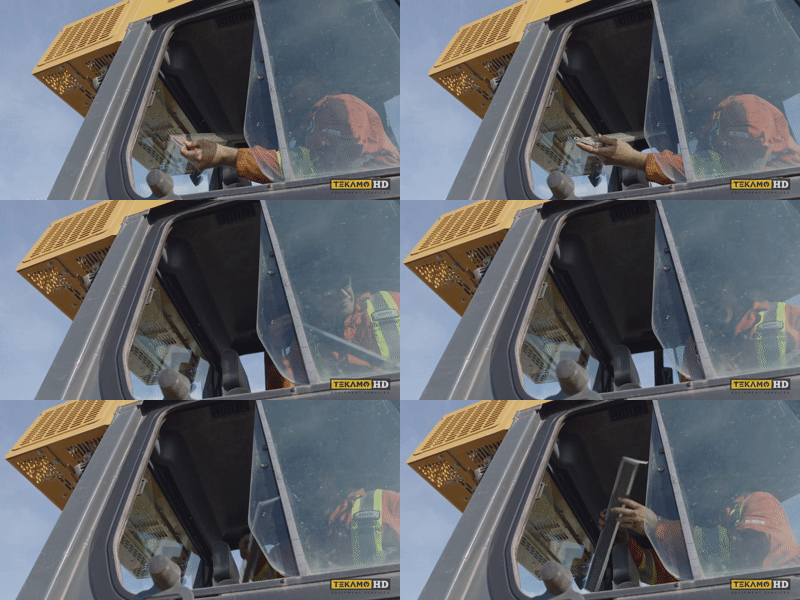
Put the dirty filter aside and take out the new one. Pop it back in by sliding it into the slot that leads to the air filter housing. Be sure to get the little tab in the middle out of the way first before sliding. Once it’s in, push the tab back on. The tab helps secure the filter so that it doesn’t fall off.
By following the two simple steps above, you should be well on your way to improving the air quality in your 650K Dozer.
If you’re doing a full maintenance routine, check out our tutorial on changing John Deere 650k final drive oil.
![]()
Want to learn more maintainance tasks that you can do on your own to save money?
Check out our article on Draining Excavator Engine Oil


