After draining the engine oil from the excavator and placing in new oil, you may also decide to change the filter as well. Doing both tasks at the same time ensures that the engine oil components have been properly serviced and prevents contaminates from a dirty oil filter to get into the engine. Follow these steps to change the excavator engine oil filter.
Table of Content
Step 1: Drain the Engine Oil Before Changing Filter
It’s not advisable to change the engine oil filter while the engine oil tank is draining. You may require multiple empty buckets to catch the engine oil depending on the size and model of the machine. You also do not want to walk away from the engine oil tank while it is draining. Do the one task first and then change the engine oil filter.
Step 2: Remove the Filter
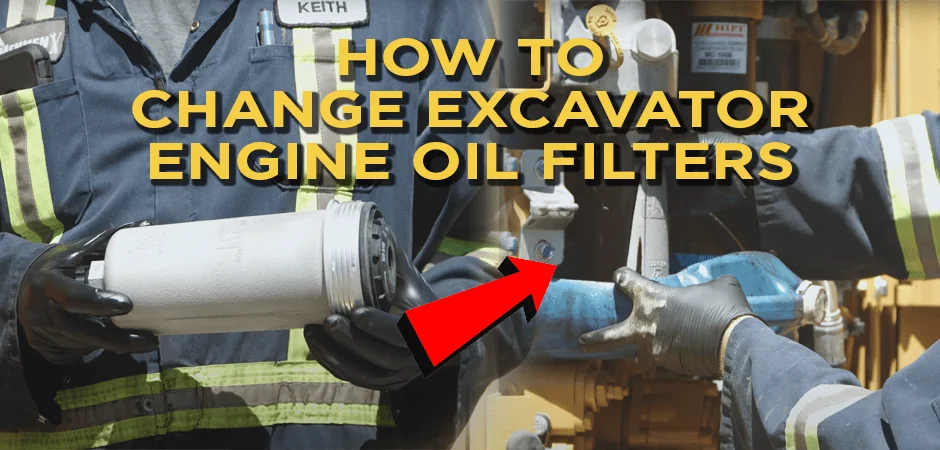
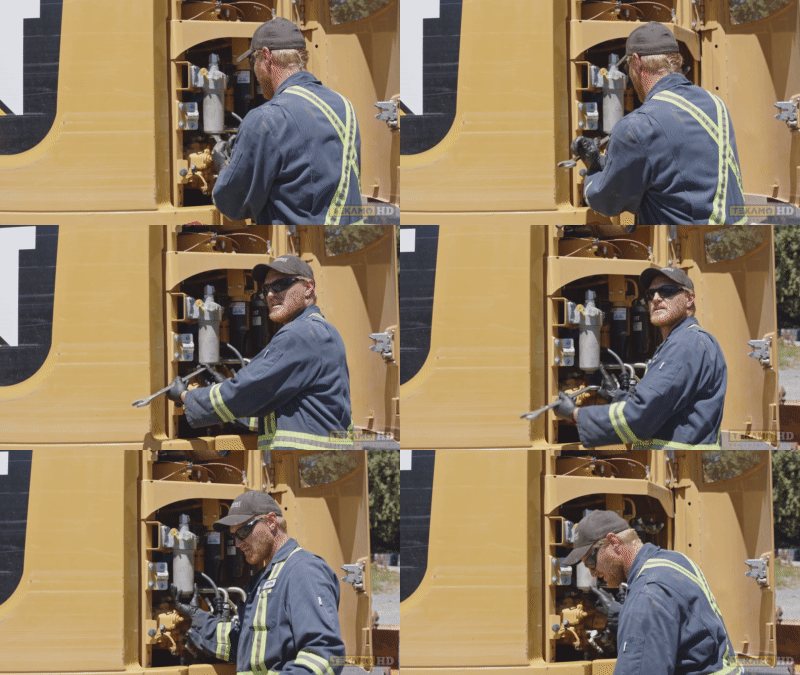
There is a piece on the bottom of the engine oil filter that helps to remove it. You may use a wrench or a socket wrench with a bigger ratchet to unthread it. Place a drain pain underneath as you unwind the filter from the housing to catch the engine oil.
Step 3: Catch Remaining Oil
Unwind the filter. You want to maintain a strong grip as the filter is full of engine oil and can become unsteady while removing it. Set the filter aside and use the catch pan to catch the remaining oil that is dripping from out of the housing.
Step 4: Lubricate the New Filter

The new engine oil filter often comes with the filter housing attached. You want to grease the sealing gasket as you can use some of the engine oil from inside the top housing. Run a finger along the inside to get the oil and then lubricate the seal.
Step 5: Screw on the Filter

Screw on the filter by hand. Then use a wrench to tighten it slightly. The filter will bottom out and then come to a stop.
![]()
These steps will typically work for all makes and models of heavy equipment. Learn more maintenance tips at FortisHD.


